 Save to Pinterest
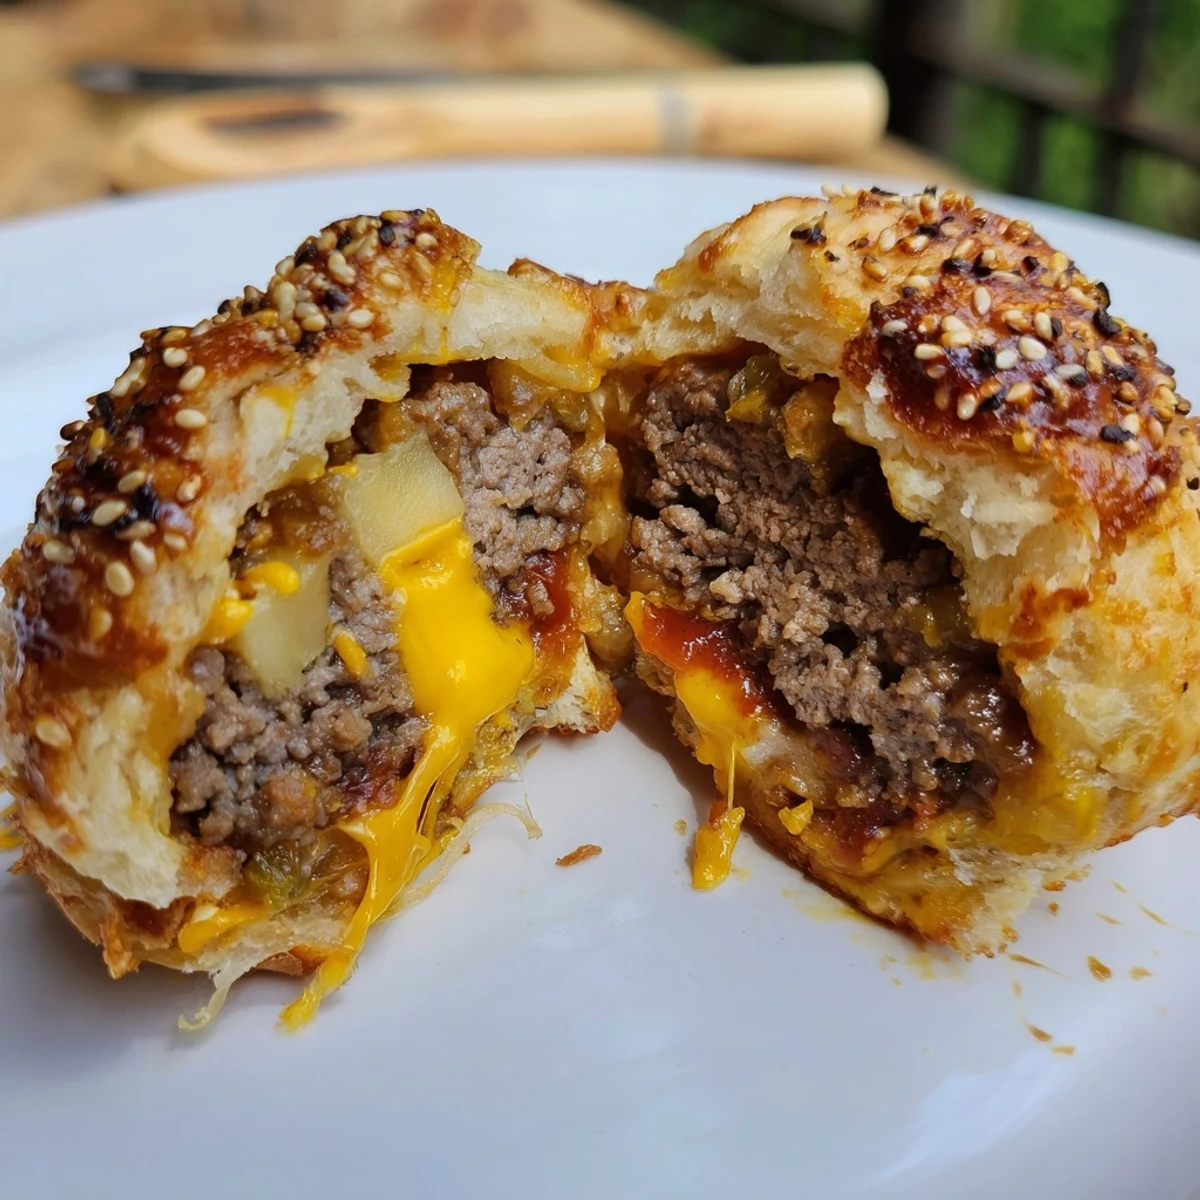
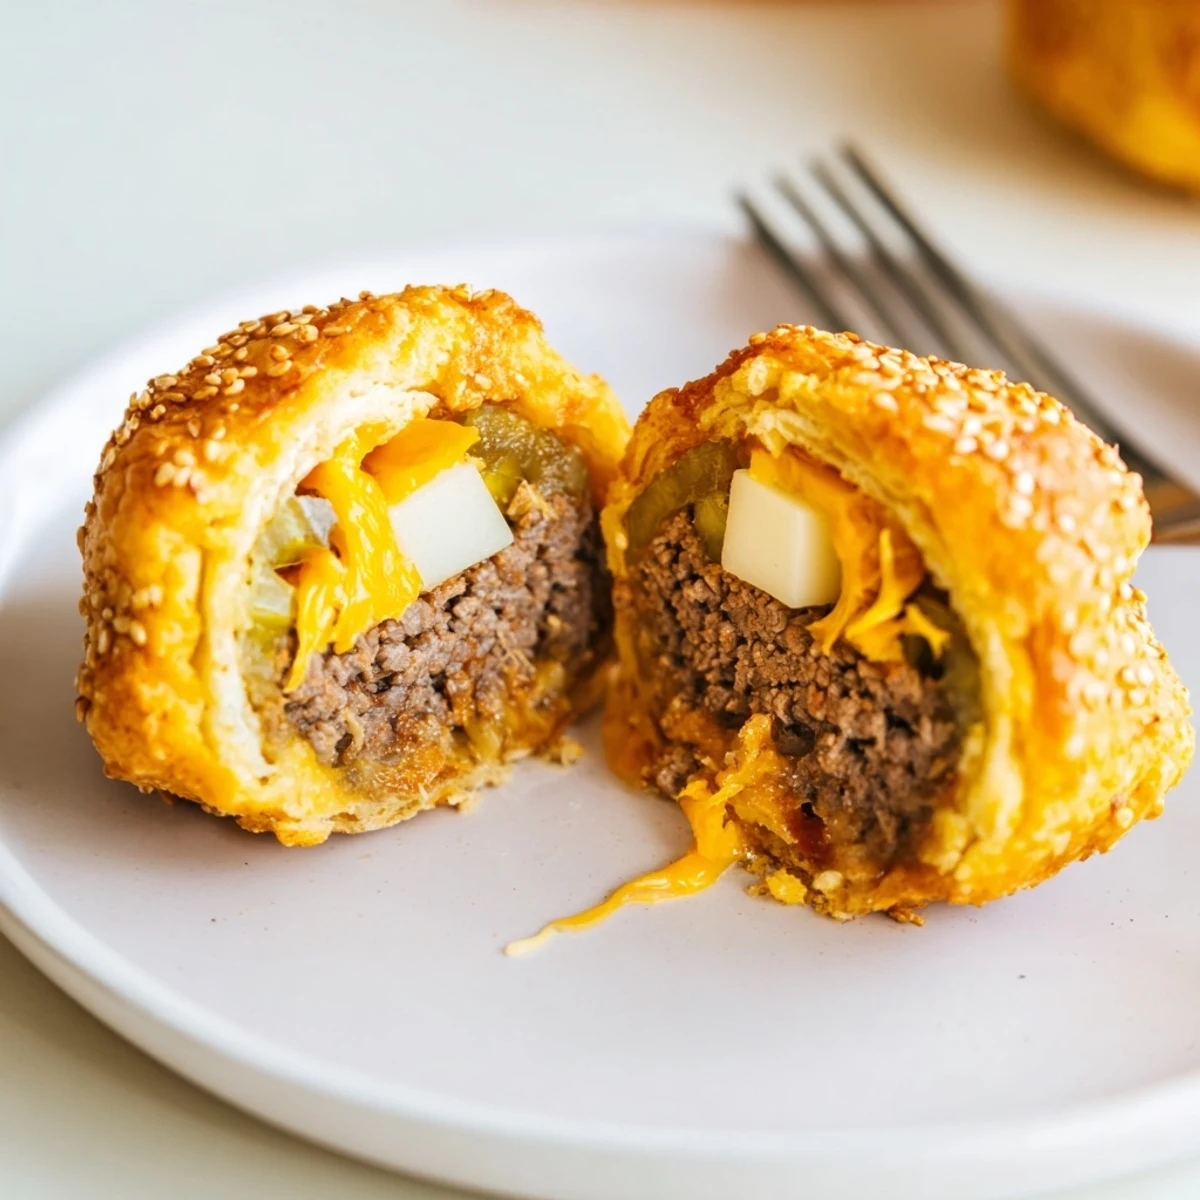
 Turn ground beef, sautéed onion and seasonings into bite-sized stuffed balls placed onto flattened biscuit rounds. Add shredded cheddar and a mozzarella cube, seal and brush with egg and sesame. Bake at 200°C (400°F) until golden, about 15–18 minutes. Makes 8 handheld, gooey bites with rich, melty centers — allow to cool briefly before serving with dipping sauces.
One chilly evening, the sound of rain tapping on my kitchen window inspired me to try something indulgently fun: cheesy cheeseburger bombs. The idea of wrapping all those classic burger flavors in a golden biscuit made me curious and a little giddy to see if the result would match my imagination. As the oven warmed up, the kitchen filled with savory smells, promising the kind of feast that makes you want to call everyone to the table. There&aposs just something exciting about food that&aposs meant to be pulled apart and shared.
The first time I made these, my friend and I stood over the counter, laughing as we tried (and mostly succeeded) to keep the cheese inside the dough. When they emerged golden and puffed from the oven, we barely waited for them to cool, dipping each one into a swirl of ketchup and mustard just like we did as kids. Nothing formal, just two people and a pan of cheesy goodness disappearing fast. That night, the kitchen felt like the heart of every summer cookout, no matter the weather outside.
Ingredients
- Ground beef: Using a fresh, lean cut means the flavors shine without excess grease – always drain the fat for the best texture.
- Shredded cheddar cheese: Shred it yourself for the meltiest pull inside each bomb; pre-shredded can work but often has less stretch.
- Mozzarella cubes: Tuck these in the center for that gooey explosion when you bite in – use slightly chilled cubes to keep them easy to handle.
- Onion: Sautéing until just translucent softens the sharpness, adding subtle sweetness to the filling.
- Pickle: A hidden gem for crunch and tang; even pickle skeptics have been converted after trying it.
- Refrigerated biscuit dough: This shortcut saves time, and the flaky biscuits create the perfect outer shell – flatten gently so they don&apost tear.
- Ketchup: Stirred into the beef, it brings classic burger nostalgia and just enough sweetness.
- Yellow mustard: Don&apost skip it; this is what really ties the beef filling together with a zesty, savory kick.
- Worcestershire sauce: Just a dash adds a deep, hearty note – learned this touch from a burger-loving uncle.
- Garlic powder: Adds warmth without overpowering the main flavors; just a sprinkle is plenty.
- Salt and black pepper: Essential for balance; taste as you go so nothing ends up bland.
- Egg (for egg wash): Brushing the tops gives that irresistible glossy finish and helps the sesame seeds stick.
- Sesame seeds: The final burger-like flourish; sprinkle while the egg wash is still wet so they stay put.
Instructions
- Get the oven ready:
- Set your oven to 200°C (400°F) and line a baking sheet with parchment paper – you&aposll thank yourself for the easy cleanup.
- Sauté and sizzle:
- Heat your skillet, add the diced onion, and let the sizzle fill the kitchen for a couple of minutes before tossing in the ground beef, garlic powder, salt, and pepper; cook until everything is browned and fragrant, then drain off any grease.
- Stir in the flavor:
- Mix ketchup, mustard, Worcestershire, and pickles into the beef mixture, letting the steam carry hints of burger-shop aroma; once all is glossy, turn off the heat and let it cool slightly so the cheese won&apost melt too soon.
- Shape the bombs:
- Gently flatten each biscuit dough round in your hand, scoop a tablespoon of beef filling into the center, dust it with cheddar, and perch a mozzarella cube on top – it might feel a bit messy, but that&aposs where the fun starts.
- Seal the deal:
- Pinch the edges around the filling, turning your mini burger mound into a tightly sealed dough ball; set it seam side down on the baking sheet so it holds its shape.
- Brush and sprinkle:
- Whisk your egg, brush it generously over each dough ball, and shower with sesame seeds for that bakery look; kids love helping with this part.
- Bake to golden perfection:
- Slide the tray into the oven and watch as they puff up and turn glossy brown in about 15-18 minutes.
- Let them linger:
- Rest the baked bombs for a few minutes; the anticipation is half the fun, and a brief wait keeps fingers from getting scorched.
 Save to Pinterest
 The best kitchen moment came when I brought out a plate of these bombs for a small birthday and saw everyone&aposs eyes light up. The delight was in the surprise – each person pulling apart a biscuit round to reveal a molten cheese center, laughter echoing around the table as the cheese stretched daringly long. That's when I realized food can be an instant party trick and comfort all at once.
How To Make Them Your Own
Depending on who's coming over, I've swapped cheddar for spicy pepper jack, or slipped in tiny bacon bits for extra savory depth. The best part about this recipe is how endlessly customizable it is, transforming with a simple tweak to fit just about anyone&aposs craving. My personal favorite discovery: adding diced jalapeños when I want a fiery kick.
Serving Suggestions That Steal The Show
Set these bombs out on a big board surrounded by little bowls of dipping sauces: classic ketchup, herby ranch, smoky chipotle mayo, and anything else you'd dip a burger in. They make a memorable centerpiece for game day or a cozy movie night snack. If you're feeling indulgent, pile them high with shoestring fries or serve as a quirky take on sliders with a crunchy salad on the side.
What I Wish I Knew Earlier
After several batches, I found the secret is not to over-stuff – it's tempting, but too much filling makes sealing harder and lessens that satisfying explosion of cheese. If you're running short on cheddar, don't worry: even a sprinkle does wonders because the mozzarella steals the show in the center.
- Wet your fingers slightly when pressing the biscuit edges for a tighter seal.
- Bake on the middle rack for even browning – the tops can get too dark if they're too high up.
- Leftover bombs reheat nicely in the oven – never the microwave, or the biscuit gets rubbery fast.
 Save to Pinterest
 Every time I pull a tray of these bubbly, golden bombs from the oven, there&aposs guaranteed excitement. Here&aposs to enjoying cheesy, hands-on bites that turn an ordinary night into something deliciously memorable.
Recipe Questions & Answers
- → How do I prevent soggy bottoms?
-
Drain excess fat from the cooked beef and avoid overfilling the dough. Space the bombs on a lined baking sheet and brush with egg wash to encourage browning. Baking on parchment or a lightly greased sheet helps crisp the base.
- → Can I prepare these ahead of time?
-
Yes. Assemble and refrigerate the sealed balls for up to 24 hours before baking. Chilled bombs hold their shape better and will need only a few extra minutes in the oven if straight from the fridge.
- → What's the best way to freeze them?
-
Freeze on a baking sheet until firm, then transfer to an airtight container. Bake from frozen at 200°C (400°F), adding about 5–8 minutes to the baking time, or thaw overnight and bake as usual.
- → What substitutions work for dough and cheeses?
-
Use crescent or pizza dough in place of biscuit rounds for a different texture. Swap cheddar for pepper jack for heat, or use smoked gouda for a deeper flavor. Mini mozzarella balls work instead of cubes for convenience.
- → How can I ensure the seams stay sealed?
-
Pinch the edges firmly and press to seal; a quick chill for 10–15 minutes helps the dough hold. Use a small amount of water or egg wash on the edges before sealing to improve adhesion.
- → What add-ins pair well with the filling?
-
Cooked bacon bits, diced pickles, caramelized onions or pickled jalapeño slices all complement the beef and cheese. Add sparingly to avoid overstuffing and ensure even baking.
