 Save to Pinterest
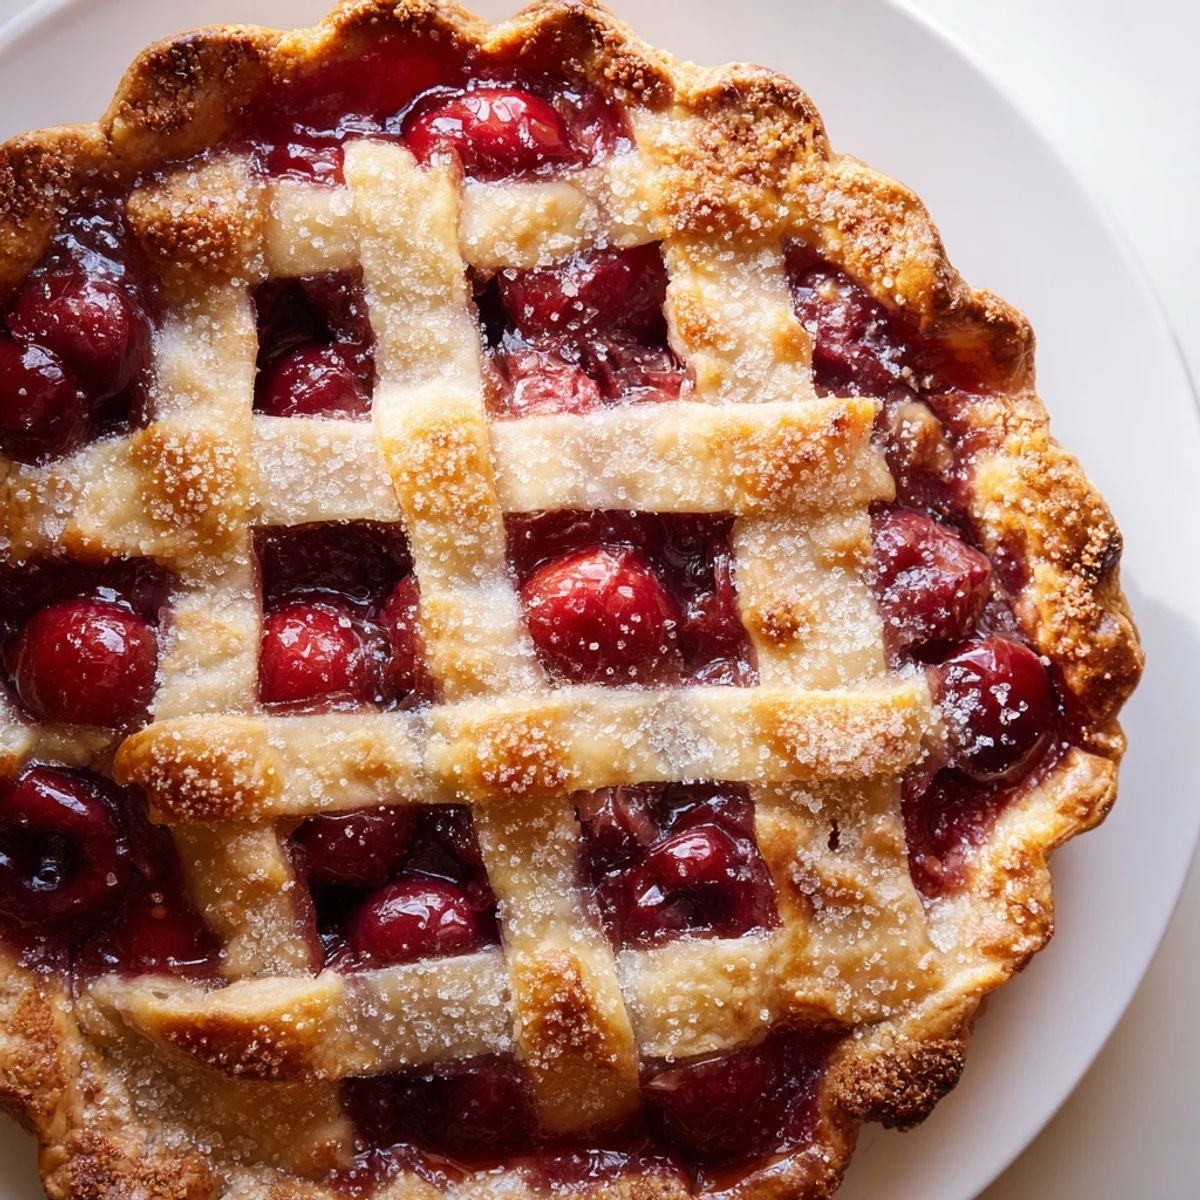
 This classic American dessert highlights fresh cherries bursting with flavor, nestled in a buttery, flaky lattice crust. The preparation involves crafting a tender pie dough that is chilled before rolling out, while the cherry filling balances sweetness with a hint of lemon and optional almond extract. The lattice crust is woven from dough strips, brushed with an egg wash, and sprinkled with coarse sugar for a sparkling finish. Baking begins at a higher temperature for a golden crust, then continues at a lower heat to ensure the filling thickens perfectly. Cooling for several hours allows the filling to set, resulting in a rich, vibrant slice ideal for gatherings.
The kitchen was already eighty degrees when I decided to bake my first cherry pie, back when I was foolish enough to turn on the oven during a July heatwave. Something about those tart red jewels at the farmers market made me ignore common sense entirely. Sweat beaded on my forehead as I wove that first clumsy lattice, determined to get it right even as the ceiling fan spun lazily above.
I served that slightly lopsided pie at a neighborhood potluck later that evening, still warm from the oven. Everyone forgave the uneven weaving the moment they tasted what was underneath. The woman next door asked for the recipe before shed even finished her first slice.
Ingredients
- All-purpose flour: The backbone of any good pie dough, providing structure without stealing the show
- Cold unsalted butter: Keep it chilled and work quickly, those little butter pockets create flaky magic in the oven
- Ice water: The secret ingredient that brings everything together without making the dough tough
- Fresh or frozen cherries: Pitted and ready to spill their juices into every bite
- Granulated sugar: Sweetens the deal while letting the cherries natural tang shine through
- Cornstarch: Thickens all those cherry juices so you get neat slices instead of a runny mess
- Lemon juice: Brightens everything and highlights the cherries best qualities
- Almond extract: Optional but deeply lovely, echoing the subtle almond notes in cherry pits
- Egg and milk: For that golden professional finish that makes people think you know what youre doing
- Coarse sugar: Sparkle on top like edible confetti, adds crunch and sweetness
Instructions
- Make the dough foundation:
- Whisk together your flour, sugar, and salt in a large bowl, then cut in that cold butter until you see coarse crumbs with some pea-sized bits remaining
- Bring it together:
- Sprinkle in ice water one tablespoon at a time, mixing gently until the dough just holds together when squeezed
- Rest and chill:
- Divide dough in half, form into disks, wrap tightly, and let them rest in the refrigerator for at least an hour
- Prepare the filling:
- Toss cherries with sugar, cornstarch, lemon juice, almond extract if using, and salt until everything is evenly coated
- Roll bottom crust:
- On a floured surface, roll one dough disk to fit your pie dish, then carefully transfer and press into place
- Add cherry filling:
- Pour all those coated cherries into the prepared bottom crust, mounding slightly in the center
- Prepare lattice strips:
- Roll remaining dough and cut into strips about half an inch wide, aiming for 10 to 12 even pieces
- Weave the lattice:
- Lay half your strips parallel across the pie, then fold back alternating strips to weave perpendicular strips through
- Finish the edges:
- Trim overhang, crimp edges to seal everything tight, and brush with egg wash mixed with milk
- Add sparkle:
- Sprinkle coarse sugar generously over the entire top for that bakery worthy finish
- Bake to perfection:
- Start at 400 degrees for twenty minutes, then reduce to 350 and bake until golden and bubbling
- Patience pays off:
- Let the pie cool completely for at least three hours so the filling sets properly
 Save to Pinterest
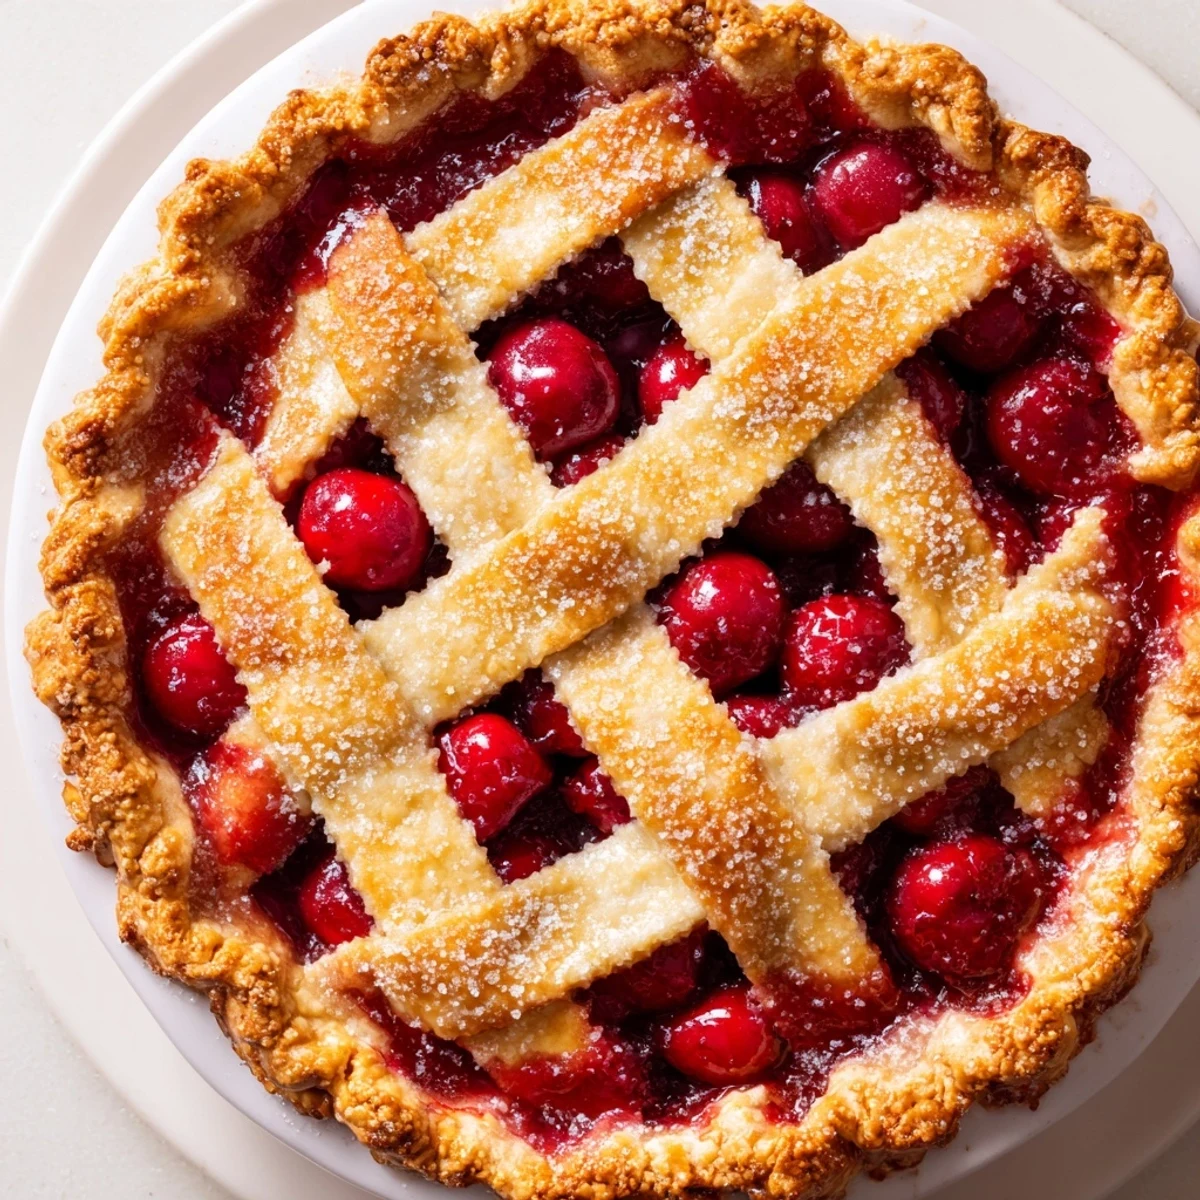
 Years later I still think about that first imperfect pie every summer when cherry season arrives. The lattice is neater now, but that reckless joy of baking in a hot kitchen never quite faded.
Temperature Matters
Warm dough becomes tough dough, so work in a cool kitchen and pop everything back in the fridge if it starts feeling soft or sticky. Those butter flecks need to stay cold until they hit the oven heat.
The Weaving Secret
Start with an odd number of strips for easier weaving, and dont stress about perfect spacing. The pie will taste incredible even if your lattice looks like a beginner tried their best.
Make It Ahead
The dough can be made up to three days ahead and kept wrapped in the refrigerator, or frozen for up to three months. You can even assemble the whole pie and freeze it unbaked, adding ten extra minutes to the baking time when ready.
- Freeze extra dough scraps for lattice repairs or mini hand pies
- Place a baking sheet on the rack below to catch any sugary drips
- Tent loosely with foil if the crust browns too quickly
 Save to Pinterest
 There is something deeply satisfying about sliding a cherry pie out of the oven, golden and bubbling, knowing exactly what joy it will bring to the table.
Recipe Questions & Answers
- → How do I make a flaky lattice crust?
-
Use cold, cubed butter combined with flour and sugar to form coarse crumbs. Gradually add ice water until dough forms. Chill before rolling and weave strips to create the lattice.
- → Can I use frozen cherries for the filling?
-
Yes, frozen cherries work well and should be added without thawing to maintain filling consistency and flavor.
- → What is the purpose of the egg wash on the lattice?
-
The egg wash gives the lattice a glossy, golden finish and helps coarse sugar adhere for added texture and sparkle.
- → How long should I let the pie cool before serving?
-
Let the pie cool for at least three hours so the filling thickens and slices cleanly.
- → Can I add spices to the cherry filling?
-
Adding a pinch of ground cinnamon enhances the cherry flavor with a warm, spicy note.
