 Save to Pinterest
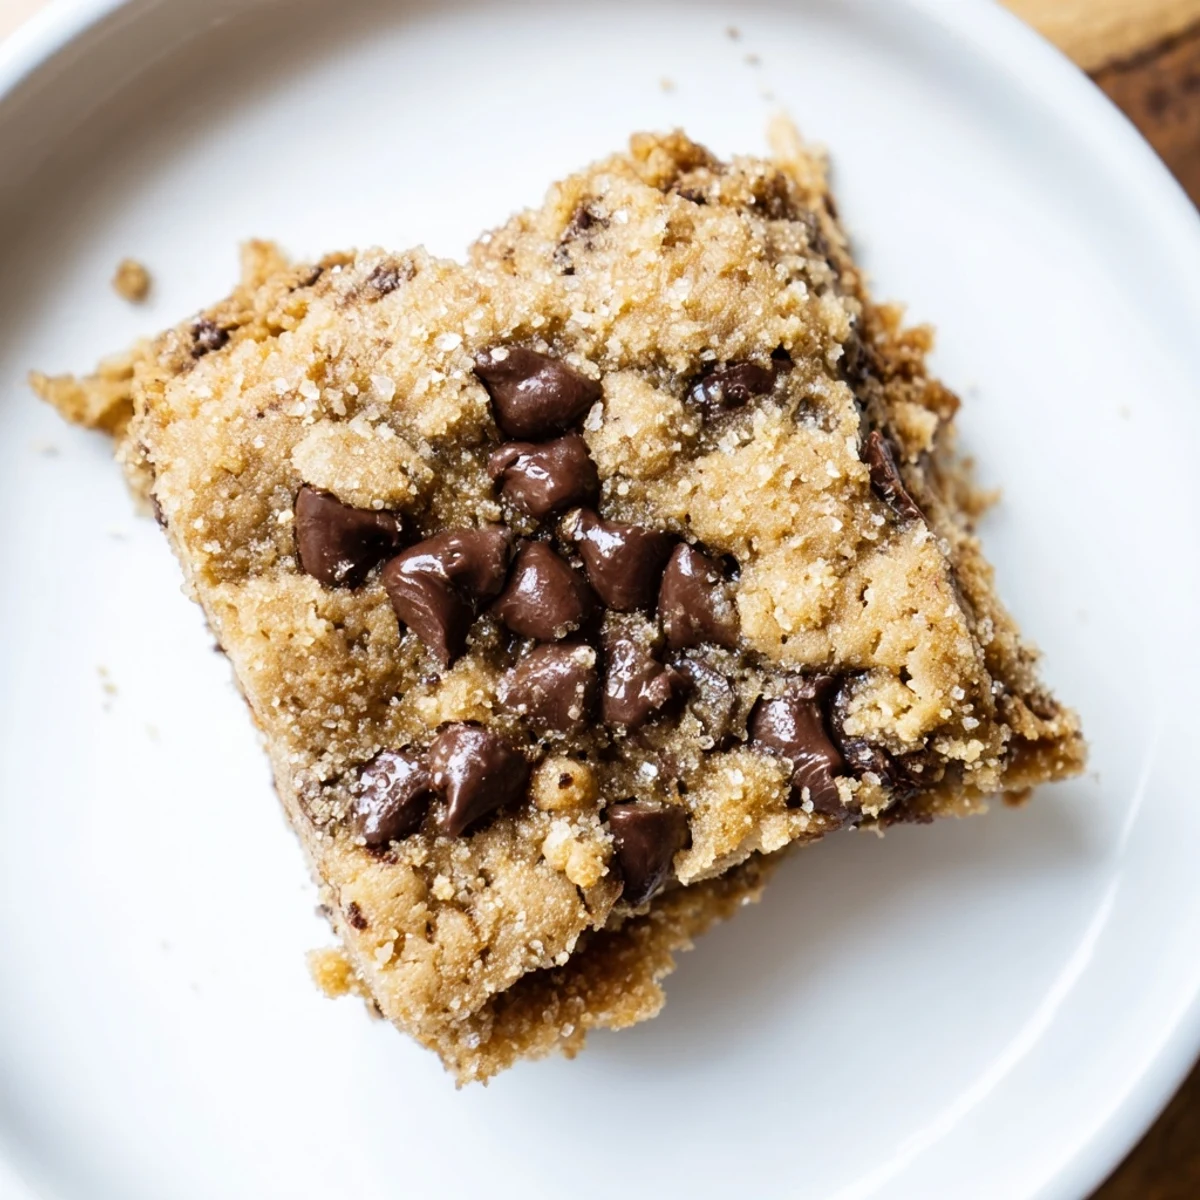
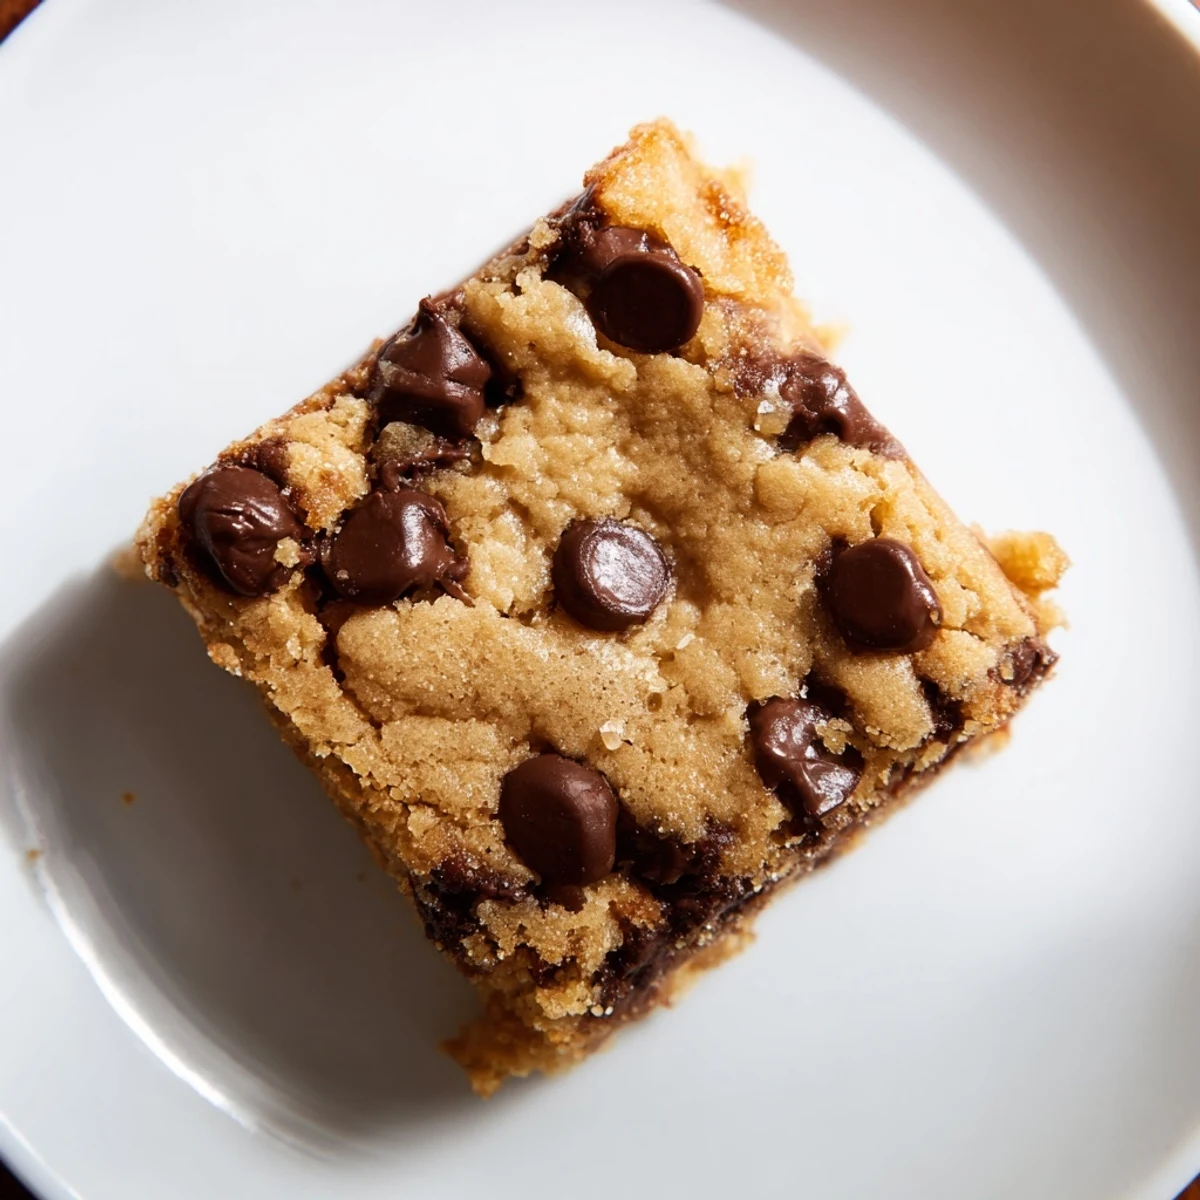
 These soft, chewy bars combine the rich flavor of melty semisweet chocolate chips with a tender, buttery base. Blending brown and granulated sugars creates a creamy texture that keeps the bars moist. Prepared in one pan and baked until golden edges form, they deliver a perfect balance of softness and slight chewiness. Flaky sea salt enhances the sweetness, and the bars can be customized with different chocolate varieties or nuts. Ideal for sharing and storing at room temperature, they offer a quick, crowd-pleasing treat.
My sister called me on a Tuesday afternoon, frustrated because she'd promised to bring dessert to a potluck and completely forgotten. I had forty minutes and a pantry full of butter. Instead of reaching for my usual cookie dough, I grabbed a baking pan and decided to try something different—bars instead of individual cookies, all made in one place, no fussy shaping required. The moment I pulled them out golden and still slightly soft in the center, I understood why this method had been hiding in plain sight the whole time.
I brought those bars to that potluck and watched them disappear within twenty minutes, which should have been my first clue. Since then, I've made them for bake sales, office parties, and lazy Sunday afternoons when I just wanted something chocolate in my life but couldn't be bothered with precision. My neighbor started requesting them for book club, and now there's an unspoken agreement that if I'm bringing dessert, it's these bars.
Ingredients
- All-purpose flour (2 1/4 cups): This is your structural backbone—don't sift it unless you enjoy dense bars, just spoon and level for consistent results.
- Unsalted butter, melted (1 cup): Melted butter creates that tender crumb; if it's too hot when you add the sugar, you'll get a slightly grainier texture, which honestly isn't bad, just different.
- Packed light brown sugar (1 cup) and granulated sugar (1/2 cup): The brown sugar brings molasses depth and chewiness, while the granulated sugar keeps things from being too dense.
- Eggs (2 large): They bind everything and add gentle lift; cold eggs from the fridge work fine, no need to temper them.
- Pure vanilla extract (2 teaspoons): Real vanilla matters here because there's nowhere to hide in this simple recipe—the good stuff makes a noticeable difference.
- Baking soda (1 teaspoon) and salt (1/2 teaspoon): Baking soda helps the bars brown and spread just enough, while salt amplifies every other flavor without tasting salty.
- Semisweet chocolate chips (2 cups): Use chips you actually enjoy eating on their own; they're the main event, not a supporting player.
Instructions
- Set your oven and pan:
- Preheat to 350°F and line a 9x13-inch pan with parchment paper (it saves your life when it's time to clean). If you don't have parchment, a light grease works, just won't be as easy to remove.
- Combine dry ingredients:
- Whisk flour, baking soda, and salt together in a medium bowl and set it aside—this keeps lumps out and distributes the leavening evenly. It looks like a small step until you skip it and end up with dense spots.
- Mix the wet base:
- In your largest bowl, whisk together the melted butter and both sugars until smooth and creamy. The mixture should look like wet sand at first, then come together as you whisk.
- Add eggs and vanilla:
- Whisk in the eggs and vanilla until fully combined and slightly pale—this takes about a minute of actual whisking. Don't be lazy here; proper mixing means the eggs are truly incorporated.
- Fold in the flour:
- This is where patience matters: add the dry ingredients and fold gently with a spatula until just combined. Overmixing develops gluten and makes bars tough, so stop the moment you don't see white flour streaks anymore.
- Stir in chocolate chips:
- Fold the chocolate chips evenly throughout the dough with a final few gentle folds. Some clumping is fine; you're looking for distributed happiness.
- Spread and bake:
- Pour the dough into your prepared pan and smooth the top with your spatula or the back of a spoon. Bake for 22-25 minutes—the edges should be golden and the center just barely set, almost wobbling if you shake the pan gently. Pull them out when there's still a tiny bit of give in the middle; they firm up as they cool and you want them chewy, not cakey.
- Cool completely:
- Leave them in the pan on the counter for at least an hour before cutting—this lets them set properly so your squares don't fall apart. I know it's torture, but it's worth the wait.
 Save to Pinterest
 I remember my kid coming home from school, hungry and grumpy, and the smell of these bars cooling on the counter changed the entire afternoon. It's one of those quiet moments where food becomes permission to slow down together.
Why One Pan Changes Everything
Bars are the introvert's dessert—you bake one large thing instead of managing dozens of separate cookies. There's no cookie sheet rotations, no timing anxiety about some cookies browning while others don't, no standing at the oven door wondering if you should keep baking. You mix, you pour, you walk away for twenty-five minutes. The math is simpler, the cleanup is gentler, and the results are more forgiving than you'd expect.
Texture: The Art of Knowing When They're Done
The difference between a perfect chewy bar and an overbaked one is about two minutes. Set a timer for twenty-two minutes and start checking—you're looking for edges that are visibly golden and a center that jiggles just slightly when you move the pan. If you use a toothpick, it should have a few fudgy crumbs clinging to it, not come out clean. This takes practice and trust, but once you nail it, you'll recognize that perfect moment every time.
Variations That Actually Work
These bars are a canvas if you want them to be, though honestly, perfect chocolate chip bars need no apology. But if you're experimenting, I've learned what sticks and what falls flat.
- Flaky sea salt sprinkled on top before baking adds contrast and makes the chocolate taste deeper—this is the one upgrade that transformed how people responded to them.
- Swap a quarter of the semisweet chips for dark chocolate or white chocolate, but don't go beyond that ratio or you lose the balanced flavor.
- Chopped nuts (walnuts, pecans, or almonds) work if you stir them in with the chips, roughly one cup total, but some people have strong feelings about texture, so know your audience.
 Save to Pinterest
 These bars became my answer to a dozen different moments: the last-minute event, the craving that needs honest chocolate, the time someone asks you to bring dessert and you want to seem effortless. They're simple enough that making them doesn't feel like work, but good enough that people remember them.
Recipe Questions & Answers
- → What ingredients contribute to the chewy texture?
-
The combination of brown sugar and melted butter helps create a moist, chewy texture in these bars.
- → Can I substitute the semisweet chips?
-
Yes, milk or dark chocolate chips can be used instead, and chopped nuts may be added for extra flavor and texture.
- → How do I prevent the bars from overbaking?
-
Bake until the edges turn golden and the center is just set; the bars will firm up more while cooling.
- → Is parchment paper necessary for baking?
-
Parchment paper helps with easy removal and cleanup, but greasing the pan lightly also works well.
- → How should the bars be stored?
-
Store in an airtight container at room temperature for up to five days to maintain freshness.
