 Save to Pinterest
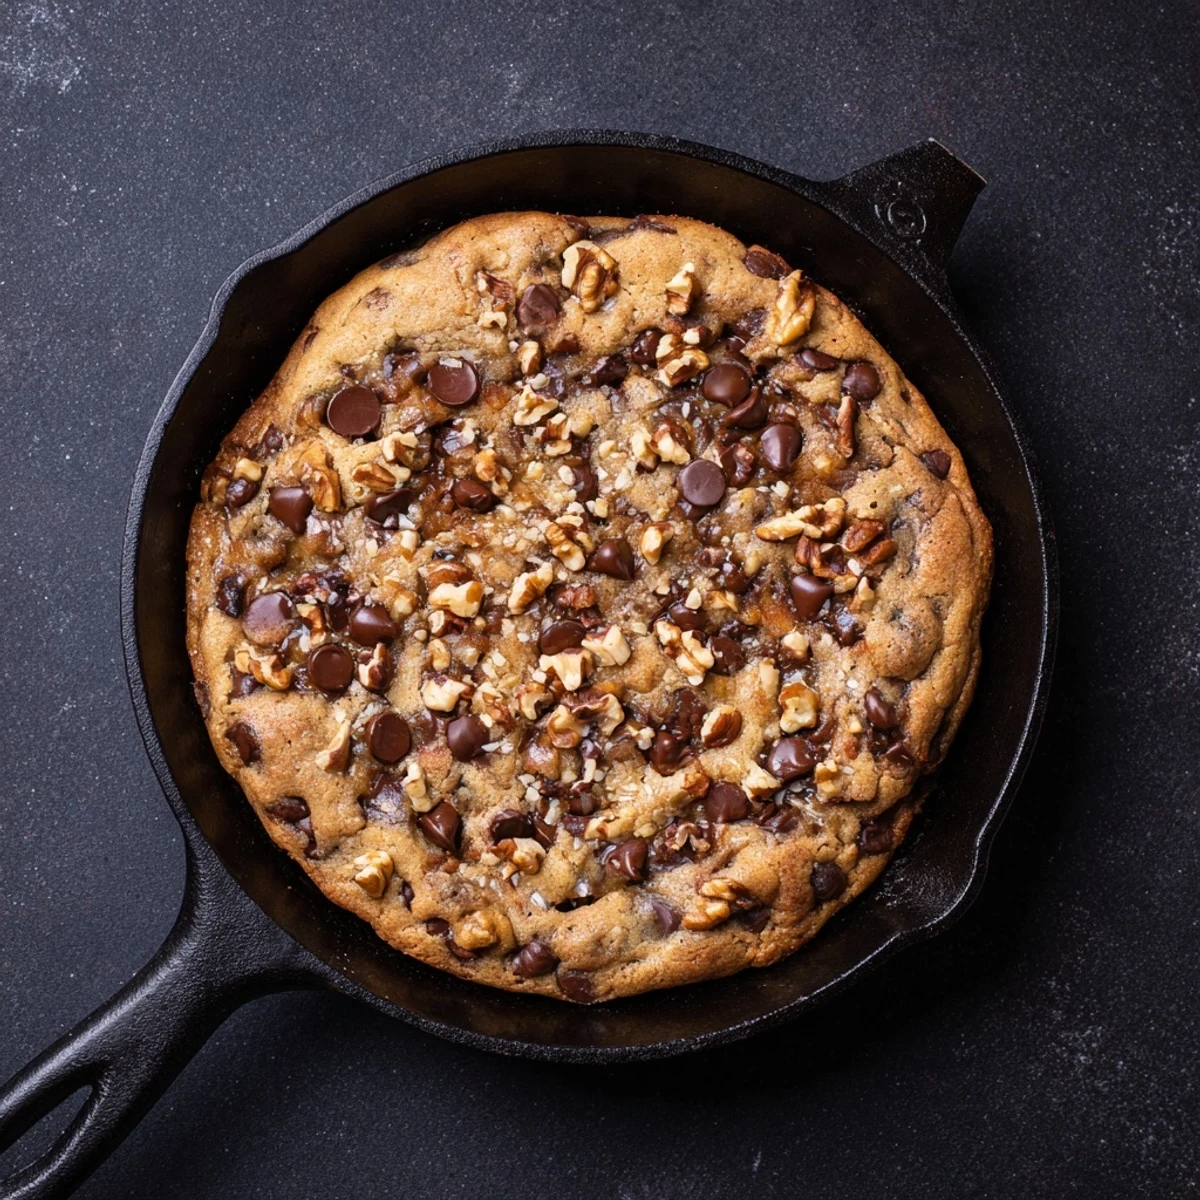
 This warm chocolate chip delight is baked directly in a skillet for a rustic touch. The edges turn crisp while the center remains soft and gooey, creating a perfect balance of textures. Using simple ingredients like melted butter, vanilla, and semisweet chocolate chips, this dessert comes together quickly and serves well warm, optionally topped with ice cream for extra indulgence. Baking times can be adjusted for a chewier or crispier finish, and nuts can be added or omitted to suit preferences.
I still remember the first time I made a chocolate chip cookie in a skillet instead of on a baking sheet. It was a rainy Sunday afternoon, and I'd just inherited my grandmother's cast iron pan. I wanted to honor that pan with something special, something that would let it shine. That's when I realized—why not bake an entire cookie all at once? The result was magical: crispy, caramelized edges giving way to a warm, gooey center that you could literally scoop straight from the pan. It became my go-to dessert when I wanted to feel like I'd done something extraordinary in the kitchen, even though it takes barely longer than the regular kind.
The first time I served this skillet cookie to friends, I pulled it right from the oven, grabbed a few spoons, and set it down in the middle of the table. Everyone stopped talking. We all just sat there, passing spoons around, watching the ice cream melt into the warm dough. That moment taught me that the best desserts aren't always the fanciest ones—they're the ones that bring people together and make everyone feel at home.
Ingredients
- All-purpose flour (1 1/2 cups): This is your structure—it gives the cookie its body and helps create those crispy edges we're after. Don't sift it unless you love being extra; a quick stir in the bag and a scoop does the job perfectly fine.
- Baking soda (1/2 teaspoon): The unsung hero that makes the edges spread and caramelize. It's what gives you that contrast between crispy and chewy.
- Salt (1/2 teaspoon): This might seem like a tiny amount, but it wakes up the chocolate and balances all that sweetness in a way that makes people say, 'What is that flavor?'
- Unsalted butter (1/2 cup, melted and slightly cooled): Room temperature butter makes cookies spread, but melted butter creates that fudgy, brownie-like texture in the center. Let it cool just a touch so you don't scramble the egg when you add it.
- Granulated sugar (1/2 cup): This is what gives you spread and crispness at the edges. Brown sugar alone would give you a cake-like cookie, so we need this balance.
- Brown sugar (1/2 cup, packed): This is the secret to chewiness and depth of flavor. Pack it down when measuring—those pockets of molasses matter.
- Egg (1 large): Your binder, but also your leavening agent. It helps the cookie puff up just slightly in the oven, then settle into that perfect texture.
- Vanilla extract (2 teaspoons): Use the real stuff if you can. It adds a warmth and complexity that makes people wonder what they're tasting.
- Semisweet chocolate chips (1 cup): The main event. Semisweet has just enough sweetness to let the chocolate flavor shine through—it's the Goldilocks of chocolate chips.
- Walnuts or pecans (1/2 cup, chopped, optional): Nuts add a textural contrast and a subtle earthiness. But honestly, skip them if you're feeding anyone with allergies, or double down on chocolate chips instead.
Instructions
- Get your skillet ready:
- Preheat your oven to 350°F (175°C). Grab a 10-inch ovenproof skillet—cast iron is ideal because it conducts heat beautifully and gives you those caramelized edges—and give it a light grease. You want it slick enough that the cookie releases easily, but not dripping.
- Build your dry foundation:
- In a medium bowl, whisk together your flour, baking soda, and salt. This isn't just mixing; you're aerating the flour and distributing the leavening evenly. Take 30 seconds to really whisk it. It makes a difference.
- Create your sweet base:
- Pour your slightly cooled melted butter into a large bowl, then add both sugars. Whisk this together until it's smooth and unified—you want the brown sugar's molasses completely incorporated, not sitting in little pockets. This takes about a minute of whisking.
- Wake it up with the egg:
- Crack in your egg and add the vanilla extract. Whisk until everything is fully combined and the mixture is smooth and pale. This is where the magic of emulsification happens—the egg is bringing the butter and sugars together into something silky.
- Bring dry and wet together:
- Pour your dry ingredients into the wet mixture and stir gently with a spatula until you see no more streaks of flour. Don't overmix—you want everything just combined. Overmixing develops gluten, which makes cookies tough, and we want tender here.
- Fold in the chocolate:
- Gently fold in your chocolate chips and nuts (if you're using them). This isn't aggressive stirring; think of it as tucking them into the dough. You're protecting the cookie's tender structure.
- Spread into your skillet:
- Transfer all your dough into the prepared skillet and spread it gently and evenly with a spatula. You want an even layer so it bakes uniformly. Take a moment to admire how it fills that beautiful pan.
- Bake to golden perfection:
- Bake for 22 to 25 minutes. You're looking for a golden-brown top and edges that are set and pulling away from the skillet slightly, but here's the key: the very center should still jiggle just a tiny bit when you give the pan a gentle shake. That's where the magic lives—that soft, almost underbaked center.
- Let it rest and settle:
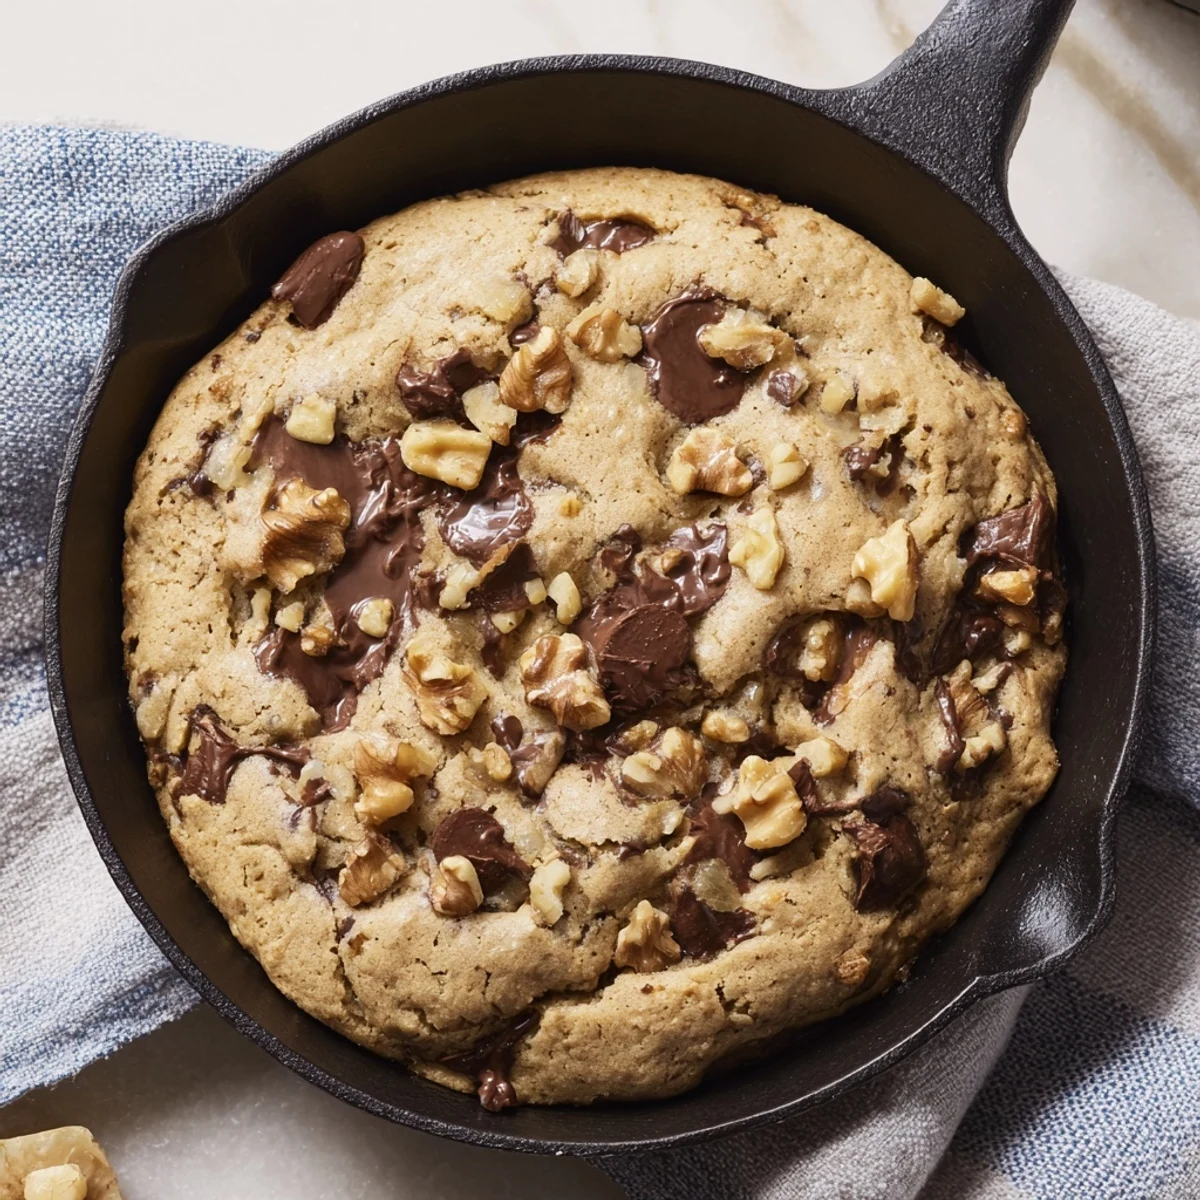
- Pull it from the oven and let it cool in the skillet for 5 minutes. This is important. It's still cooking slightly from residual heat, and the dough is setting just enough to hold together but still remain tender. Then serve it warm, right from the skillet, optionally with a scoop of vanilla ice cream melting into those warm crevices.
 Save to Pinterest
 I learned the importance of that 5-minute rest period the hard way. Once, I was so eager to dive in that I cut into it immediately. It fell apart into delicious rubble. My friends didn't mind—they ate it with spoons—but I realized in that moment that patience, even just five minutes, is part of the recipe. It's the difference between something good and something memorable.
Choosing Your Chocolate
The chocolate chips you choose matter more than you might think. Semisweet gives you that classic chocolate chip cookie flavor—not too sweet, with enough cocoa to taste like real chocolate. But here's where you can have fun: if you love dark chocolate, swap in dark chocolate chips. If you want it sweeter and more indulgent, go with milk chocolate. I've even done a combination of both. The only rule is that you actually like eating the chocolate on its own, because that's all your guests will be tasting in every bite.
The Nut Question
I used to think chocolate chip cookies needed nuts. Then I made a batch without them for a friend with a walnut allergy, and I was shocked at how pure and focused the chocolate flavor became. Now I make them both ways. Nuts add a wonderful textural contrast and an earthy complexity, but they're absolutely not required. If you're cooking for a crowd with mixed allergies, extra chocolate chips are always a welcome substitute. Toast them lightly first if you want to deepen their flavor—just 2 minutes in a dry skillet and they go from good to incredible.
Timing and Temperature
Here's what I've learned about the baking time: if you like your cookies on the chewier side, go for 22 minutes. If you prefer crispier edges but still want a soft center, push it to 25 minutes. Anything longer and you're making a cake. Anything shorter and the center might be too loose to hold together when you first pull it out. Every oven is different, so watch yours the first time. The second time, you'll know exactly what you're looking for.
- A 350°F oven is the sweet spot—hot enough to create those beautiful caramelized edges, but not so hot that the outside burns before the center sets.
- If your oven runs hot (and many do), you might be done at 20 minutes, so start checking at 20 and adjust from there.
- Room temperature eggs mix more easily into your batter, so take them out of the fridge while you're doing everything else.
 Save to Pinterest
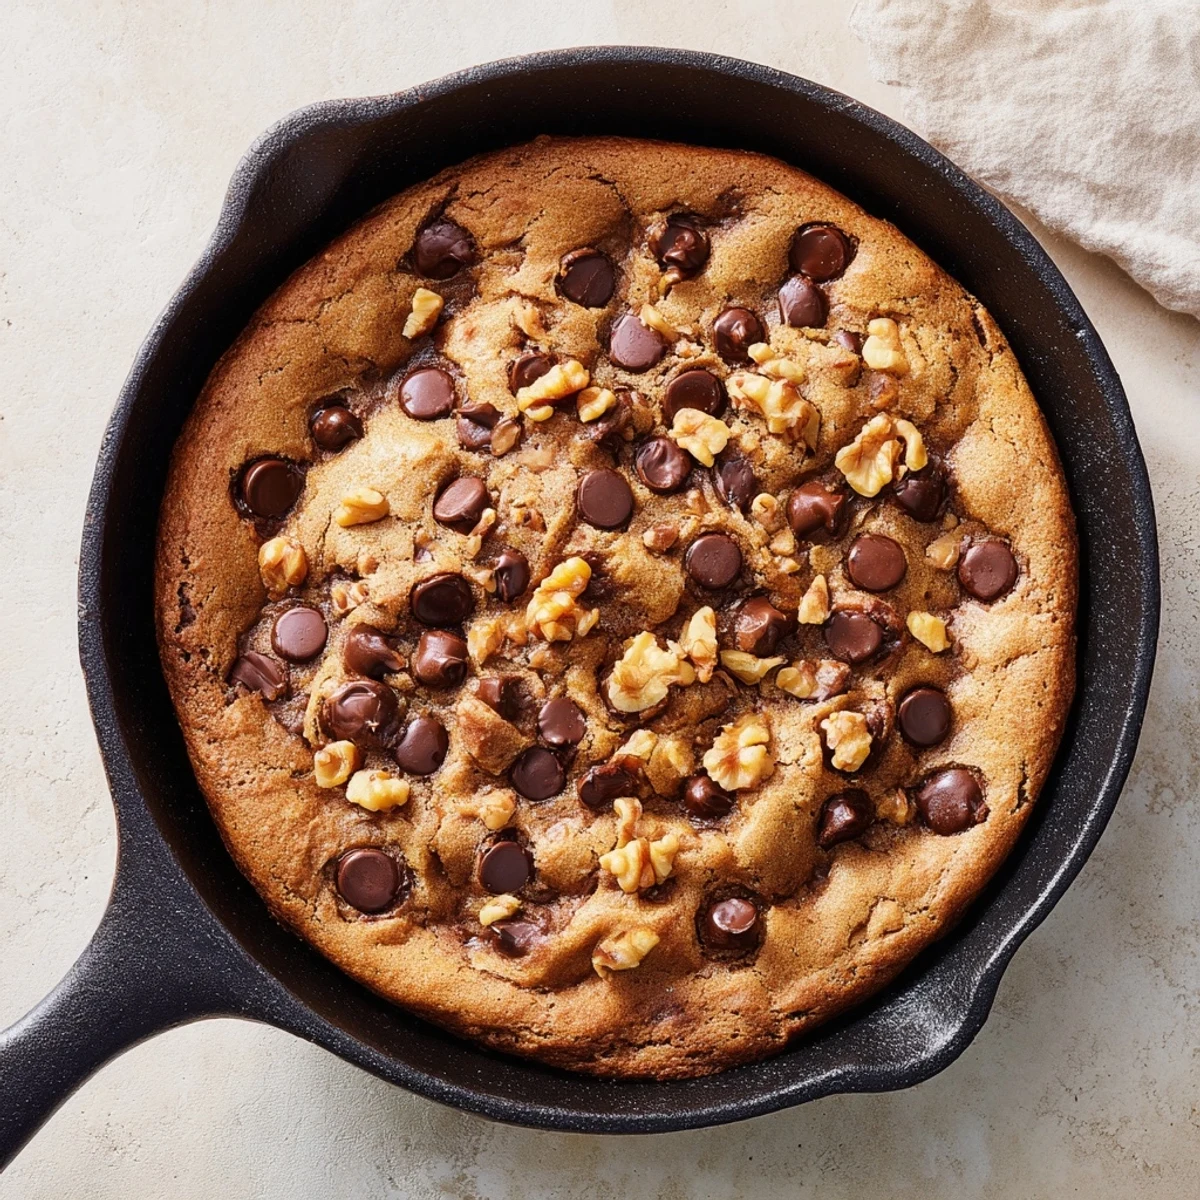
 Serve this skillet cookie warm, straight from the pan, and watch how people's faces light up. It's not fancy, but it's genuine and generous, and that's what makes it truly special.
Recipe Questions & Answers
- → How can I achieve crisp edges and a soft center?
-
Bake the treat for 22-25 minutes; shorter bake times keep the center soft and gooey, while longer times yield crispier edges.
- → Can I substitute nuts in this dish?
-
Yes, nuts can be swapped for extra chocolate chips or omitted entirely to accommodate allergies or preferences.
- → What type of skillet works best for baking?
-
A 10-inch cast iron skillet is ideal for even heat distribution and a rustic presentation.
- → Is it necessary to let it cool before serving?
-
Letting it cool for about 5 minutes helps set the edges while keeping the center soft and warm for the best experience.
- → Can this dish be made vegan or dairy-free?
-
Substitutions like plant-based butter and egg replacers can be used, but adjustments may affect texture and flavor.
