 Save to Pinterest
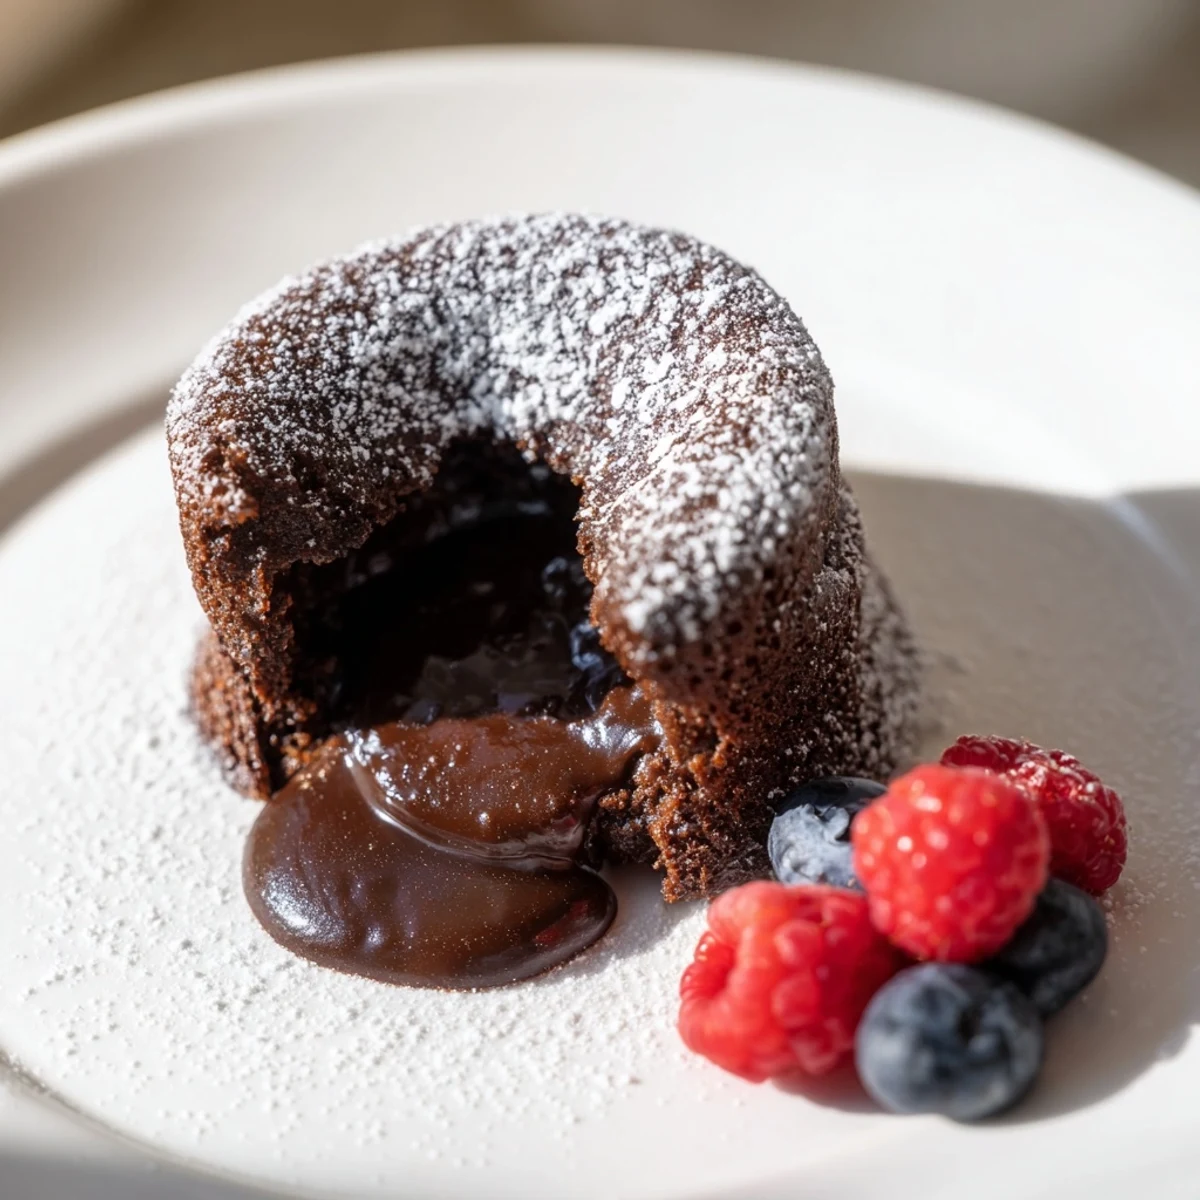
 This indulgent chocolate dessert features a tender cake shell enveloping a warm, gooey molten center crafted from bittersweet chocolate and butter. Quick to prepare and baking swiftly to perfection, it’s perfect for showcasing the interplay of textures and rich cocoa flavor. Lightly dusted with powdered sugar and optionally paired with fresh berries or creamy vanilla, it offers a luxurious finish that’s both elegant and satisfying.
There's something almost magical about the first time you make a chocolate lava cake at home. I remember the moment I decided to attempt this restaurant-classic dessert, thinking there's no way I could nail that molten center without years of culinary training. But then it happened—that perfect moment when the cake came out of the oven, the knife slid through the edges, and golden chocolate sauce pooled onto the plate. That's when I knew this was the recipe I'd make again and again, whenever I needed to impress someone or simply remind myself that a little kitchen magic is always possible.
I'll never forget the evening unexpected dinner guests arrived, and I had just an hour to pull together dessert. I'd been saving this recipe, waiting for the right moment. As I inverted those ramekins and watched the chocolate cascade out, my guests' faces lit up in a way that made me feel like I'd just performed actual magic in my kitchen. It became the dessert I reached for whenever I needed to create a moment, not just satisfy a craving.
Ingredients
- Bittersweet chocolate (60–70% cocoa), chopped: This percentage gives you that sophisticated, not-too-sweet depth that separates a good lava cake from a great one. I always chop mine fairly fine so it melts smoothly and evenly when combined with the butter.
- Unsalted butter, plus extra for greasing: The extra butter for the ramekins is essential—skimp here and your cake will stick and the magic is lost. I use a pastry brush to get every corner coated.
- Granulated sugar: This gets whisked with the eggs until pale and thick, which incorporates air that makes the cake tender.
- All-purpose flour: Just enough to give structure without making it dense. The light hand you use when folding this in makes the difference.
- Salt: A humble pinch, but it deepens the chocolate flavor in ways you won't notice until it's gone.
- Large eggs and egg yolks: The extra yolks are the secret to that rich, custard-like center. Room temperature eggs whisk to their full potential.
- Powdered sugar, fresh berries, vanilla ice cream or whipped cream: For serving, these are optional but they transform the plate from dessert to an experience.
Instructions
- Get Everything Ready:
- Preheat your oven to 220°C (425°F)—that high heat is crucial for setting the edges while keeping the center molten. While it's heating, butter those ramekins generously, then dust them lightly with flour and tap out the excess. This step feels tedious but it's what stands between your perfect cake and a sticky mess.
- The Magic of Melting:
- Place your chopped chocolate and butter in a heatproof bowl set over simmering water, stirring as it softens. You want a smooth, glossy mixture. Don't let the bowl touch the water—slow and gentle melting prevents any burnt edges that could bitter your dessert. Once it's silky, remove from heat and let it cool slightly while you move to the next step.
- The Whisking Part:
- In another bowl, whisk together your eggs, egg yolks, and sugar. Keep going until it's pale and thick, about 2 minutes. This is where you're incorporating air—listen for the whisk hitting the bottom of the bowl and watch for the color transformation. It's mesmerizing.
- Bringing It Together:
- Slowly pour the cooled chocolate mixture into the egg mixture while whisking gently. You're folding them together, not aggressively stirring—the goal is to combine without deflating that precious air you just whipped in.
- The Gentle Fold:
- Sift the flour and salt over the mixture, then fold it in with a spatula until just barely combined. Some small streaks of flour visible is perfect. Overmixing at this stage creates toughness, and we want tender and velvety.
- Filling and Baking:
- Divide the batter evenly among your prepared ramekins—you want them about three-quarters full. Place them on a baking sheet and slide into your preheated oven. Set a timer for 10–12 minutes. You're looking for edges that are set and slightly pulling from the ramekin sides, but a center that still jiggles ever so slightly when you gently shake the tray.
- The Grand Finale:
- Remove from the oven and let cool for exactly 1 minute—not more, or the center will set too much. Run a thin knife around the edges of each ramekin to loosen, then carefully invert each one onto a waiting dessert plate. The cake should slide out like it's been waiting for this moment. If you're plating it beautifully, dust with powdered sugar and add berries or a scoop of ice cream right away, while it's still warm.
 Save to Pinterest
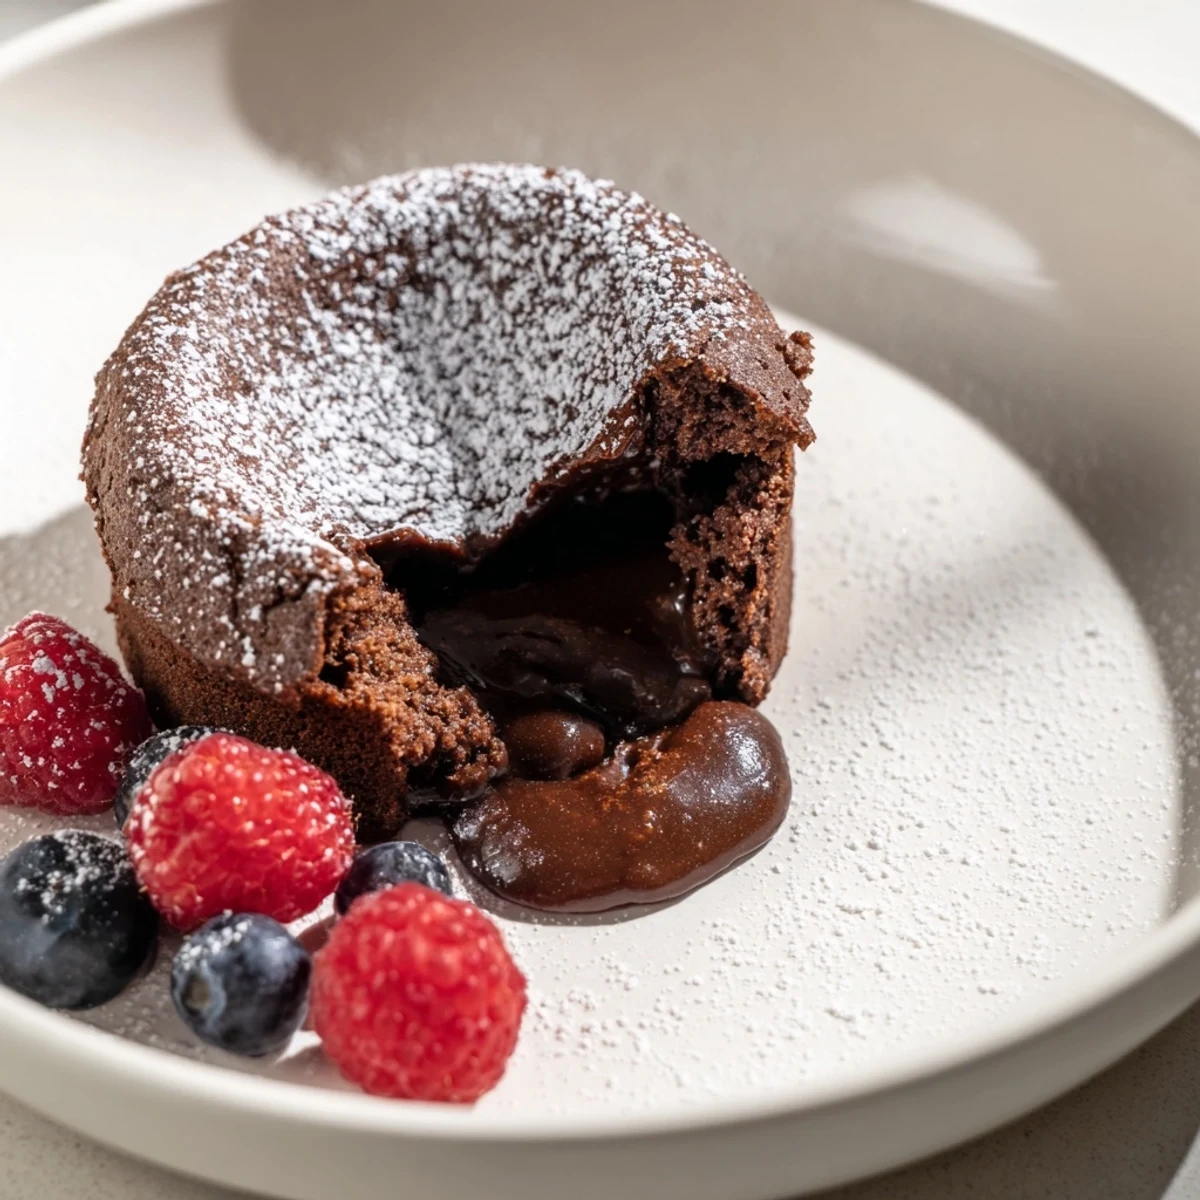
 This is the dessert that turned me into someone who invites people over more often. There's something about serving something so elegant that tastes impossible to make—it becomes a story you tell, a moment people remember, a reason they want to come back to your table.
Keeping It Fresh
If you're thinking ahead, the unfilled ramekins can hang out in your refrigerator for a full day before baking. Just remember to let them come back to room temperature—about 15 minutes on the counter—before they go into the oven. This matters because cold ramekins will throw off your timing and you might miss that perfect molten moment. I keep a note on my fridge reminding me of this step because I've learned it the hard way.
Flavored Twists That Clicked
The base recipe is perfection on its own, but I've discovered a few variations that feel special for different occasions. A tiny pinch of chili powder adds a whisper of heat that makes the chocolate taste even more chocolate-y. An espresso powder dissolves into the batter and deepens everything, especially if you're serving it to coffee lovers. Even a hint of fleur de sel sprinkled on top before serving creates this sophisticated sweet and salty moment. Start with just a pinch of any addition and taste as you go.
Serving Ideas That Clicked
The beauty of lava cake is that it's stunning on its own, but the right accompaniment elevates it. I've found that vanilla ice cream is the classic choice for a reason—that cold and creamy melts against the warm chocolate, creating a textural experience. Whipped cream is lighter and lets the chocolate shine through. Fresh raspberries or a strawberry alongside add brightness and cut through the richness. A drizzle of raspberry sauce creates drama on the plate. Dust the powdered sugar at the very last moment before eating so it stays white and pristine.
- Always serve immediately after plating while the chocolate is still flowing and the cake is warm
- Don't skip the powdered sugar dusting—it's not just decoration, it adds a delicate sweetness and texture contrast
- If you're feeding people with nut allergies, check your chocolate label carefully as some facilities process nuts
 Save to Pinterest
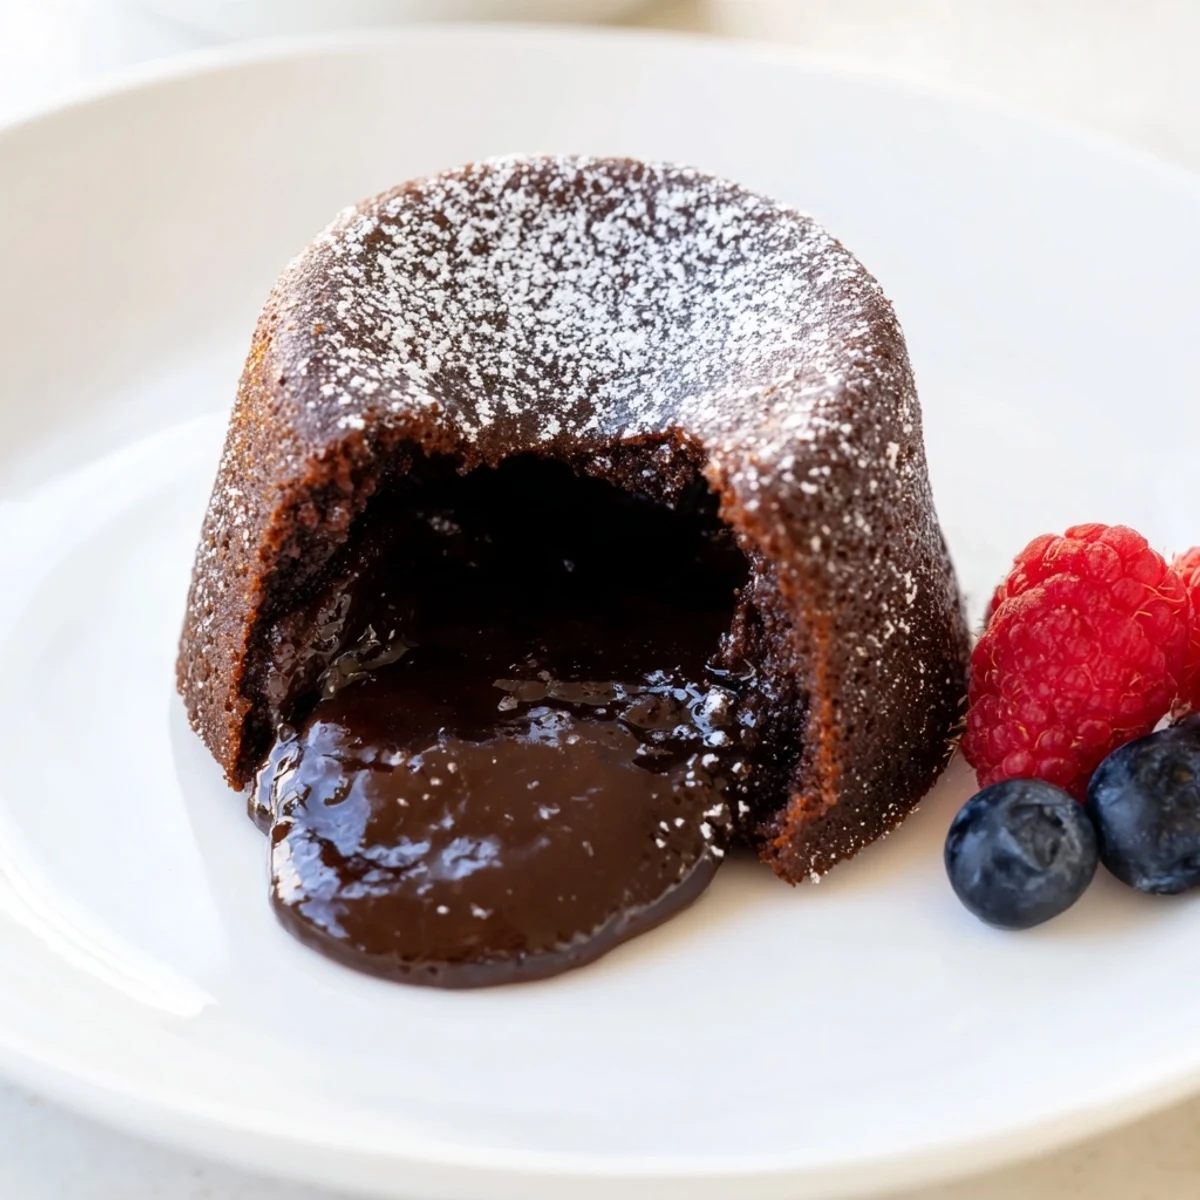
 This recipe taught me that sometimes the most impressive dishes are the ones that come together fastest, and that's precisely what makes them so much fun to make. When you nail that moment and your guest's fork breaks through to the flowing center, you'll understand why this has been a restaurant favorite for generations.
Recipe Questions & Answers
- → What type of chocolate is best to use?
-
Use bittersweet chocolate containing 60-70% cocoa for a balance of rich flavor without excessive sweetness.
- → How do I achieve the molten center?
-
Baking just until the edges are set while the center remains soft creates the signature molten core.
- → Can I prepare the dessert in advance?
-
Yes, ramekins can be greased and dusted a day ahead, stored refrigerated, then baked at room temperature when ready.
- → What garnishes complement this dessert?
-
Powdered sugar, fresh berries, or a scoop of vanilla ice cream enhance the flavors and presentation beautifully.
- → Are there any common allergens in this dish?
-
It contains eggs, dairy, and gluten from flour; check chocolate labels for traces of nuts or soy if concerned.
