
 Save to Pinterest
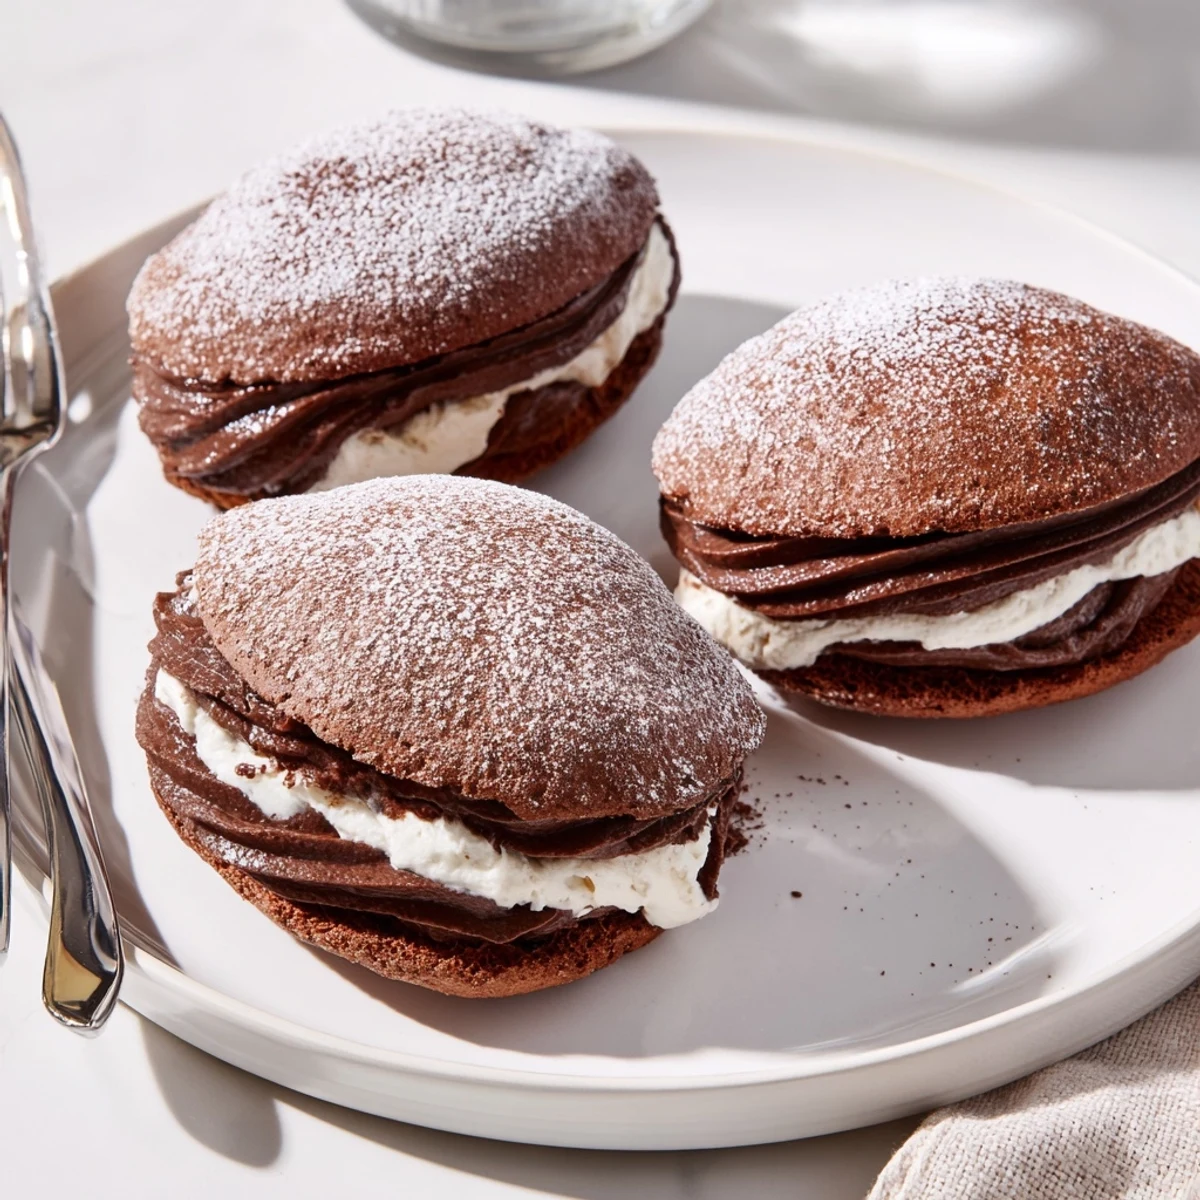
 Maritozzi are beloved Roman sweet buns, traditionally filled with whipped cream. This chocolate version incorporates cocoa directly into the soft, pillowy dough, creating a deeply flavored base.
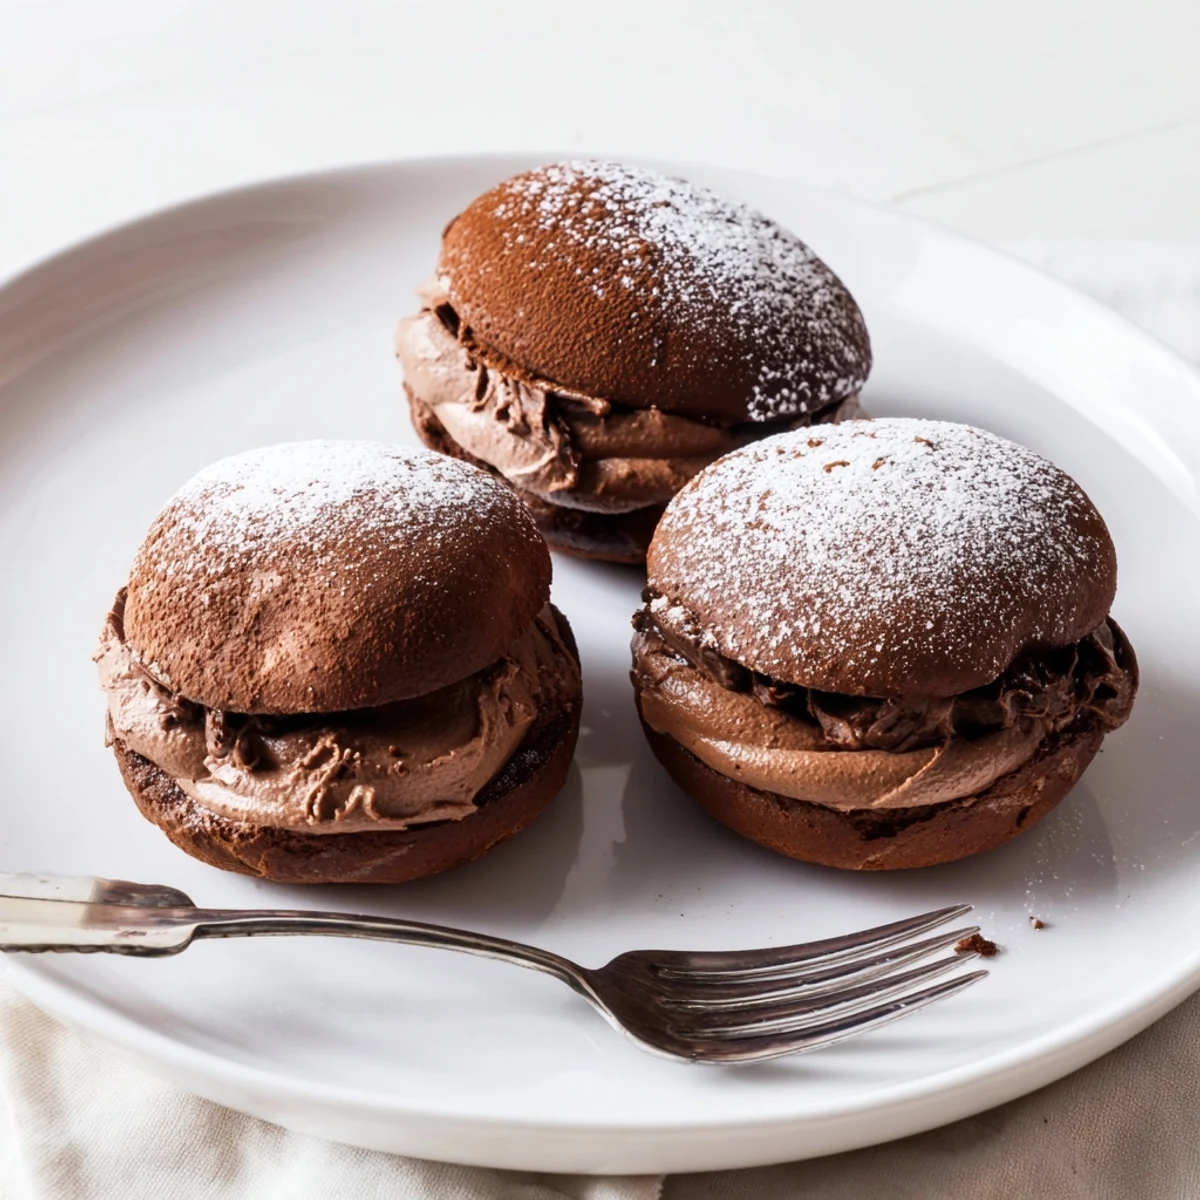
Each bun is split and generously filled with a luscious chocolate whipped cream made by folding melted dark chocolate into freshly whipped cream. A dusting of powdered sugar finishes them beautifully.
They require some patience for the two-rise process, but the hands-on time is minimal. Perfect for weekend baking, special occasions, or anytime you crave an authentic Italian pastry experience at home.
The smell of cocoa and yeast together is something that changes your kitchen forever, and I discovered that one rainy Roman afternoon when a bakery window stopped me cold. These chocolate maritozzi were piled high with billowing cream, dusted with powdered sugar like fresh snow, and I knew immediately I would be attempting them at home. It took three batches before I got the dough right, but that first successful bun was worth every failed attempt.
My sister walked in while I was piping cream into a batch and declared them the most romantic pastry she had ever seen, then ate two before dinner without a shred of guilt. I have since made them for every birthday, every holiday brunch, and once at midnight just because a craving demanded it.
Ingredients
For the Dough:
- 350 g all purpose flour: Regular flour works beautifully here because the cocoa powder does the heavy lifting for texture and flavor.
- 30 g unsweetened cocoa powder: Use a quality brand you would drink in hot chocolate, because this single ingredient defines the entire personality of the bun.
- 60 g granulated sugar: Just enough sweetness to let the cocoa shine without turning the dough into a dessert before the filling even arrives.
- 7 g active dry yeast: Fresh yeast makes the dough rise with a liveliness that translates into that tender, airy crumb you want.
- 1 pinch salt: Never skip this, because salt is what makes chocolate taste like itself instead of just sweet and brown.
- 170 ml whole milk, lukewarm: Test it on your wrist like a baby bottle, because yeast is a living thing and temperature matters more than people think.
- 50 g unsalted butter, softened: Softened means it holds its shape when you press it, not melted into a puddle, and that distinction changes your dough.
- 1 egg: Adds richness and helps bind everything into a dough that feels smooth and cooperative under your hands.
- Zest of 1 orange (optional): This is the secret that makes people close their eyes when they taste it, because orange and chocolate are old soulmates.
For the Chocolate Filling:
- 200 ml heavy cream: Cold, heavy cream whips into clouds, and clouds are exactly what you want spilling out of these buns.
- 80 g dark chocolate, 60 to 70% cocoa, finely chopped: Chop it finer than you think necessary, because patience here means a smoother, silkier filling later.
- 2 tbsp powdered sugar: Sweetens the cream gently without graininess, letting the dark chocolate stay assertive and deep.
For Decoration:
- Powdered sugar, for dusting: A final snowy blanket that makes them look like they came from a Roman bakery window.
Instructions
- Wake up the dry ingredients:
- In a large bowl, whisk together the flour, cocoa powder, sugar, yeast, and salt until evenly blended and fragrant with chocolate.
- Bring the dough to life:
- Pour in the lukewarm milk, softened butter, egg, and orange zest if using, then mix with your hands or a wooden spoon until everything comes together into a sticky, shaggy mass.
- Knead with patience:
- Turn the dough onto a floured surface and knead for about ten minutes, pushing and folding, until it transforms into something smooth, elastic, and slightly tacky but no longer sticking to your fingers.
- Let it rise quietly:
- Place the dough in a greased bowl, cover it with a damp towel or plastic wrap, and leave it in the warmest corner of your kitchen for one to one and a half hours until it has doubled in size and looks proud of itself.
- Shape the buns:
- Gently punch down the dough and divide it into eight equal pieces, rolling each into a plump oval, then arrange them on a parchment lined baking tray, cover loosely, and let them puff up for another thirty minutes.
- Bake until just set:
- Preheat your oven to 180 degrees Celsius or 350 degrees Fahrenheit and bake the buns for eighteen to twenty minutes until they feel set when gently pressed but still have a slight give, then cool them completely on a rack.
- Create the chocolate cream:
- Heat 50 ml of cream until steaming and pour it over the chopped chocolate, stirring until glossy and smooth, then let it cool completely before folding it into the remaining cream whipped with powdered sugar to stiff, proud peaks.
- Fill and finish:
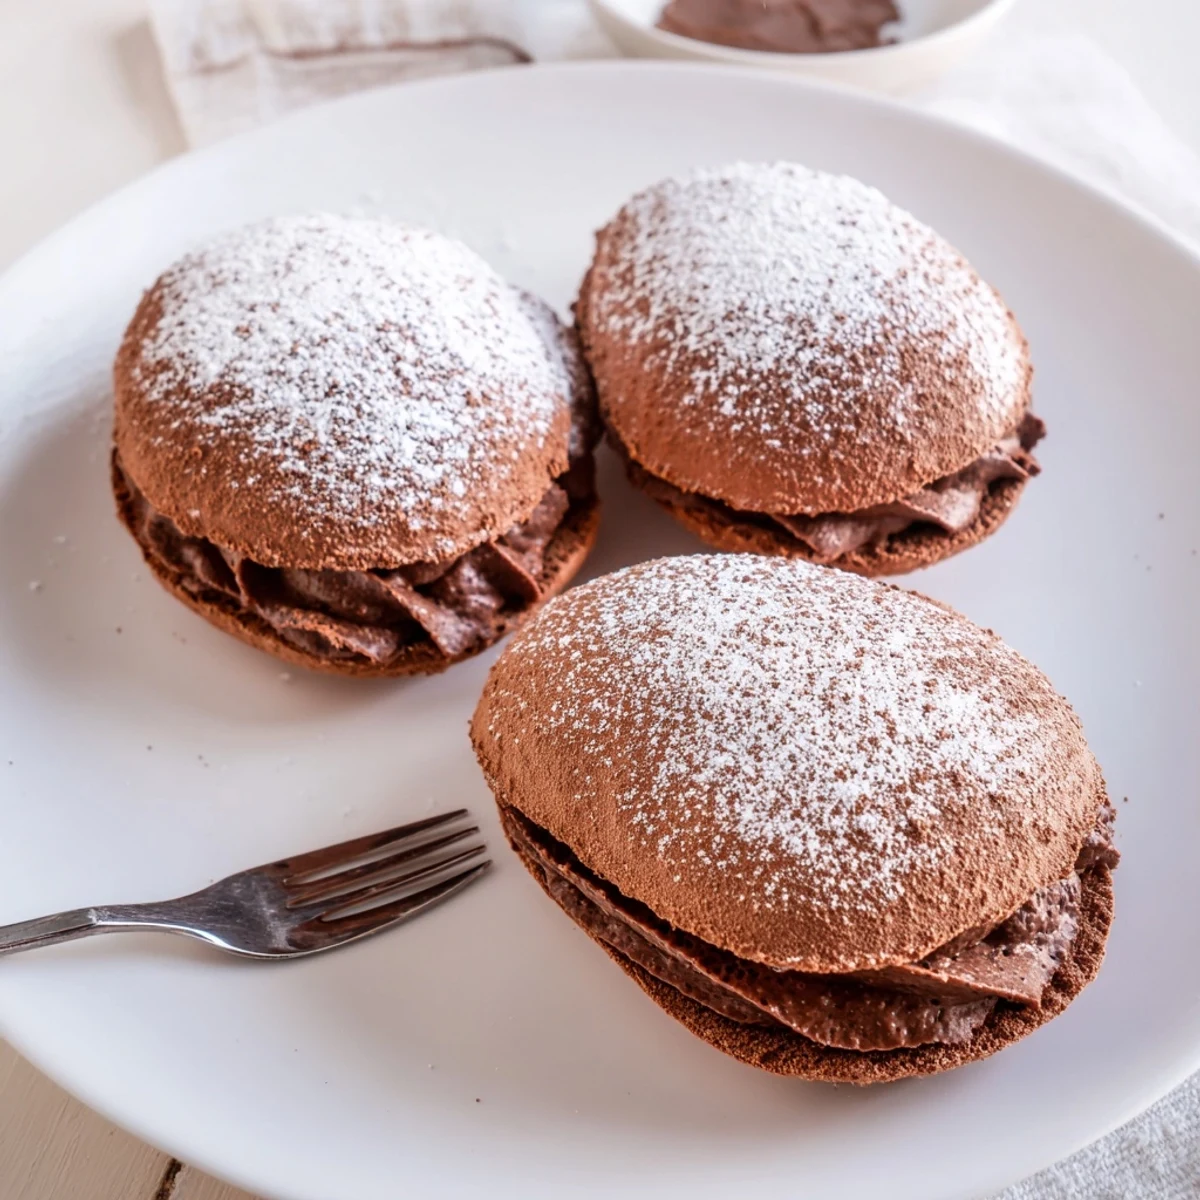
- Slice each cooled bun lengthwise leaving a hinge intact like a little book, pipe or spoon the chocolate cream generously inside, and dust with powdered sugar before serving with confidence.
 Save to Pinterest
 The first time I served these at a dinner party, the conversation stopped entirely for a full two minutes, and that silence told me everything I needed to know about whether the recipe was a keeper.
Storage That Actually Works
Filled maritozzi are best eaten the day they are assembled, because the cream meets the bun and time starts ticking. If you must store them, keep them in the refrigerator uncovered or loosely covered for up to two days, though the buns will soften and lose some of their delicate chew. A better strategy is to bake the buns ahead and freeze them unfilled, then thaw, fill, and serve when you are ready.
Swaps and Variations Worth Trying
Replace a portion of the heavy cream with mascarpone for a filling that tastes richer and holds its shape longer at room temperature. A splash of espresso or a teaspoon of amaretto folded into the chocolate cream adds a sophisticated depth that pairs beautifully with the cocoa dough. For a simpler approach, plain vanilla whipped cream or even a nutella based filling works wonderfully if you are short on dark chocolate.
Tools and Final Thoughts
You do not need fancy equipment, but a stand mixer saves your arms during the ten minute knead and a piping bag makes filling faster and neater. A sharp serrated knife cuts the buns cleanly without compressing their tender interiors. Parchment paper is essential for preventing sticking and ensuring the bottoms bake evenly.
- Always check that your yeast is fresh by confirming it bubbles when mixed with warm milk and a pinch of sugar before committing the rest of your ingredients.
- If your kitchen is cold, turn your oven on for one minute then off again and use the gentle ambient warmth as a rising spot.
- Remember that the buns continue cooking slightly after you pull them from the oven, so take them out when they still have a whisper of softness in the center.
 Save to Pinterest
 These chocolate maritozzi are a small act of kitchen devotion that rewards you generously, and once you master them, they will appear at every gathering you host. Share them freely and watch them disappear.
Recipe Questions & Answers
- → Can I make the dough without a stand mixer?
-
Yes, you can knead the dough entirely by hand on a floured surface. It takes about 10 minutes of kneading to reach a smooth, elastic consistency. The dough will be slightly sticky at first, but keep working it and it will come together nicely.
- → Why didn't my maritozzi rise properly?
-
Check that your yeast is fresh and active by blooming it in the lukewarm milk first—you should see bubbles after 5–10 minutes. Also ensure your rising spot is warm enough, around 28–30°C works best. Cold kitchens significantly slow down yeast activity.
- → Can I prepare the chocolate filling ahead of time?
-
Yes, you can make the chocolate cream filling a day in advance. Store it covered in the refrigerator, then give it a gentle fold or brief whisk before piping or spooning into the buns to restore its smooth texture.
- → How should I store leftover maritozzi?
-
Store filled maritozzi in an airtight container in the refrigerator for up to 2 days. For the best texture and flavor, let them sit at room temperature for 15–20 minutes before serving. The buns are best enjoyed fresh on the day they are made.
- → Can I freeze the baked buns before filling?
-
Absolutely. Bake the buns, let them cool completely, then freeze them in a freezer-safe bag for up to 1 month. Thaw at room temperature, then fill with freshly made chocolate cream whenever you are ready to serve.
- → What can I substitute for dark chocolate in the filling?
-
You can use milk chocolate for a sweeter, milder filling, or semi-sweet chocolate chips. For a white chocolate version, melt 80 g of good-quality white chocolate and fold it into the whipped cream the same way.