 Save to Pinterest
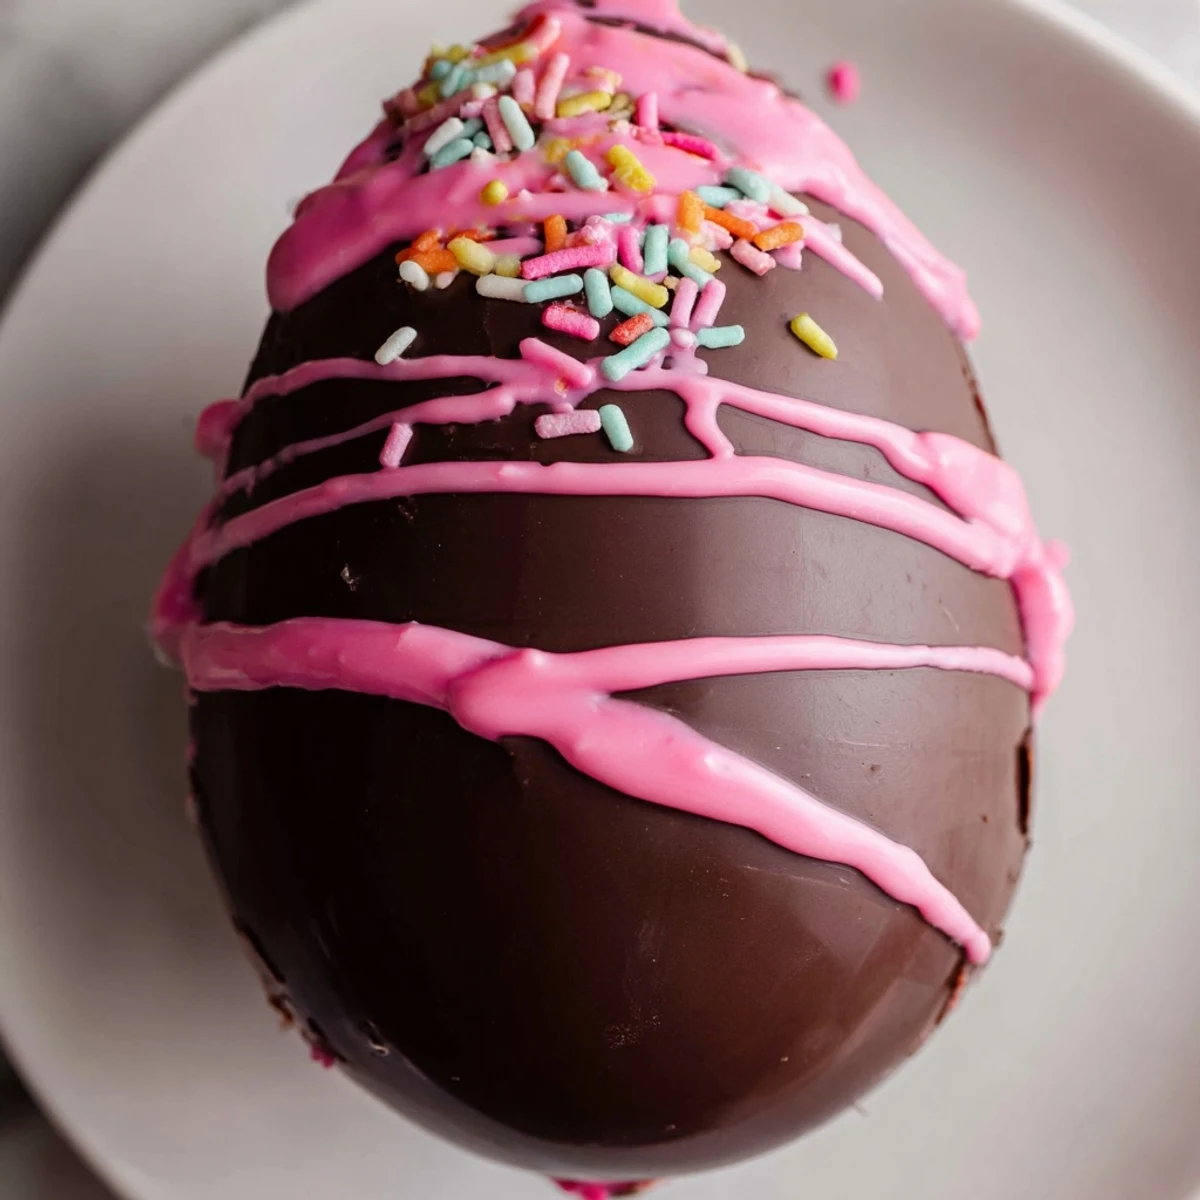
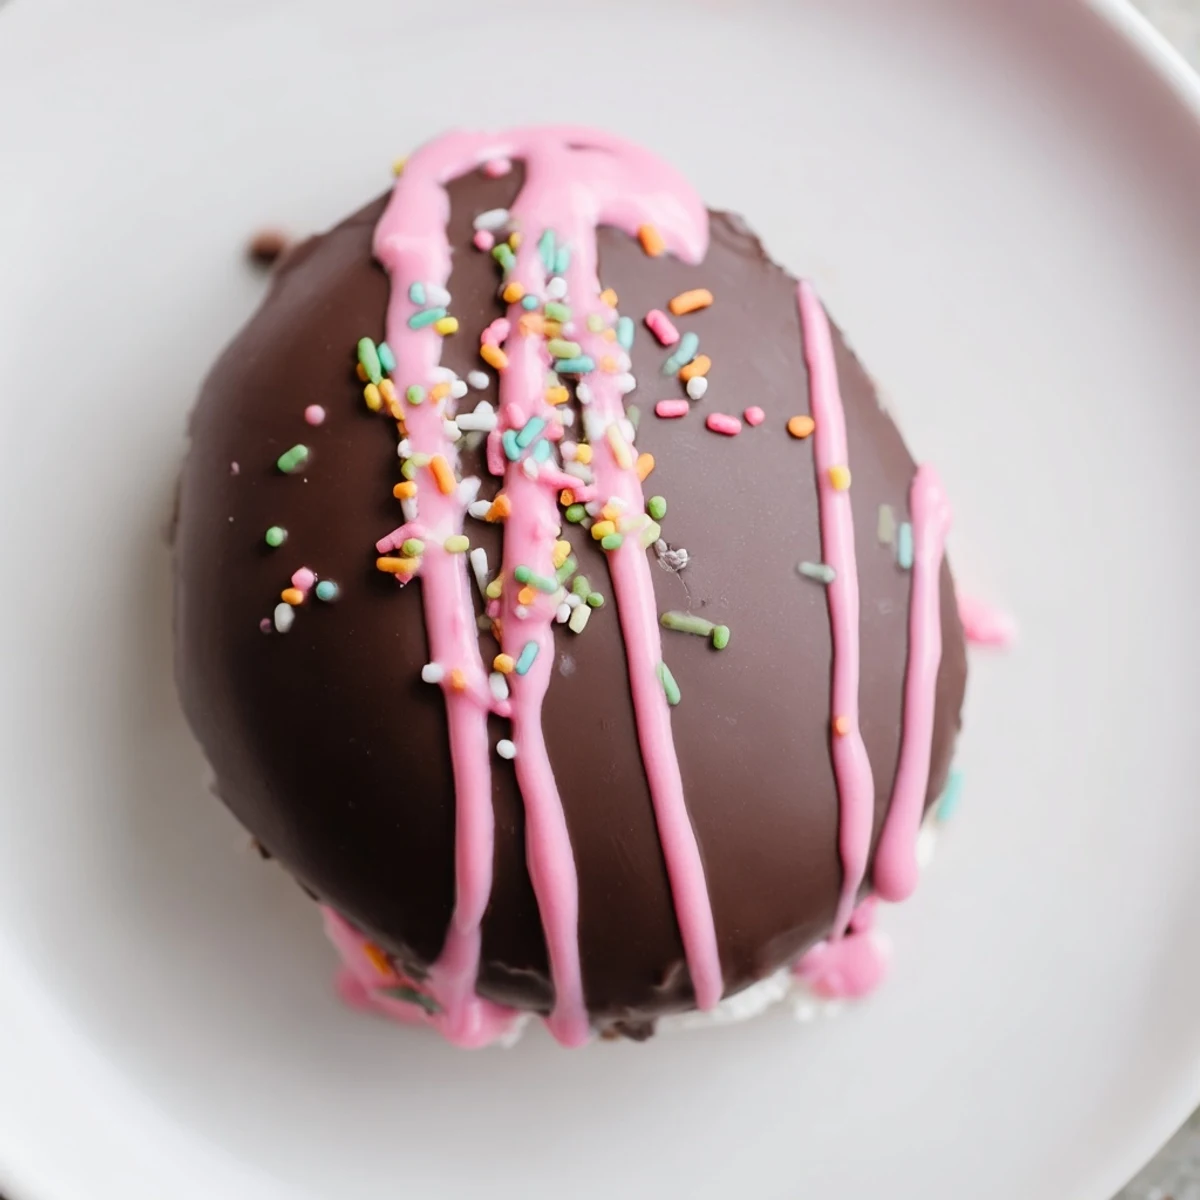
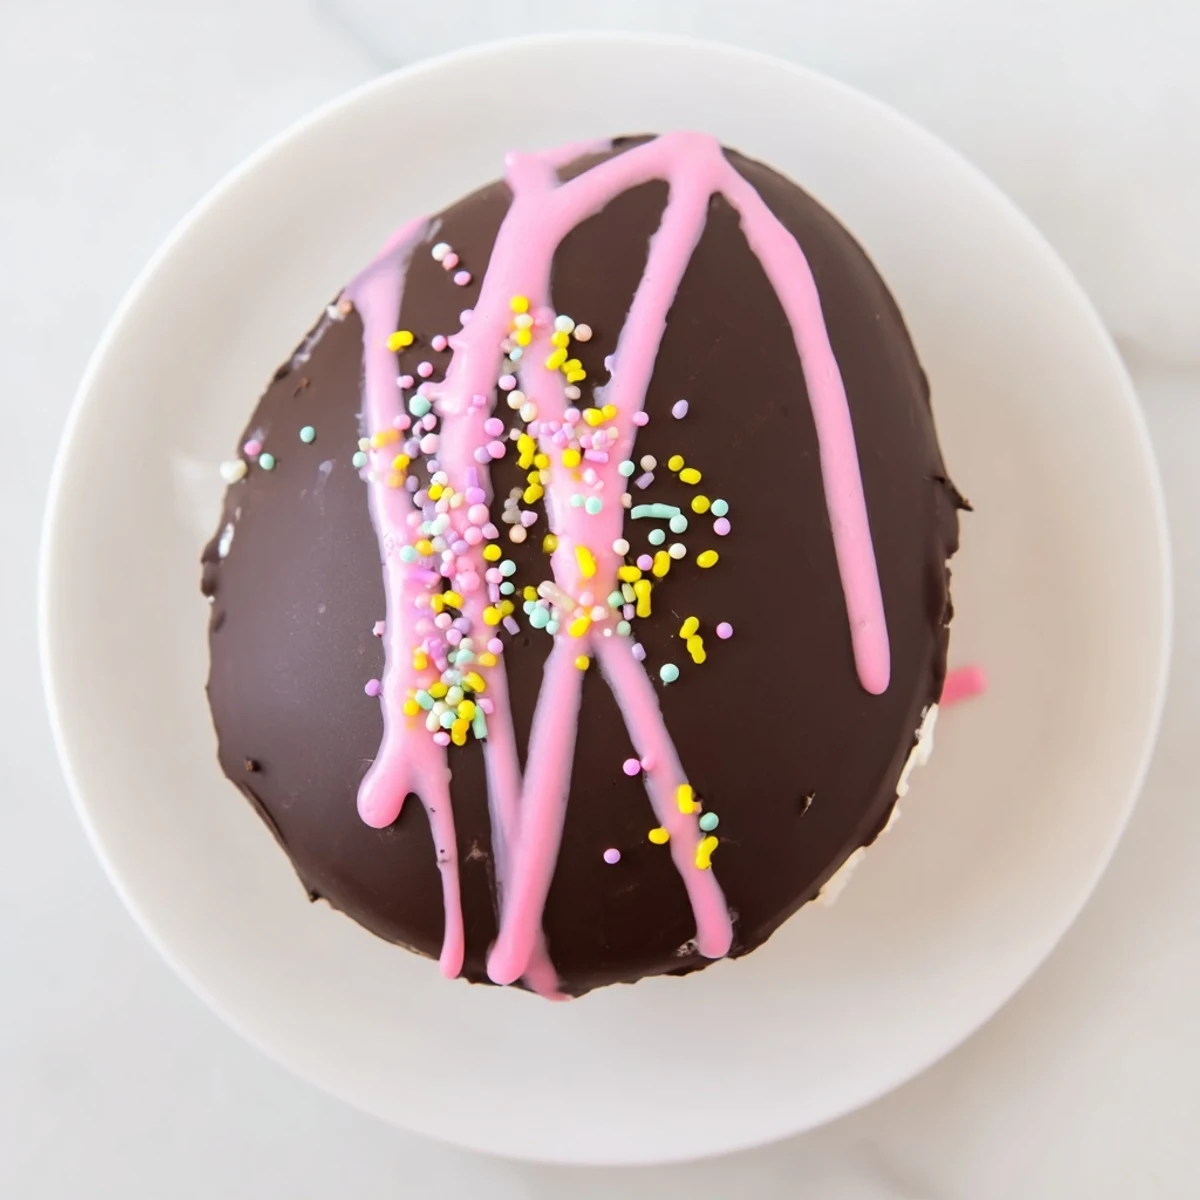
 These delightful Easter eggs feature a luscious vanilla cream filling made from Cool Whip, cream cheese, and powdered sugar, enveloped in rich semi-sweet chocolate. The no-bake process involves whipping together the creamy filling, chilling until firm, hand-shaping into classic egg forms, then dipping in melted chocolate for a professional finish. Customize with pastel sprinkles or colored candy drizzles for a festive touch that transforms any holiday table.
The kitchen counter was covered in pastel sprinkles and my three-year-old was literally bouncing with excitement as we prepared to make these Easter treats. Id seen the Cool Whip chocolate trick floating around social media but turning them into egg shapes felt like the perfect holiday project. That afternoon became one of those chaotic beautiful moments where chocolate ended up in hair and sprinkles decorated the floor but the memories were absolutely worth it.
Last year I brought a platter of these to our neighborhood Easter potluck and watched adults turn into children over them. My neighbor Sarah admitted she ate three before lunch even started and immediately texted me for the recipe. Something about that fluffy Cool Whip filling combined with the snap of chocolate creates the most addictive texture nobody expects.
Ingredients
- 2 cups Cool Whip thawed: The secret to that impossibly light mousse like filling that sets beautifully
- 1/2 cup cream cheese softened: Adds structure and tang to balance the sweetness
- 2 cups powdered sugar: Sweetens the filling while keeping it smooth
- 1 teaspoon vanilla extract: Pure vanilla makes everything taste homemade
- 2 cups semi sweet chocolate chips: Creates the perfect snappy coating
- 1 tablespoon coconut oil: Makes the chocolate coating glossy and easier to work with
- Pastel sprinkles and colored candy melts: For that festive Easter look
Instructions
- Prepare the creamy filling:
- Beat the softened cream cheese until completely smooth then fold in the thawed Cool Whip powdered sugar and vanilla. Mix gently until everything comes together into a fluffy cloud like mixture.
- Chill for shaping:
- Pop the bowl in the freezer for 20 to 30 minutes. This step is crucial because warm filling will turn into a sticky disaster when you try to form eggs.
- Shape your eggs:
- Line a baking sheet with parchment paper. Using damp hands scoop about 2 tablespoons of the mixture and gently shape into egg forms. The damp hands trick prevents sticking.
- Freeze until firm:
- Place the baking sheet in the freezer for at least 1 hour. Frozen eggs are much easier to dip without losing their shape or melting the chocolate.
- Melt the chocolate coating:
- Combine chocolate chips and coconut oil in a microwave safe bowl. Microwave in 30 second intervals stirring between each until completely smooth and glossy.
- Dip each egg:
- Use a fork to lower each frozen egg into the chocolate letting excess drip off. Return to the parchment lined sheet. Work quickly since the cold eggs will set the chocolate fast.
- Add festive touches:
- While the chocolate is still wet add sprinkles or drizzle with colored candy melts. Let your creativity run wild with pastel patterns.
- Set and serve:
- Refrigerate until completely set about 30 minutes. Serve chilled and watch them disappear.
 Save to Pinterest
 My niece insisted on making a purple polka dotted egg last year and it turned out so charming it became the centerpiece of the dessert table. Now I always set aside some candy melts just for the kids to create their own masterpieces.
Making These Ahead
I learned the hard way that these taste even better after sitting overnight in the refrigerator. The flavors meld together and the chocolate coating develops that perfect snap. Now I always make them the day before any Easter gathering.
Flavor Variations
One year I swapped the vanilla for almond extract and it was revelatory. You could also add a tablespoon of frozen orange juice concentrate for a creamsicle version or fold in some crushed Oreos for cookies and cream eggs.
Chocolate Tips
After dozens of batches I have strong feelings about the chocolate coating. Good quality chocolate chips make a noticeable difference in the final snap and shine. Also that tablespoon of coconut oil is not optional it creates a professional looking finish.
- White chocolate works beautifully if you want a different look
- Add a drop of food coloring to white chocolate for pastel coated eggs
- Let excess chocolate drip for at least 10 seconds before moving to the sheet
 Save to Pinterest
 These colorful eggs have become the most requested Easter treat in my house and I suspect they will be in yours too.
Recipe Questions & Answers
- → How long do Cool Whip Easter eggs last in the refrigerator?
-
These creamy chocolate-covered eggs stay fresh for up to 5 days when stored in an airtight container in the refrigerator. The chocolate coating remains perfectly firm while the filling stays delightfully creamy.
- → Can I make these Easter eggs ahead of time?
-
Absolutely! Prepare the eggs up to a week in advance and store them in the refrigerator. The chocolate actually develops a nice sheen after sitting for a day or two. Keep them chilled until ready to serve for best texture.
- → What's the best way to melt the chocolate for coating?
-
Microwave the chocolate chips with coconut oil in 30-second intervals, stirring between each burst. This prevents scorching and ensures silky smooth results. The oil helps the chocolate set beautifully and gives it a lovely gloss.
- → Can I use different extracts for variety?
-
Yes! Swap the vanilla extract for almond, coconut, or even mint extract to create different flavor profiles. Each variation pairs wonderfully with the chocolate coating and adds a unique twist to the classic creamy filling.
- → Why do I need to freeze the filling before shaping?
-
Chilling the mixture makes it firm enough to hold its egg shape without sticking to your hands. The 20-30 minute freezer time transforms the soft filling into a workable consistency that forms smooth, professional-looking eggs.
