 Save to Pinterest
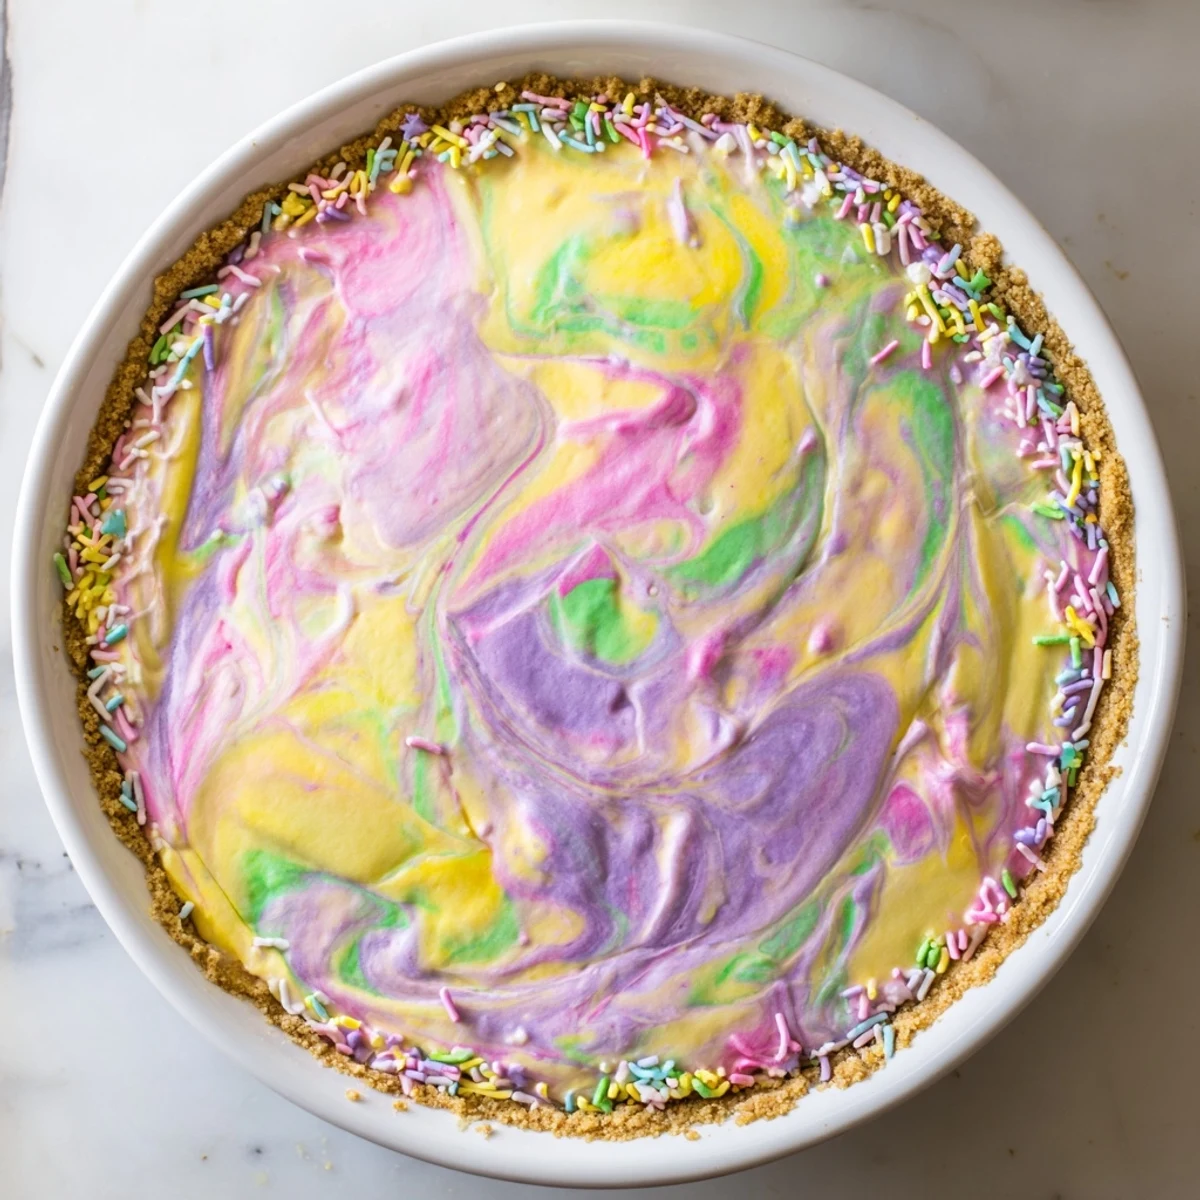
 This festive spring dessert combines a buttery graham cracker base with a luxurious mascarpone and cream cheese filling. The creamy vanilla mixture gets divided into bowls and tinted with soft pastel gel colors—think pink, yellow, purple, and mint green—then spooned onto the crust and swirled together to create a beautiful marbled effect. After chilling for two hours, the set pie is ready to serve, optionally topped with pastel sprinkles or mini chocolate eggs. The result is both visually stunning and deliciously smooth, making it an ideal centerpiece for holiday entertaining.
The first time I attempted a swirl effect, I went way too aggressive with the knife and ended up with muddy gray filling instead of pretty pastels. My daughter pretended to love it anyway, calling it our thunderstorm pie, but I learned that day that swirling requires more restraint than I thought. Now I understand that less movement creates those beautiful marbleized ribbons that make everyone gasp when you slice into it.
Last Easter my sister brought over her usual elaborate cake, but this pie stole the show anyway. Something about the whimsical colors makes people smile before they even take a bite. My nephew asked if I used magic, which honestly feels like the right description for how something this simple can look so impressive.
Ingredients
- Graham crackers or digestive biscuits: The slightly sandy texture creates the perfect crunchy contrast to the silky filling
- Unsalted butter: Melt it completely so every crumb gets coated and presses into a solid foundation
- Granulated sugar: Just enough to give the crust a subtle sweetness that complements without overpowering
- Cream cheese and mascarpone: This combination creates the most luxurious texture that sets up beautifully
- Heavy cream: Whip it just until soft peaks form for that cloud like fluffiness
- Gel food coloring: Use gel instead of liquid to avoid thinning out the filling
Instructions
- Build the buttery crust:
- Press those buttery crumbs into your pie dish with conviction, using the bottom of a measuring cup to create an even layer that will hold everything together.
- Bake until golden:
- Ten to twelve minutes at 180°C (350°F) is enough to set the crust without drying it out completely.
- Whip up the creamy base:
- Beat those cheeses and powdered sugar until absolutely smooth, then fold in the whipped cream with gentle strokes.
- Create your palette:
- Divide the filling between small bowls and add just a drop of gel coloring to each, mixing until you have soft pastel shades.
- Swirl with restraint:
- Drop spoonfuls of each color randomly over the crust and run a knife through once or twice maximum.
- Chill patiently:
- Let the pie rest in the refrigerator for at least two hours so the flavors meld and the texture firms up perfectly.
 Save to Pinterest
 This pie has become our spring tradition because it somehow feels both festive and effortless. Last year I made it for a church potluck and three different people asked for the recipe before coffee was even served.
Making The Perfect Swirl
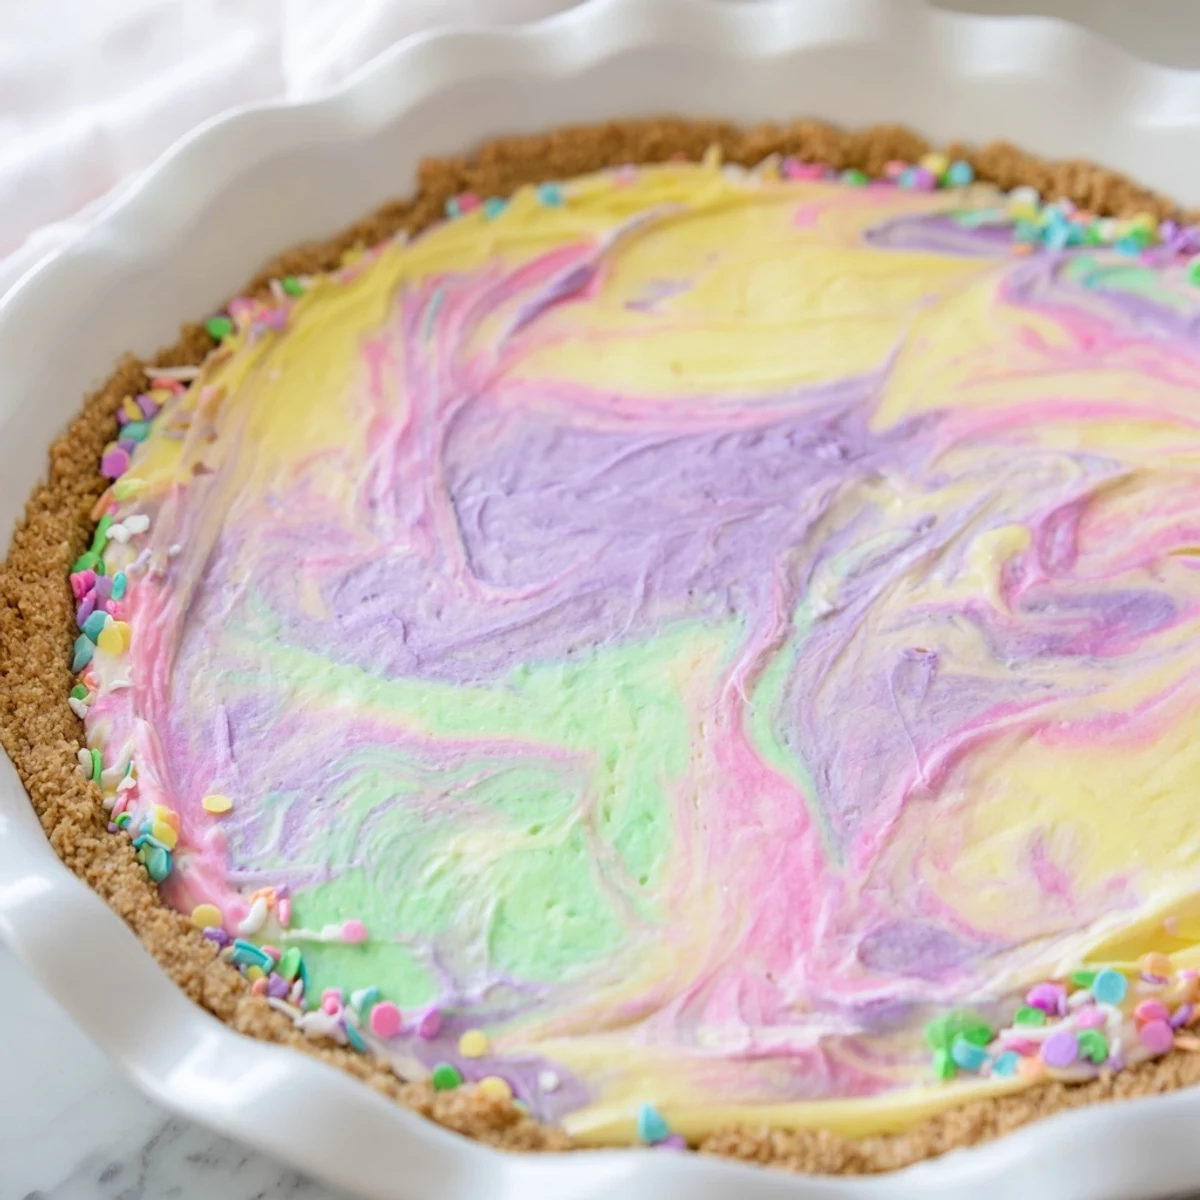
The secret is dropping your colored dollops in a random pattern rather than organized sections. When you drag your knife through, barely touch the surface and make just one or two figure eights. Think marble instead of mixed paint.
Choosing Your Colors
Stick to three or four shades max and keep them all in the same pastel family for that Easter egg effect. Pink, yellow, and lilac work together beautifully, while green can sometimes read a little odd depending on the lighting.
Serving Suggestions
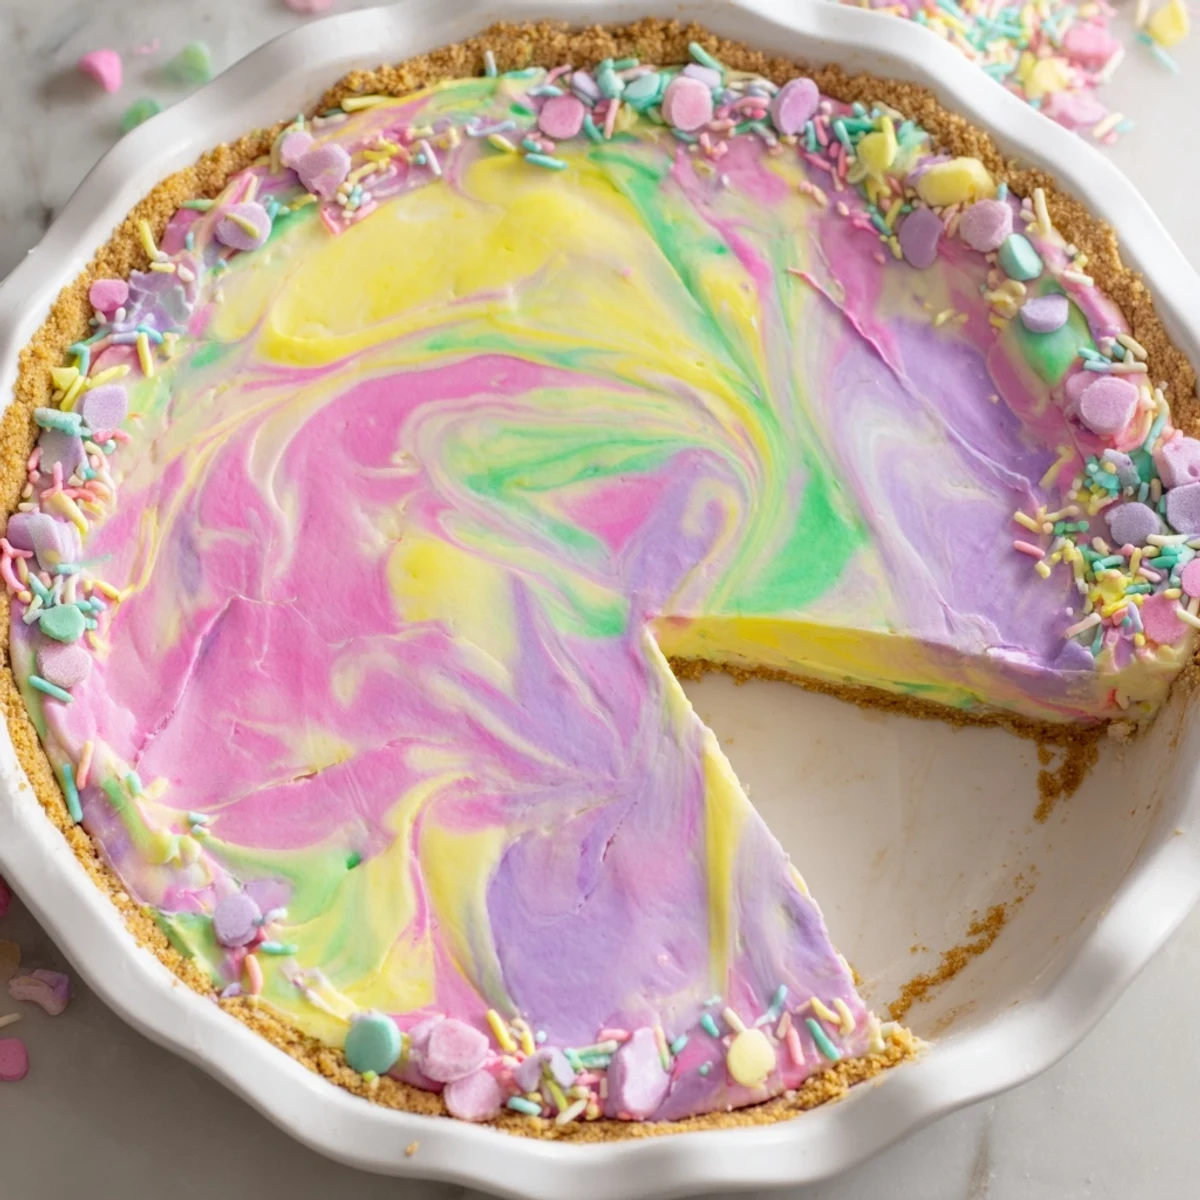
This pie needs to be served cold for the best texture and cleanest slices. Run your knife under hot water between cuts for picture perfect pieces.
- Top with fresh berries instead of sprinkles for a more elegant look
- A drizzle of white chocolate over the swirls adds another dimension of flavor
- Let the pie sit at room temperature for ten minutes before serving
 Save to Pinterest
 There is something joyful about cutting into that first slice and seeing exactly how the swirl pattern turned out. Each pie becomes its own little masterpiece.
Recipe Questions & Answers
- → Can I make this pie ahead of time?
-
Yes, this dessert actually improves when made ahead. Prepare it up to 24 hours before serving and keep it refrigerated. The flavors meld beautifully, and the texture becomes even firmer and easier to slice after extended chilling.
- → What type of food coloring works best?
-
Gel food coloring is highly recommended over liquid varieties. Gel provides concentrated color without adding excess moisture to your filling, which could affect the setting. Start with a tiny amount on a toothpick—you can always add more for deeper pastel shades.
- → Can I freeze leftovers?
-
This pie freezes exceptionally well for up to 2 months. Wrap individual slices or the whole pie tightly in plastic wrap and foil. Thaw overnight in the refrigerator before serving—the texture remains creamy and the marbled pattern stays intact.
- → How do I achieve clean swirls?
-
Work quickly once your colored fillings are prepared. Drop dollops randomly rather than in a pattern, then use just one or two gentle passes with a knife or skewer. Overmixing will muddy the colors into brown—less is more for that defined marbled look.
- → Can I use different crust options?
-
Absolutely. While graham crackers provide classic flavor, digestive biscuits, vanilla wafers, or even chocolate sandwich cookies make excellent alternatives. For gluten-free needs, simply swap in certified GF cookies—the filling remains naturally gluten-free.
- → What if my filling seems too soft?
-
The cream cheese and mascarpone need to be fully softened but not melted or warm. If your kitchen is particularly hot, chill the bowls for 10 minutes before coloring. The filling will firm significantly during the required 2-hour refrigeration period.
