 Save to Pinterest
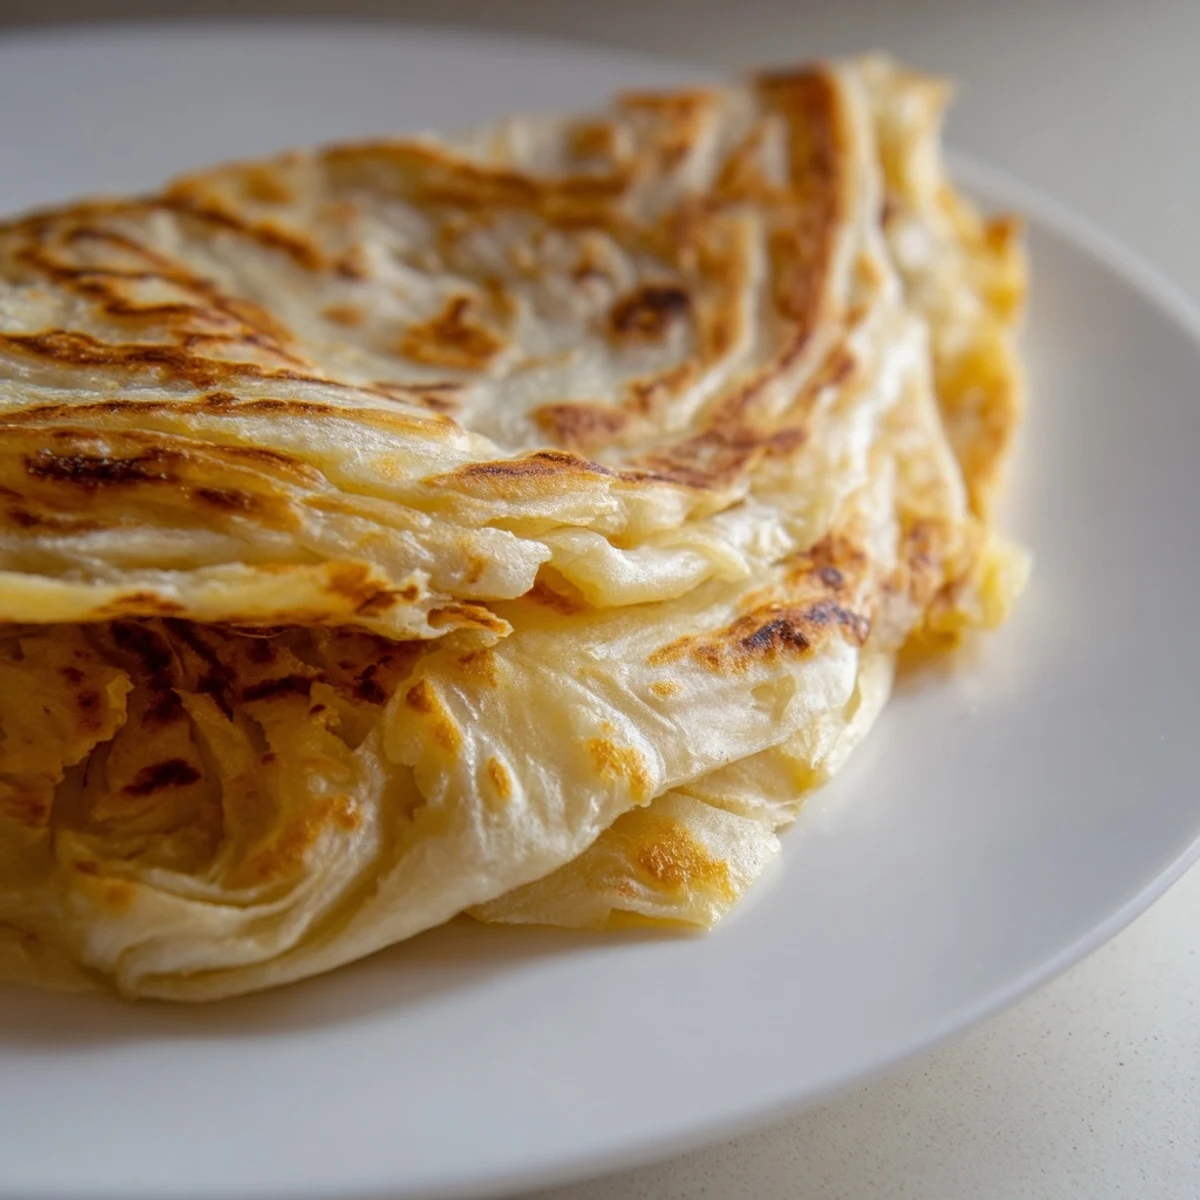
 Create authentic Malaysian flatbread with beautifully crispy layers and a tender, chewy center. This traditional dough requires proper resting to achieve those signature flaky textures that make Roti Canai irresistible.
The technique involves stretching the dough thinly, folding it into layers, and cooking on a griddle until golden brown. Perfect alongside rich curries, dhal, or even enjoyed with a sprinkle of sugar for a sweet variation.
The tiny stall in Penang where I first watched an uncle make roti canai changed everything I thought I knew about flatbread. His hands moved like they were conducting music, flipping and stretching the dough until it was paper-thin, catching air between every layer. I ate three pieces right there, standing by the roadside with curry dripping down my wrist. That afternoon obsession turned into a weekend ritual that took me years to even approach mastering.
My first attempt ended up looking more like a不规则 puzzle than layered bread. I was too timid with the stretching, afraid to tear it, which meant zero flaking happened. But even that dense, somewhat disappointing first batch disappeared in minutes at dinner. My partner just kept saying, next time youll be braver, and honestly, she was right.
Ingredients
- All-purpose flour: Creates the structure while keeping the bread tender. Bread flour makes it too chewy for this style.
- Salt and sugar: Essential balance. Without sugar, the condense milk sweetness cant shine through.
- Condensed milk: This is the traditional secret. It adds subtle sweetness and helps with browning.
- Melted ghee or butter: Ghee gives that authentic aroma and incredible flake separation. Butter works beautifully too.
- Warm water: Should feel like a comfortable bath temperature. Too hot kills the dough development.
- Extra ghee or oil: Generous coating during resting prevents that frustrating stick-to-everything situation.
Instructions
- Mix and knead your dough:
- Combine flour, salt, and sugar in a large bowl. Make a well, add melted ghee and condensed milk, then gradually pour in warm water while mixing until you have a soft, slightly sticky dough. Knead for 8 to 10 minutes until smooth and elastic. The dough should feel alive and springy.
- Rest and relax:
- Divide into 6 equal balls, coat each generously with ghee or oil, and place on a greased tray. Cover tightly with plastic wrap and let rest at room temperature for at least 2 hours. This non-negotiable rest period is what makes stretching possible.
- Stretch like you mean it:
- Grease your work surface and hands thoroughly with oil. Flatten one dough ball with your palms, then use your fingers to gently pull and stretch the dough into a thin, almost translucent sheet about 18 inches wide. Work quickly but gently. The dough will resist at first then suddenly surrender.
- Create the layers:
- Fold the sides inward to form a long rectangle, then roll it up like a Swiss roll. Coil into a spiral and tuck the end underneath. Repeat with remaining dough balls. Let these spirals rest for 5 minutes before cooking.
- Cook to golden perfection:
- Heat a non-stick skillet over medium heat and brush lightly with ghee. Gently press and flatten one spiral into a 6 to 7 inch round. Cook for 2 to 3 minutes per side, turning until both sides are golden and crispy. The layers should visibly separate.
- Wake up the flakes:
- Immediately after cooking, gently clap the roti between your hands. This crucial step separates the layers and creates that signature fluffiness. Serve hot while the layers are still shattering-crisp.
 Save to Pinterest
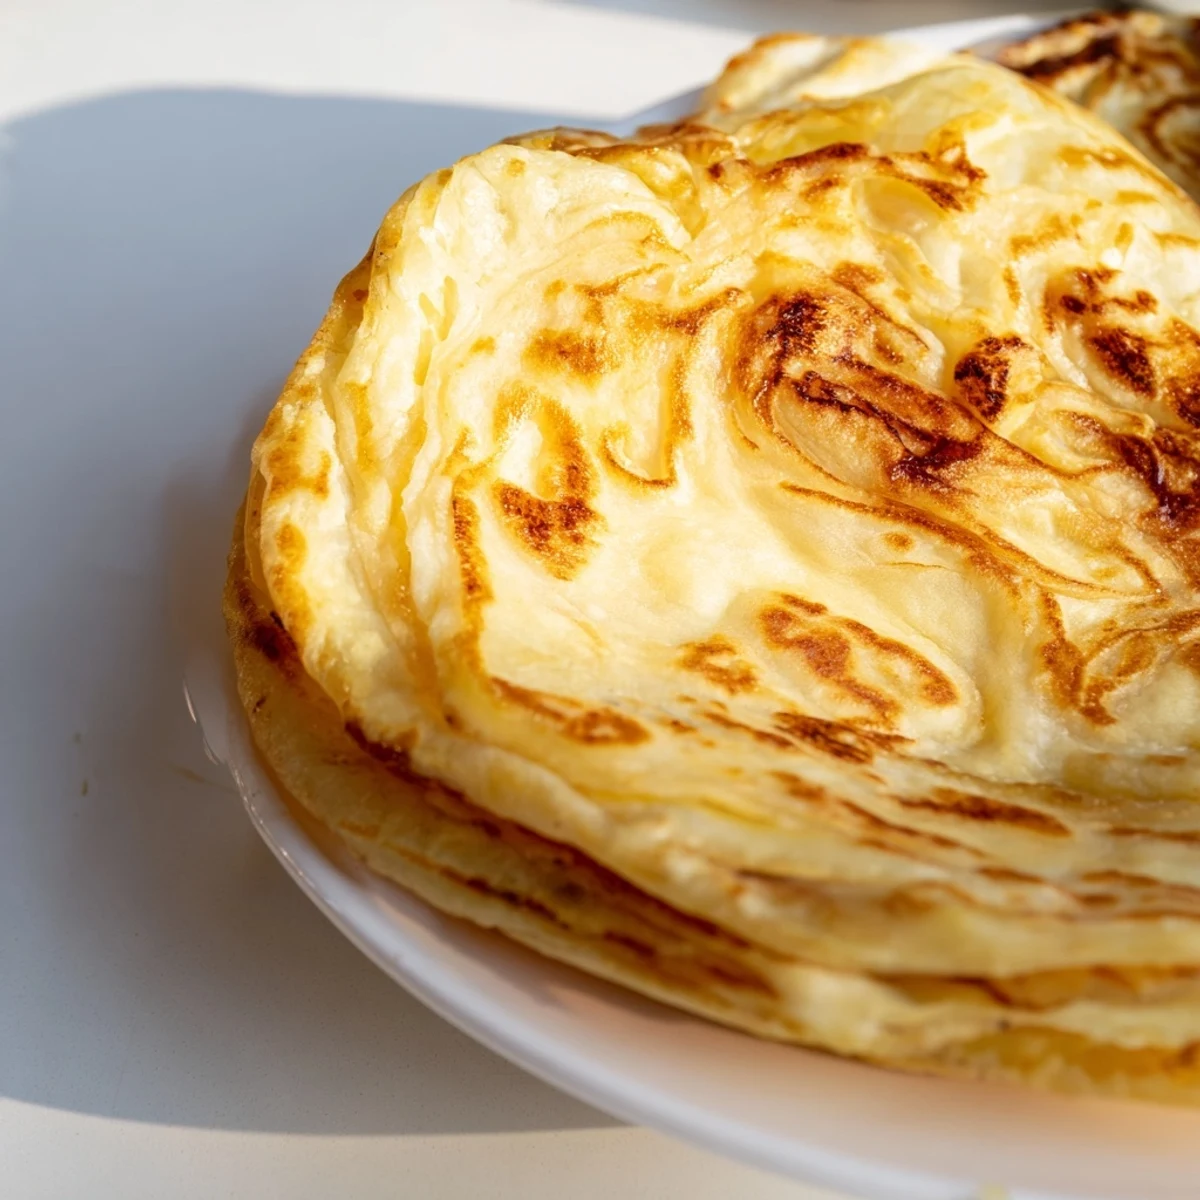
 My mom called me once just to say she finally made roti that actually flaked. She had been trying for months, following various recipes, but the breakthrough came when she stopped being afraid of tearing the dough. Theres something so satisfying about hearing that first crisp sound when you bite into a successful batch. Its better than any applause.
The Secret to Perfect Stretching
Work with gravity, not against it. Let the dough hang from your fingers and use the weight of the dough itself to help thin it out. Rotate constantly so you stretch evenly rather than pulling one spot too thin. And keep your hands oiled. Every time you feel resistance, add more oil.
Making It Ahead
You can prepare the spiral shapes through step 5, wrap them individually in plastic, and refrigerate overnight. Let them come to room temperature before flattening and cooking. The extended rest actually improves the texture. Some Malaysian cooks swear by overnight refrigeration.
Serving Ideas That Work
Traditional curries are obvious, but do not overlook the joy of a simple roti with just butter and sugar for breakfast. My grandmother used to make condensed milk sandwiches, which is essentially the same flavor profile in a different form. The bread itself is special enough to shine with minimal accompaniment.
- Dhal curry is arguably the most classic pairing
- A fried egg on top turns this into a complete meal
- Serve with extra ghee on the side for brushing
 Save to Pinterest
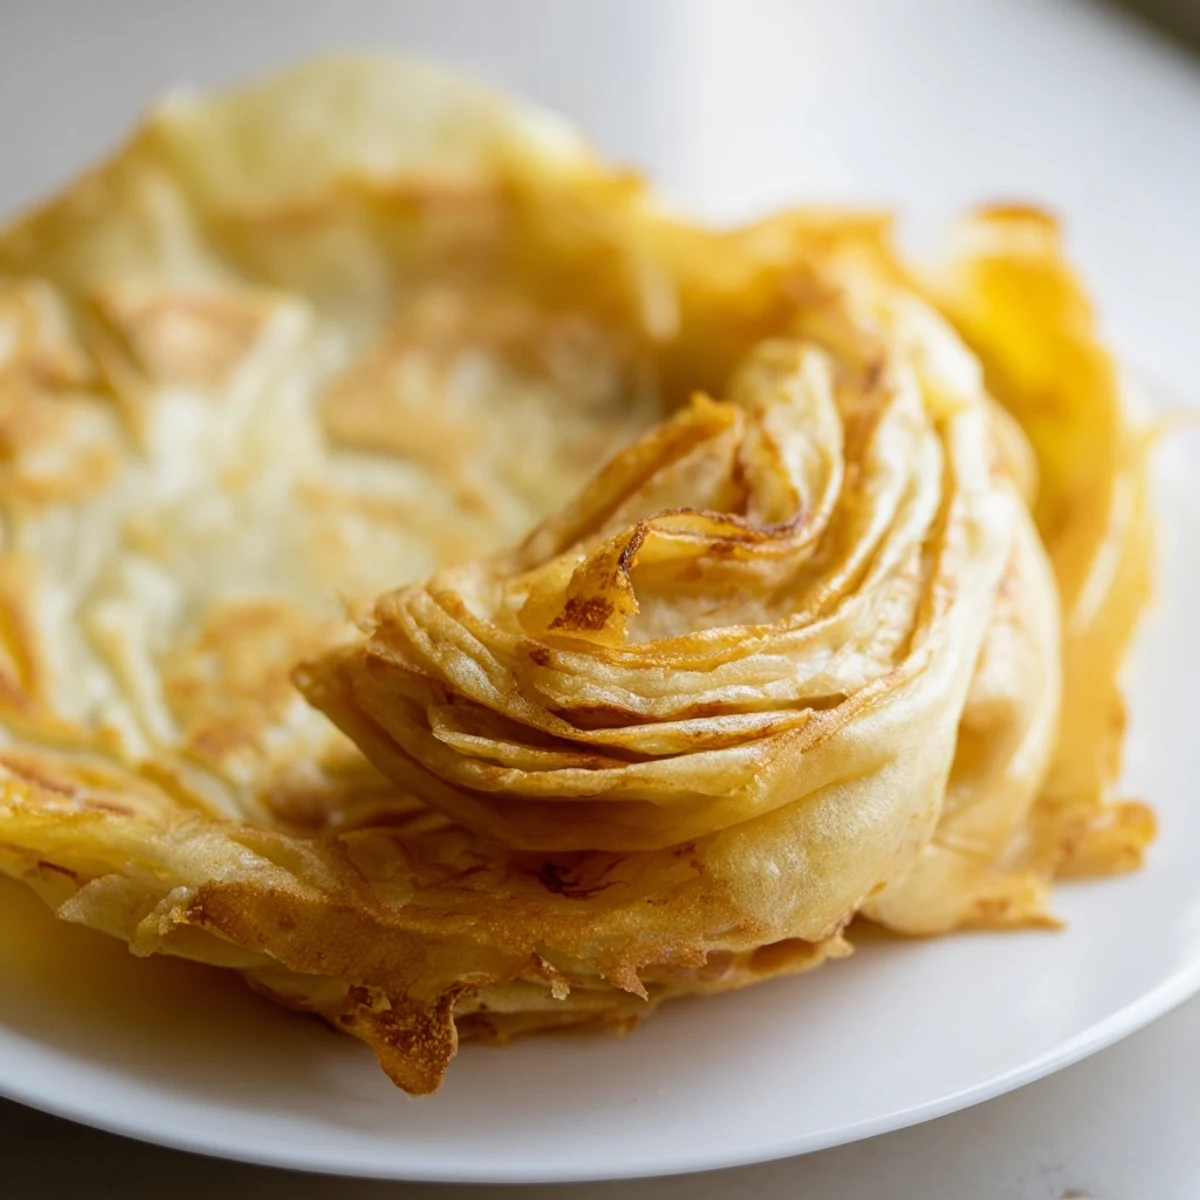
 Good roti canai feels like magic every single time. Those endless layers of crisp and soft, the way it shatters when you bite, the warm comfort of simple ingredients transformed by technique and patience.
Recipe Questions & Answers
- → What makes Roti Canai flaky?
-
The flaky texture comes from the unique folding technique—stretching the dough into a thin sheet, folding it into a rectangle, rolling it like a Swiss roll, then coiling into a spiral. This creates multiple layers that separate during cooking, resulting in those signature crispy, flaky layers.
- → Can I skip the resting time?
-
The 2-hour resting period is essential for success. It allows the gluten to relax, making the dough pliable enough to stretch into thin sheets without tearing. Without proper resting, you won't achieve the translucent, paper-thin consistency needed for authentic layers.
- → Why is my dough tearing when I stretch it?
-
Tearing usually means the dough hasn't rested long enough or needs more oil during handling. Make sure to let it rest for the full 2 hours, and generously grease your work surface and hands with ghee or oil before stretching. Practice helps—you'll get a feel for the right tension.
- → Can I make the dough ahead of time?
-
Absolutely. After dividing into balls and coating with ghee, you can refrigerate the dough portions overnight in an airtight container. Let them come to room temperature for about 30 minutes before shaping and cooking. The extended resting may actually improve the texture.
