 Save to Pinterest
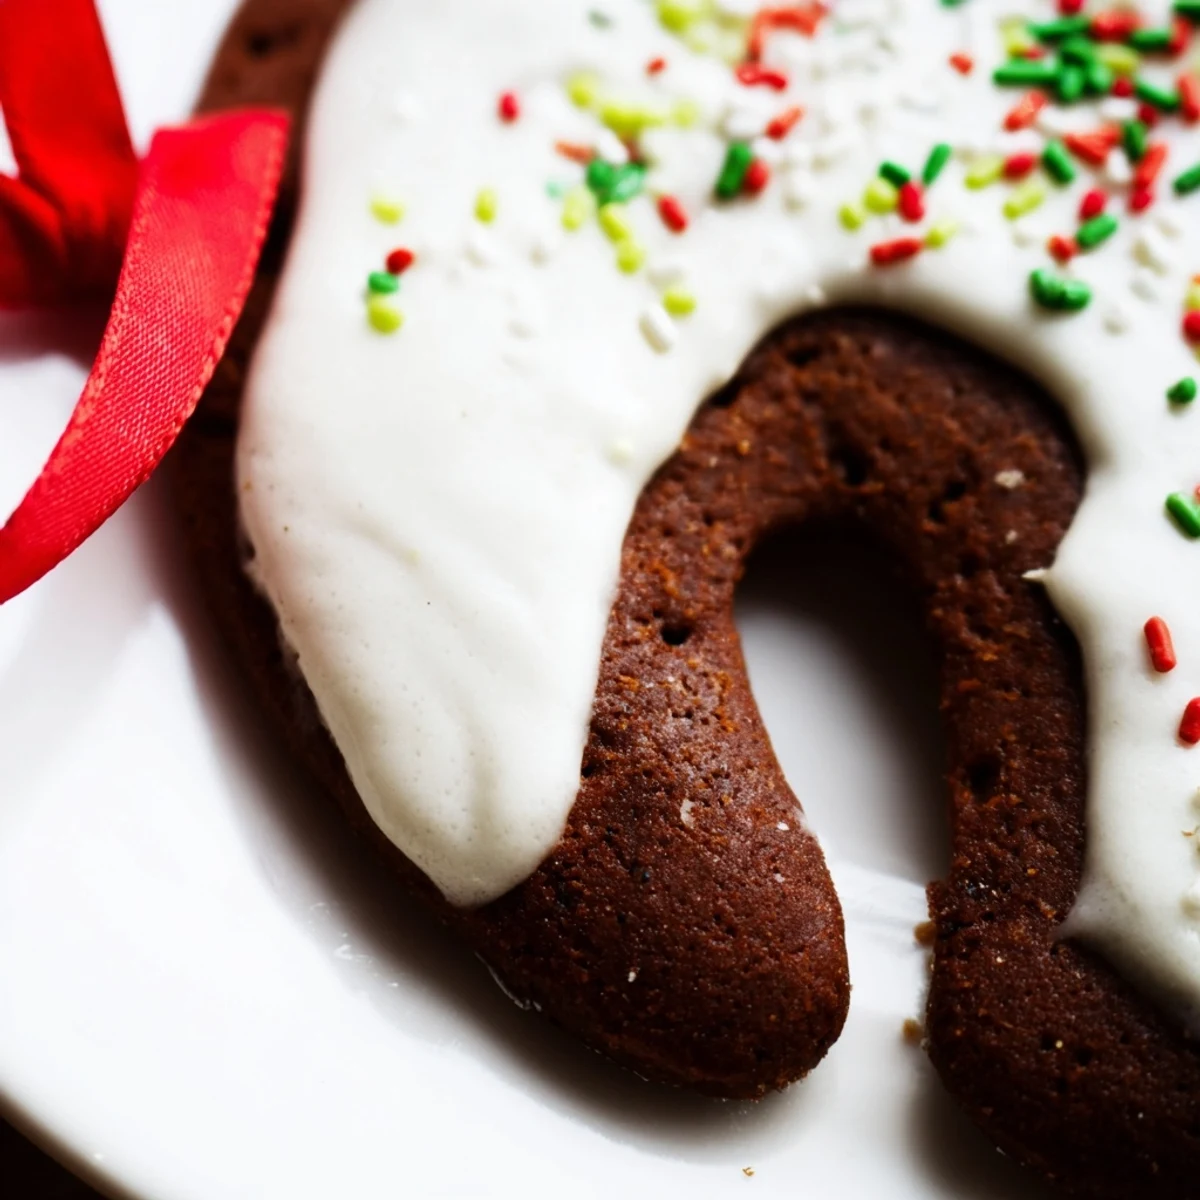
 These gingerbread ornaments combine aromatic spices like ginger, cinnamon, and cloves with a rich molasses base. Chilled dough is rolled and cut with ornament-shaped cutters before baking to a crisp finish. Decorated with royal icing and colorful ribbons, they bring festive warmth and visual delight perfect for holiday displays or gifting. Easy to prepare with common baking tools, these treats offer both a fragrant ambiance and charming decoration for any celebration.
The first time I made gingerbread ornaments, my kitchen smelled like a spice market had exploded in the best way possible. I'd grabbed a bag of whole cloves at the market, and when I opened it to measure them out, the scent hit so sharply that my roommate came rushing in asking if something was burning. Instead of cookies, I was accidentally turning our apartment into a fragrant beacon for the entire block. By the time the first batch came out of the oven, I knew these weren't just cookies—they were tiny, edible decorations that would transform how our tree looked and smelled.
I brought a batch to my grandmother's house one December, and she immediately hung them on her little kitchen window plant instead of the tree. She said they made better decorations there because she could smell them while cooking breakfast. That offhand comment stuck with me—it's why I now make extra batches just to tuck into corners of the house where people will unexpectedly catch their scent.
Ingredients
- All-purpose flour (3 cups): This is your structure—don't sift it unless you're feeling precise, but do spoon it into your measuring cup and level it off so you're not packing it down.
- Baking soda (3/4 teaspoon): Just enough to give the cookies a subtle lift without making them cakey.
- Salt (1/4 teaspoon): A tiny pinch that makes the spices pop louder than you'd expect.
- Ground ginger (1 tablespoon): Buy it fresh if you can—the older stuff loses its bite, and bite is what makes these memorable.
- Ground cinnamon (1 tablespoon): Don't reach for the dusty tin in the back of your cabinet; this deserves fresh spice.
- Ground cloves (1/2 teaspoon): This is the secret closer, the one that makes people ask what that underlying flavor is.
- Ground nutmeg (1/2 teaspoon): Adds a subtle warmth that ties everything together.
- Unsalted butter (1/2 cup, softened): Softened means it should be the texture of peanut butter when you press your finger into it.
- Dark brown sugar (1/2 cup, packed): Pack it down gently into your measuring cup—that's where the molasses richness comes from.
- Large egg (1): Room temperature works best; it blends more smoothly into the butter and sugar.
- Unsulphured molasses (2/3 cup): The unsulphured kind tastes cleaner and less sharp—it's worth the small price difference.
- Pure vanilla extract (1 teaspoon): Cheap vanilla will make you regret it; spend the extra dollar here.
- Royal icing: Either buy it premade for simplicity, or make your own if you enjoy that control.
- Festive ribbons (24, each 6-8 inches): Thinner ribbons work better than thick ones; they tie neater through the holes.
Instructions
- Combine your spices:
- Whisk flour, baking soda, salt, ginger, cinnamon, cloves, and nutmeg in a large bowl until the mixture looks evenly tinted. This is where the aromatics start their magic.
- Build the foundation:
- Beat softened butter and packed brown sugar together for about 2 minutes until it's light, fluffy, and noticeably paler. This is the texture that makes the difference.
- Add wetness and flavor:
- Pour in the egg, molasses, and vanilla, mixing until everything is fully combined and the color deepens to almost chocolate-brown.
- Bring it together:
- Gradually add your dry mixture to the wet stuff, stirring until a shaggy dough forms. Don't overmix—you're not making bread.
- Rest the dough:
- Divide into two discs, flatten them, wrap in plastic, and chill for at least 30 minutes. Cold dough is easier to work with and produces crisper edges.
- Get your oven ready:
- Preheat to 350°F and line your baking sheets with parchment paper while the dough chills. This step prevents sticking and burning.
- Roll and cut:
- On a lightly floured surface, roll one disc to about 1/4-inch thick. Use your ornament cutters and work quickly so the dough stays cool.
- Create the hanging holes:
- Use a straw or skewer to poke a clean hole near the top of each cookie before baking. This is easier than trying to poke through baked cookies.
- Bake with intention:
- Bake for 10–12 minutes until the edges are set but the center still feels slightly soft—they'll firm up as they cool. Watch for the moment the kitchen fills with that deep, spiced fragrance.
- Cool in stages:
- Let them sit on the baking sheet for 5 minutes to set, then transfer to a wire rack to cool completely. Rushing this step causes them to crack.
- Decorate with care:
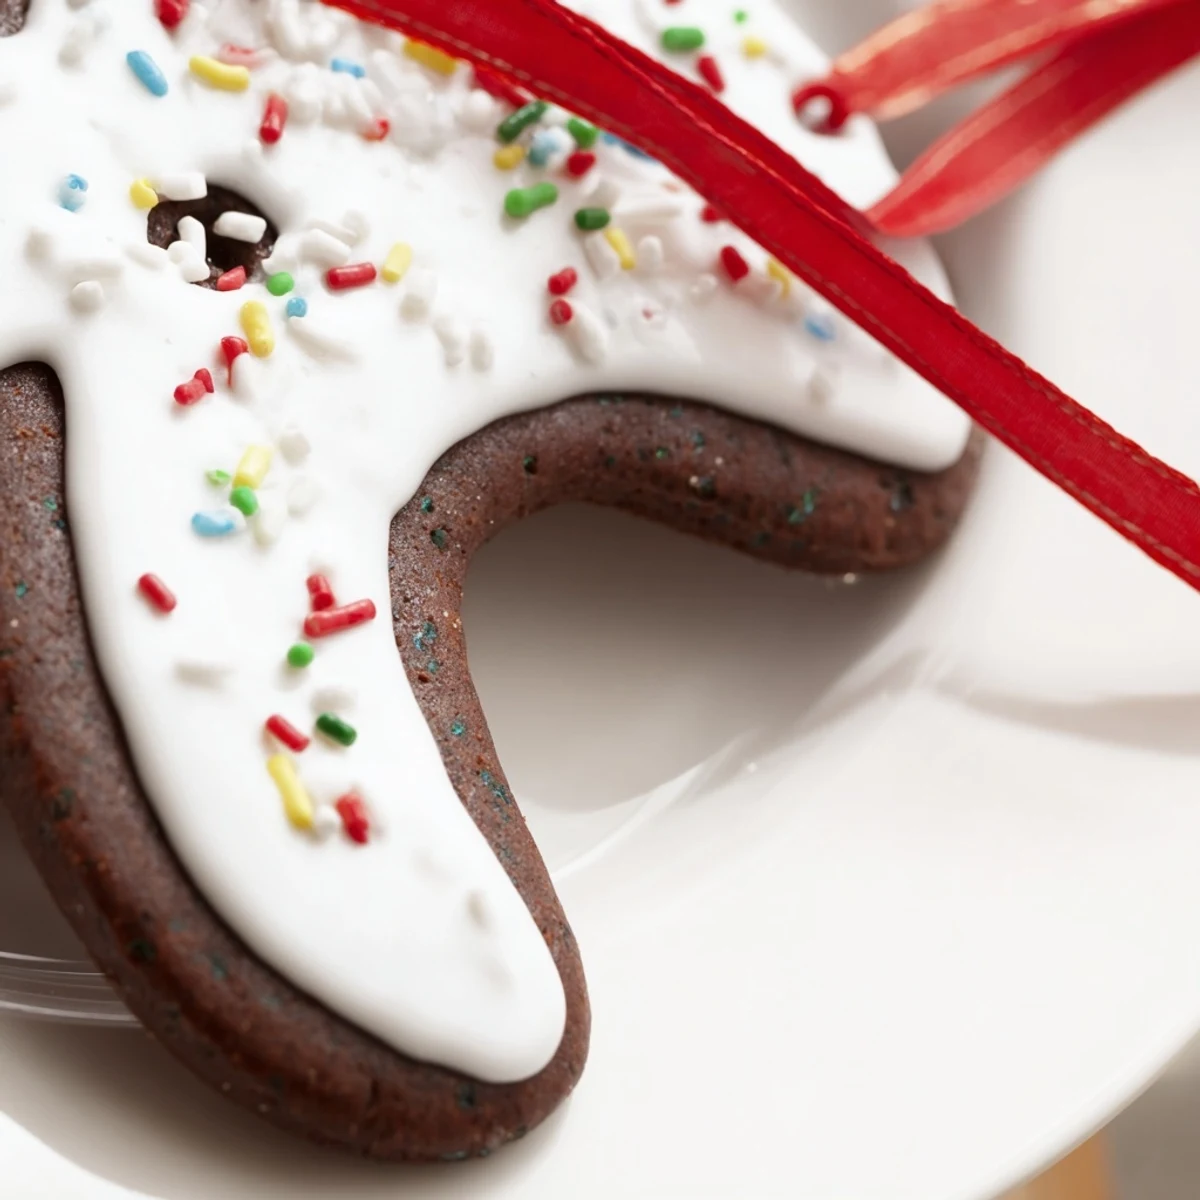
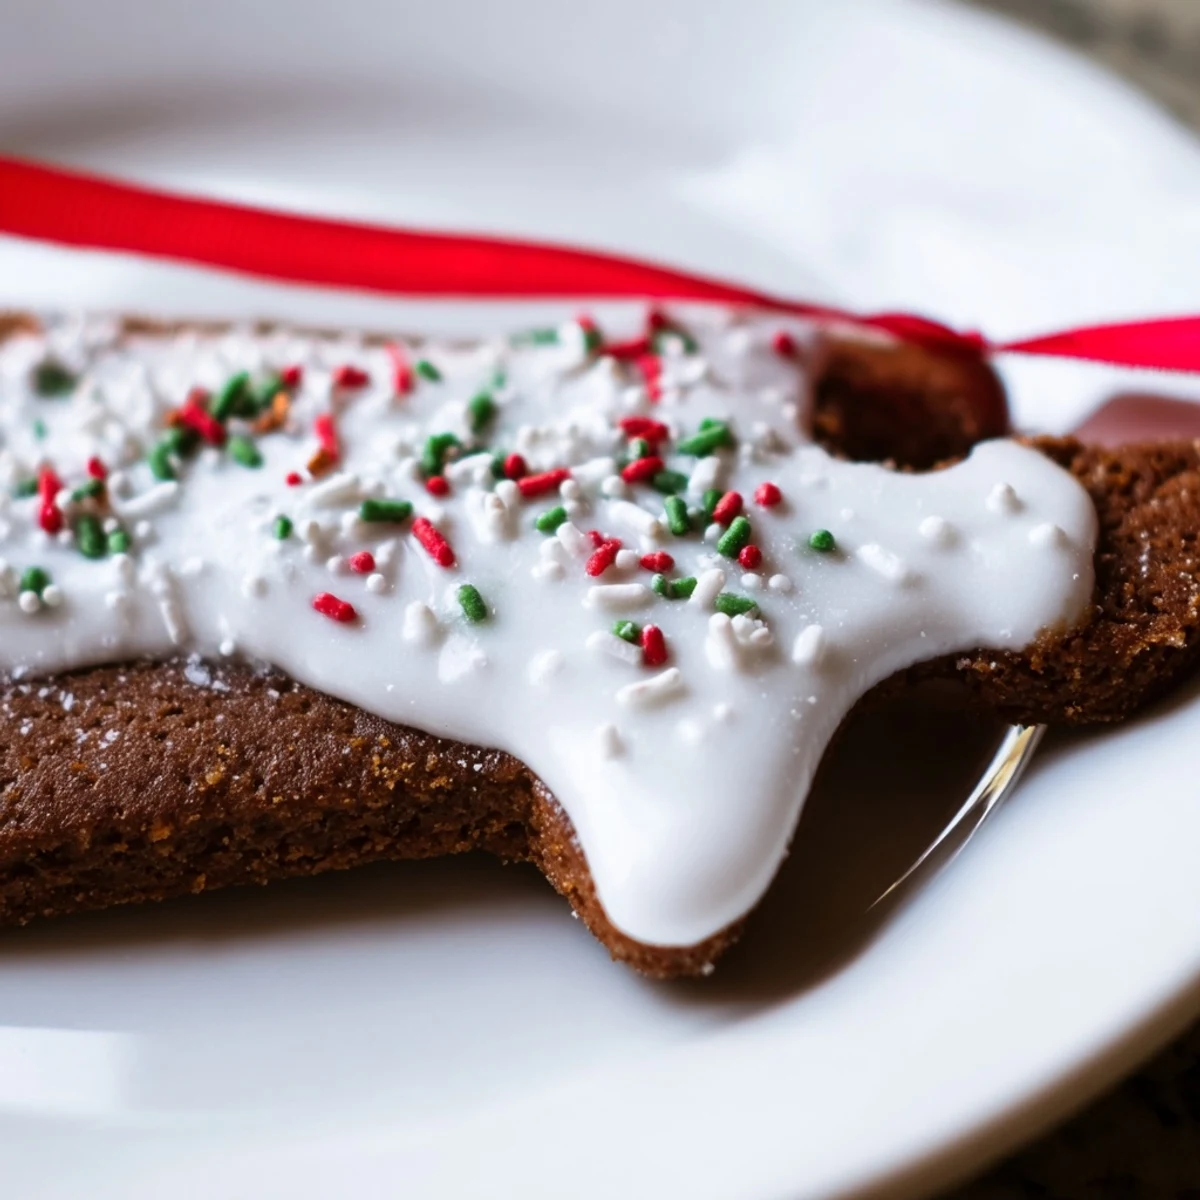
- Once fully cooled, pipe or spread royal icing onto each cookie and add sprinkles if you want. Let it harden completely before threading ribbons.
- Ribbon and display:
- Thread a ribbon through the hole and tie it into a loop, then hang wherever your home needs both beauty and aroma.
 Save to Pinterest
 My neighbor stopped by in early December and noticed my tree was hanging with these fragrant ornaments instead of the usual shiny balls. She asked for the recipe, made a batch, and now it's become her family's tradition to bake and decorate them together every year. That's when I realized these aren't really decorations—they're a small act of generosity that fills people's homes with warmth.
Why These Matter as Gifts
Homemade gingerbread ornaments say something store-bought ones never can. They're edible, aromatic, and require actual time and care—which means every person who receives one knows you made it just for them. I've started packing them in small cellophane bags with handwritten tags, and they've become the gifts people mention long after the holidays end. The fragrance alone lingers in memory.
Storage and Longevity
These ornaments aren't just for this year—with proper storage, they'll hold up for several seasons. The key is keeping them in a cool, dry place in an airtight container, away from humidity and moisture. I keep mine in a sealed box in my closet between Decembers, and they're just as fragrant and crisp when I open them again. The icing might absorb a bit of the cookie over time, creating a softer texture, but that just makes them even more delicious to snack on.
Variations and Personal Touches
Once you've made the base recipe a time or two, these cookies become a canvas for your own ideas. I've experimented with adding a pinch of cardamom, swapping half the brown sugar for dark muscovado, and even painting them with edible gold dust instead of royal icing. The spice ratio is flexible—if you prefer a gentler flavor, reduce the cloves by half; if you want it more intense, add another pinch of ginger. Some years I use embossing colors in the icing, other years I keep it simple with just a clear glaze so the cookie itself is the star.
- Try adding candied orange peel pieces pressed into the dough before baking for a bright citrus note.
- Swap regular molasses for blackstrap molasses if you want a deeper, more complex flavor.
- Royal icing is your decorating friend, but don't skip letting it harden completely before hanging the ornaments.
 Save to Pinterest
 Every December when I pull these ornaments out and hang them, my home smells like love and spice again. These aren't just cookies—they're memories in edible form.
Recipe Questions & Answers
- → What spices are used in the gingerbread dough?
-
Ground ginger, cinnamon, cloves, and nutmeg blend to create the classic warm spice profile.
- → How do I make the ornaments sturdy enough to hang?
-
Chilling the dough helps maintain shape, and poking holes before baking allows for threading ribbons without breaking.
- → Can I decorate these ornaments in advance?
-
Yes, once cooled, icing hardens well and ornaments can be stored in airtight containers to preserve freshness.
- → What baking temperature and time are best?
-
Bake at 350°F (175°C) for 10–12 minutes until edges are set for a crisp texture suitable for hanging.
- → Are there gluten or egg allergens in this dish?
-
Yes, these ornaments contain wheat flour and eggs; royal icing may also include egg whites.
