 Save to Pinterest
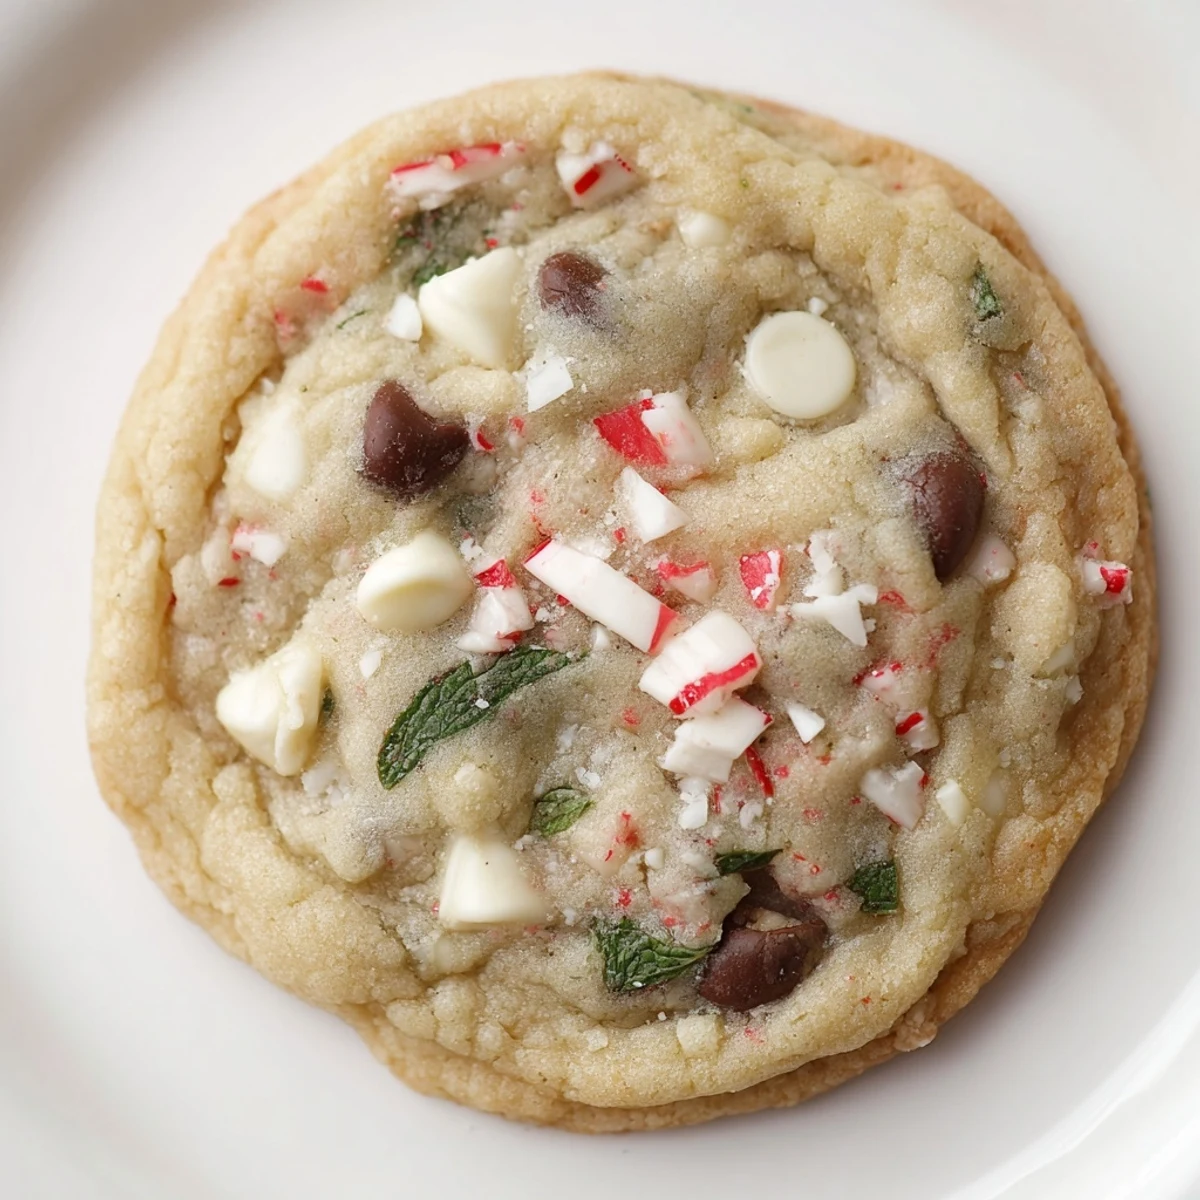
 These buttery, chewy cookies blend cool peppermint extract with generous semisweet chocolate chips and fresh mint leaves, creating a refreshing twist on classic chocolate chip treats. The dough balances brown and granulated sugars for softness and flavor. Crushed peppermint candies add festive crunch, while white chocolate chips can be used optionally for extra sweetness. Baked until edges turn golden with soft centers, these cookies offer a perfect holiday indulgence with a delightful minty aroma.
Preparation is simple and quick, requiring standard baking tools and a 25-minute total time. Adjust mint intensity with fresh leaves or extra extract to suit your taste. Ideal served alongside cold milk or hot cocoa.
There's something about the smell of peppermint that takes me straight back to winter kitchens—not the manufactured kind, but real mint leaves bruised between your fingers releasing that sharp, green scent. I stumbled onto these cookies by accident one December when I had both fresh mint from a wayward garden project and a craving for something festive that didn't feel store-bought. The combination of chocolate, peppermint, and that unexpected little crunch of crushed candy canes became something I couldn't stop making.
I brought a batch to a holiday potluck where someone's aunt kept asking if they were homemade, convinced I'd bought them from a bakery because of how the colors swirled together. Watching people taste the mint before they expected it, seeing their faces light up—that's when I knew these weren't just another cookie recipe.
Ingredients
- All-purpose flour (2 1/4 cups): The foundation—use standard all-purpose, not cake flour, or your cookies will spread too thin and lose that chewy center you're after.
- Baking soda (1 teaspoon): This helps your cookies spread and brown properly, but don't skip it or they'll be cakey.
- Salt (1/2 teaspoon): A tiny pinch that makes the chocolate taste richer and the mint taste brighter.
- Unsalted butter (1 cup, softened): Room temperature is everything—cold butter won't cream properly, and you'll end up with dense cookies.
- Granulated and brown sugar (3/4 cup each): The combo of both gives you structure and chewiness; brown sugar alone makes them spread too much.
- Eggs (2 large): Make sure they're room temperature too, or they won't incorporate evenly into the butter mixture.
- Vanilla and peppermint extract (1 teaspoon each): Use pure extracts, not imitation—the difference is real, especially with peppermint.
- Semisweet chocolate chips (1 cup): The backbone of the flavor; I learned the hard way that cheaper chips can taste waxy.
- White chocolate chips (1/2 cup, optional): These add a subtle sweetness and make the festive look happen without trying.
- Fresh mint leaves (1/2 cup, finely chopped): This is the secret move—dried mint tastes dusty in cookies, but fresh mint stays bright and alive.
- Crushed peppermint candies (1/2 cup): The final flourish that gives you texture and that unmistakable holiday crunch.
Instructions
- Set your stage:
- Preheat your oven to 350°F and line two baking sheets with parchment paper—this is where you'll catch the cookies before they spread into one another and lose their shape.
- Bring the dry ingredients together:
- In a medium bowl, whisk flour, baking soda, and salt until they're evenly distributed. This breaks up any clumps in the flour and makes sure the baking soda spreads throughout.
- Cream the butter and sugars:
- Beat softened butter with both sugars in a large bowl for about 2 to 3 minutes until the mixture is light, fluffy, and noticeably pale. This step is doing real work—it's incorporating air that helps your cookies rise and stay tender.
- Add the eggs and extracts:
- Add eggs one at a time, beating after each one so they fully incorporate. Then mix in vanilla and peppermint extract until the whole mixture smells like winter.
- Bring it together:
- Gradually add the dry ingredients to the wet mixture, stirring just until combined. Overmixing here develops gluten and makes cookies tough, so stop as soon as you don't see flour streaks.
- Fold in the good stuff:
- Add chocolate chips, white chocolate chips if you're using them, chopped mint, and crushed peppermint candies, folding gently until they're evenly scattered through the dough. The mint should look like little green flecks throughout.
- Shape and space:
- Scoop tablespoon-sized portions onto your prepared baking sheets, leaving about 2 inches between each one so they can spread without touching. If the dough feels sticky, chilling it for 15 minutes makes scooping easier.
- Bake with intention:
- Bake for 9 to 11 minutes until the edges are lightly golden but the centers still look barely set. They'll continue cooking on the hot pan, so pulling them out while they're still soft is the move.
- Cool with patience:
- Let cookies rest on the baking sheet for 5 minutes before transferring to a wire rack, letting them firm up just enough to move without breaking. This is a crucial step that determines whether you end up with proper chewy cookies or crumbly ones.
 Save to Pinterest
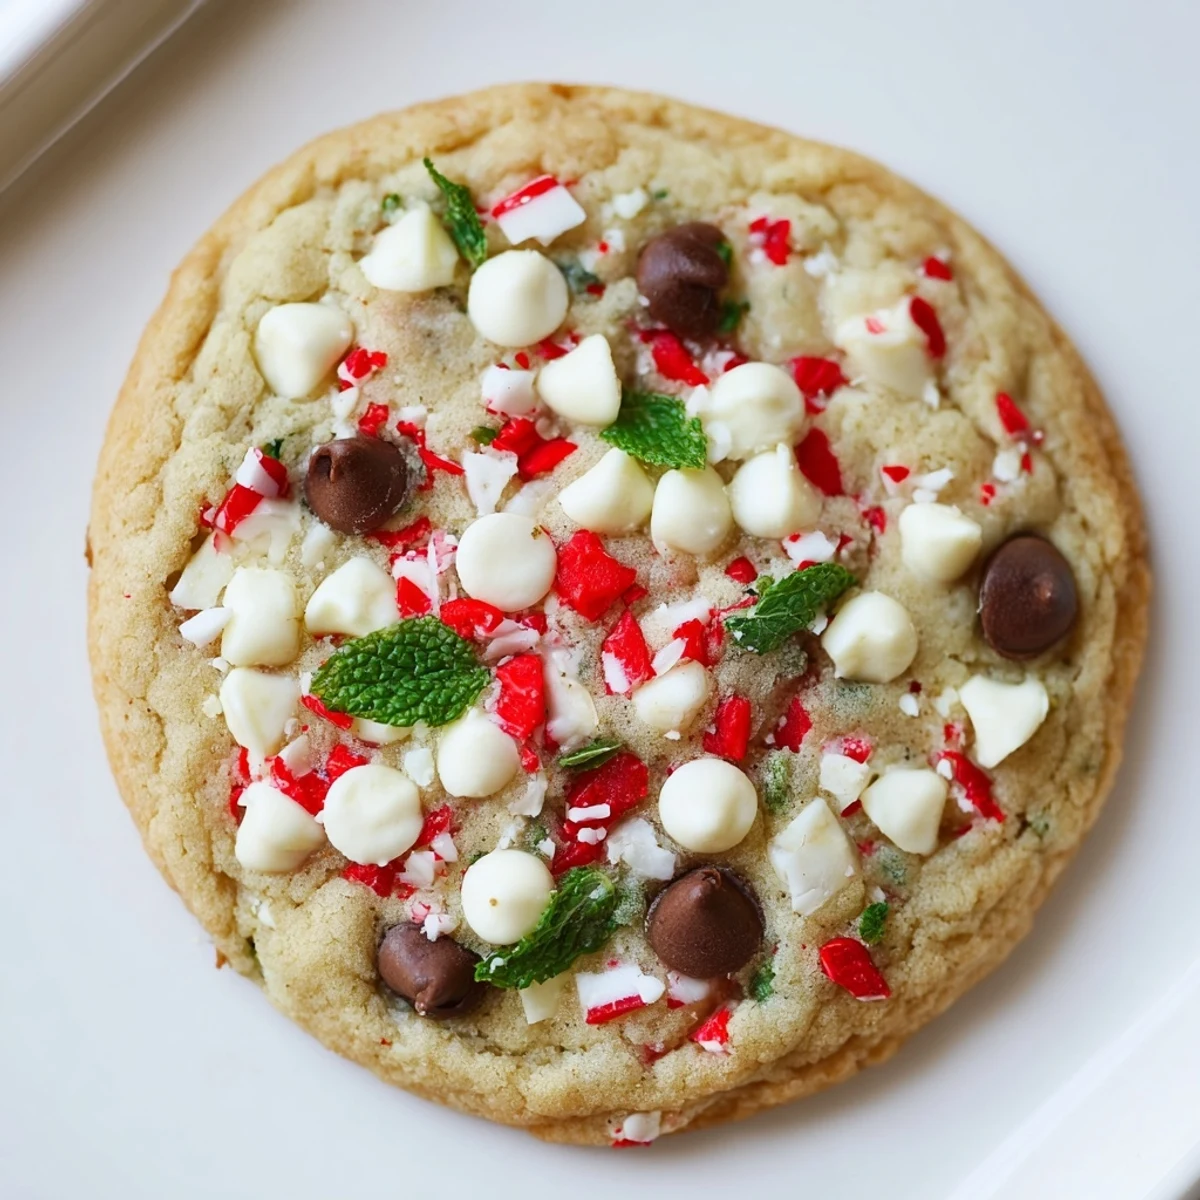
 A friend once said these cookies taste like Christmas morning smells, and I've never forgotten that. It's such a specific thing to say, but it's exactly right—they're a moment in edible form.
Getting the Texture Right
The real magic happens in that moment between pulling them from the oven and letting them cool on the pan. If you take them out when they look barely done, just barely set in the center, they'll firm up perfectly as they cool, giving you that crispy-edged, chewy-centered cookie that tastes like it came from a fancy bakery. Take them out too early and they'll fall apart; bake them too long and they become hard. It's a narrow window, but it's worth paying attention to.
Mint Variations to Try
Once you've made these once, you'll start noticing things you want to adjust. Some people love a stronger mint presence and add an extra half teaspoon of peppermint extract or double the fresh mint. Others find that one crushed candy cane mixed into the dough and more pressed on top before baking gives them an even more festive look. The base recipe is sturdy enough to play with—it doesn't fall apart when you experiment.
When to Make These and How to Store Them
These cookies are best the day you make them when the peppermint flavor is sharpest, but they keep well in an airtight container for up to four days if you layer them with parchment between each cookie. They also freeze beautifully—scoop unbaked dough onto a tray, freeze until solid, then transfer to a freezer bag and bake straight from frozen, adding just a minute or two to the bake time. I like keeping baked cookies in the freezer so I can always have something warm from the oven without starting from scratch.
- Store in airtight containers at room temperature, layering with parchment to prevent sticking.
- Frozen dough stays fresh for up to three months and bakes directly without thawing.
- A quick warm-up in a 300°F oven for a few minutes brings day-old cookies back to fresh-from-the-oven status.
 Save to Pinterest
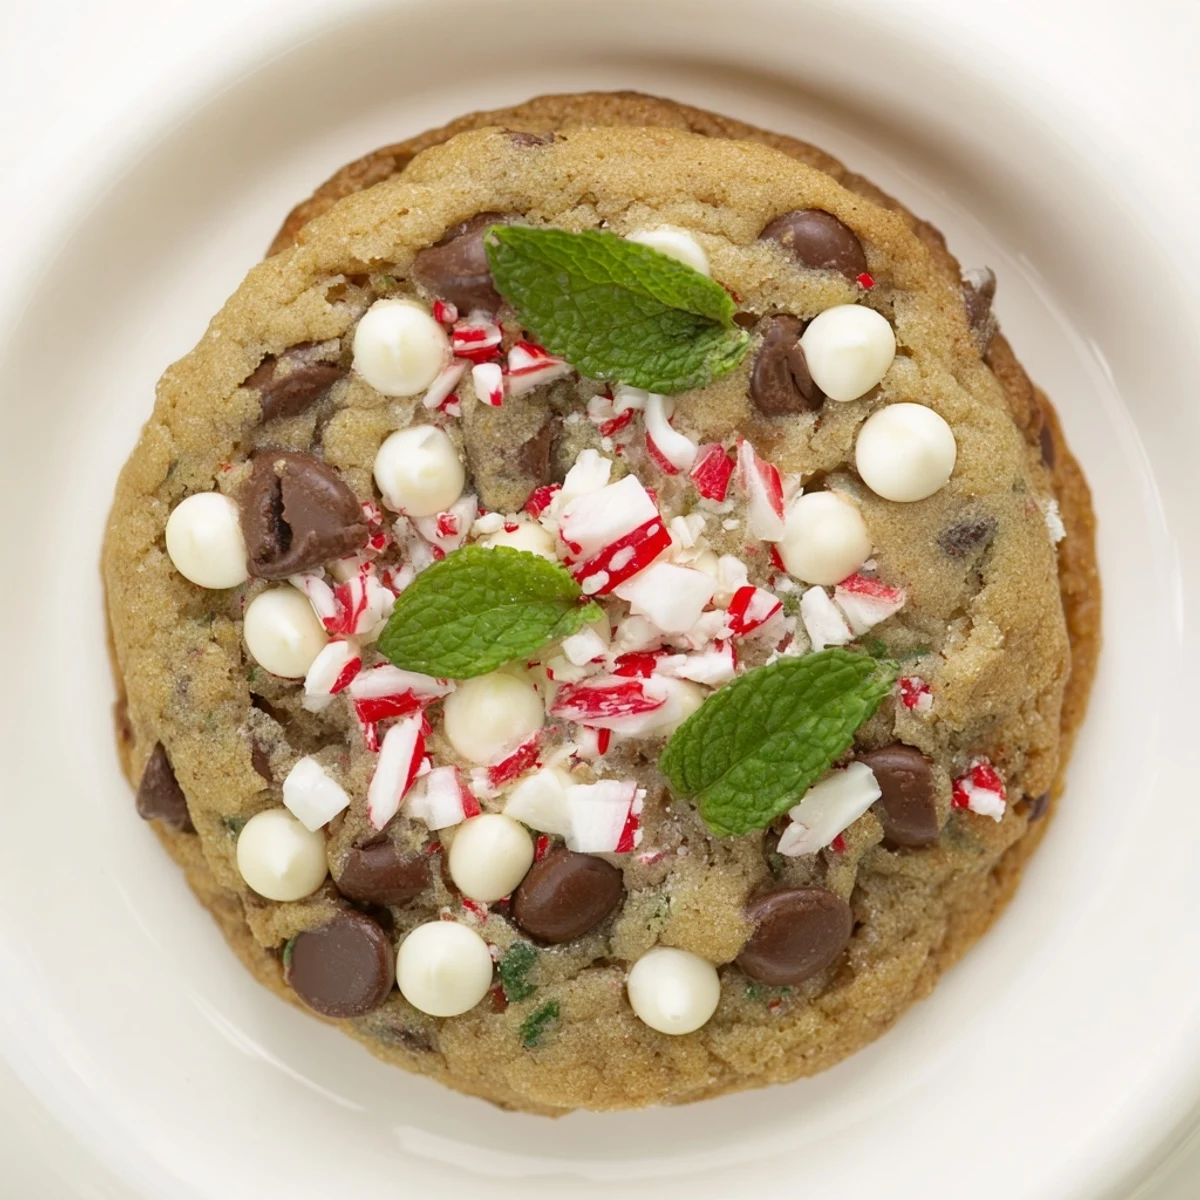
 These cookies are the kind that make people ask for the recipe, and they're simple enough that you actually want to share it. That's the mark of something worth making again.
Recipe Questions & Answers
- → What gives these cookies their minty flavor?
-
The minty flavor comes from peppermint extract, fresh chopped mint leaves, and crushed peppermint candies folded into the dough.
- → Can I substitute the chocolate chips used?
-
Yes, you can replace semisweet chocolate chips with dark or milk chocolate based on your preference.
- → How do I ensure soft cookie centers?
-
Bake the cookies just until the edges are lightly golden, keeping the centers soft and chewy.
- → What is the best way to intensify the mint flavor?
-
Adding more fresh mint or increasing peppermint extract slightly can enhance the mint intensity.
- → Are these suitable for vegetarian diets?
-
Yes, these cookies contain no meat products and fit vegetarian dietary preferences.
- → What should I serve with these cookies?
-
They pair exceptionally well with cold milk or a warm cup of hot cocoa for a cozy treat.
