 Save to Pinterest
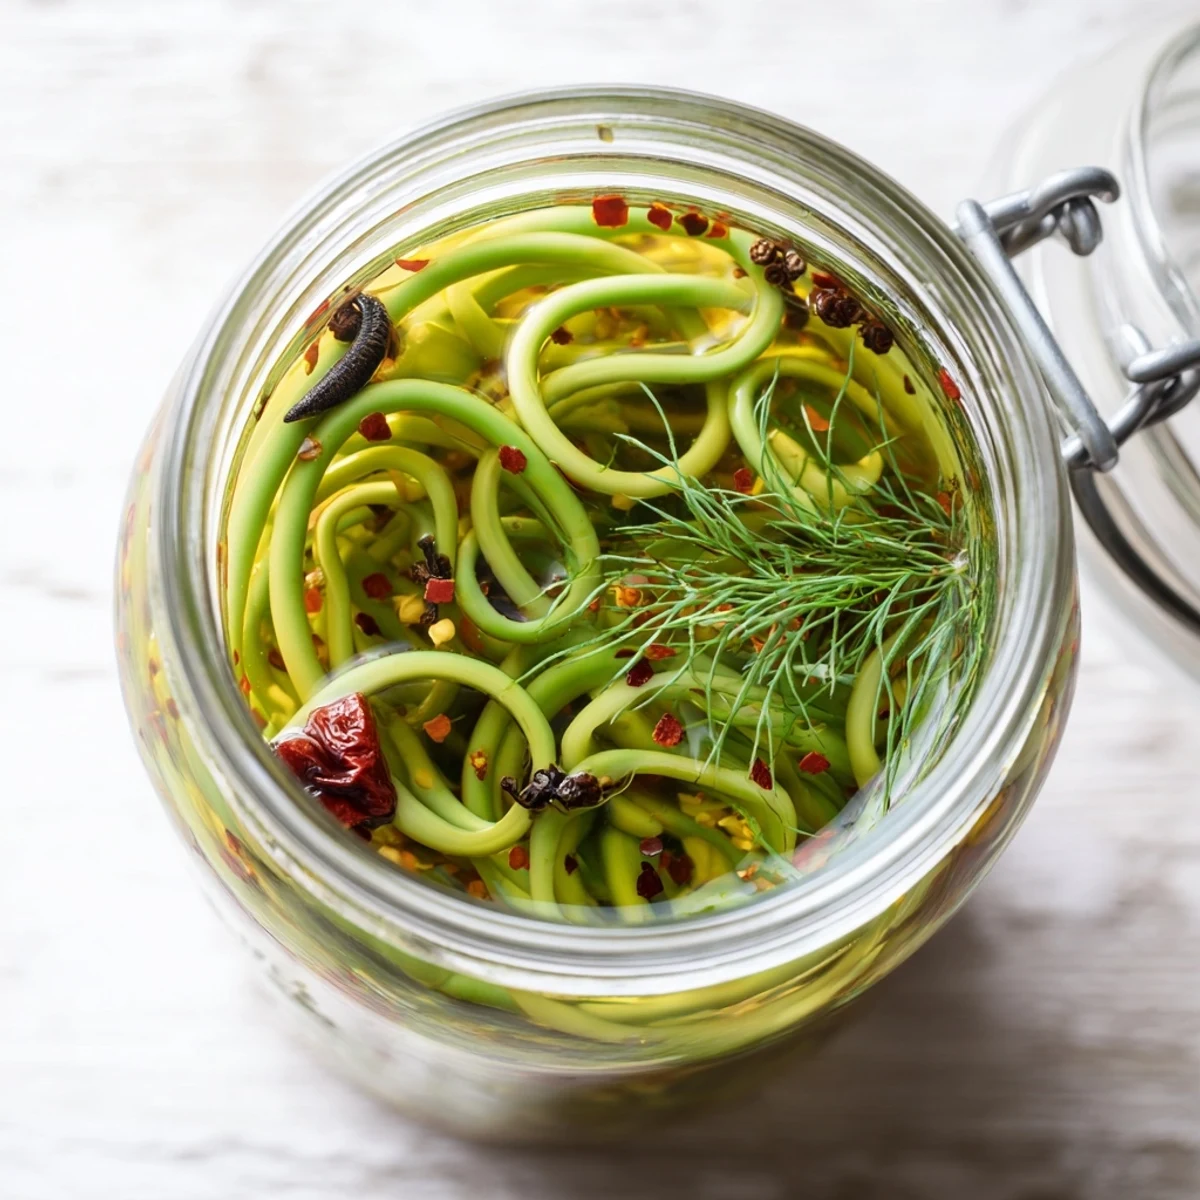
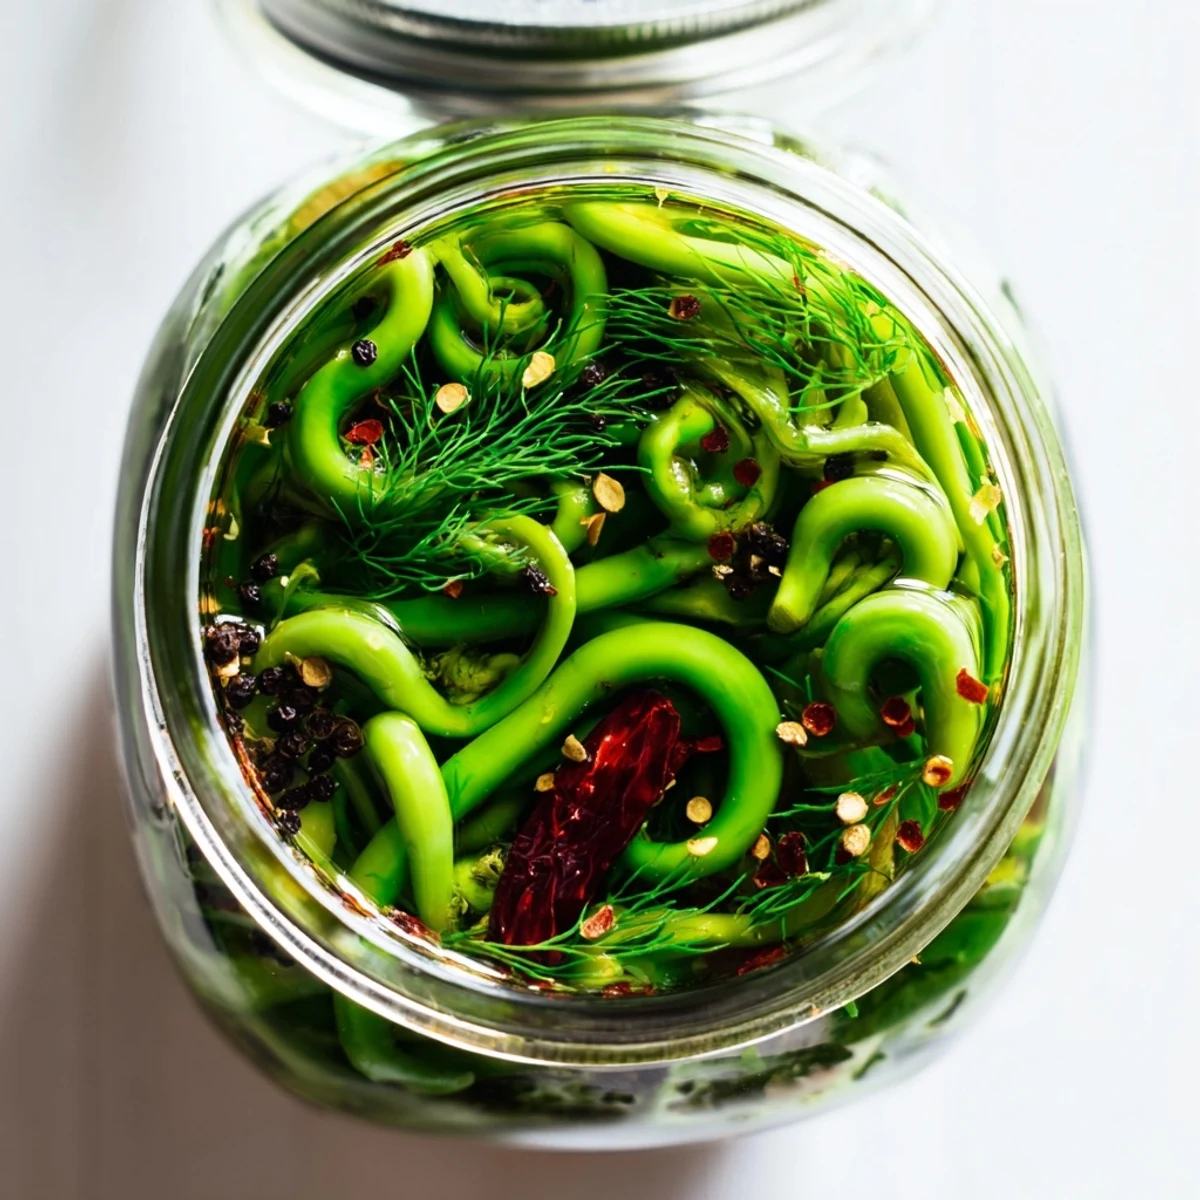
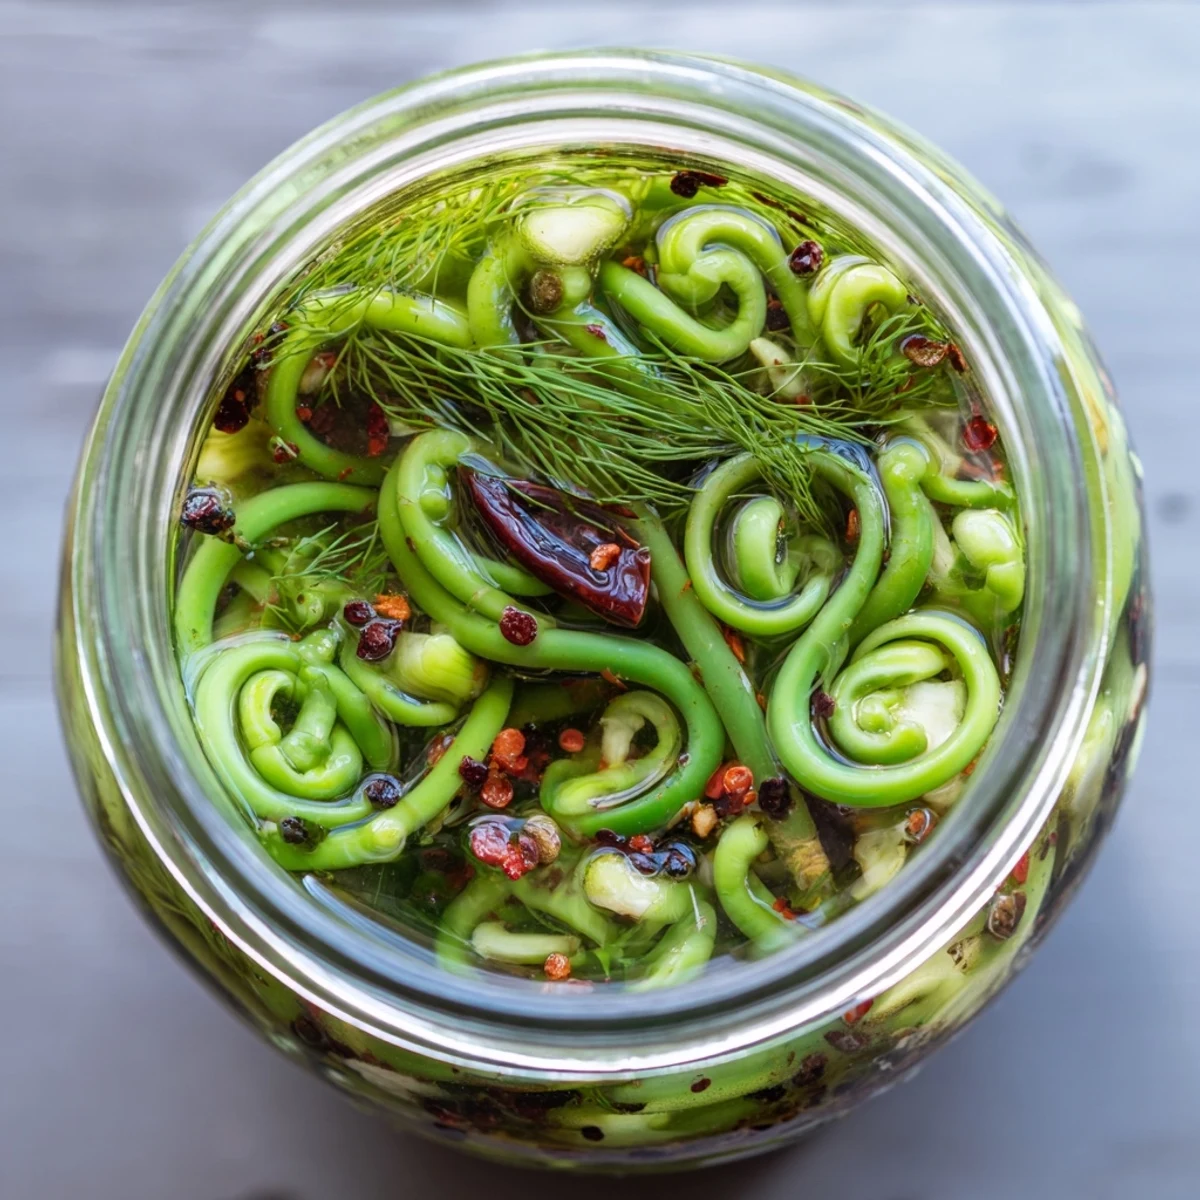
 Create vibrant, tangy pickles from fresh garlic scapes with this simple brining technique. The curved scapes soak up a balanced vinegar solution sweetened slightly and infused with black peppercorns, mustard seeds, coriander, and dried chilies. After just 48 hours in the refrigerator, these crunchy stems develop complex flavors that intensify over time.
The process involves packing trimmed scapes into sterilized jars with aromatics, then pouring hot brine over them. The result is a versatile condiment that adds bright acidity and gentle heat to charcuterie boards, sandwiches, salads, or as a bold standalone snack. These pickles keep for a month, letting you enjoy peak garlic scape season well beyond its harvest window.
I discovered garlic scapes at a farmers market when a farmer handed me a curly green shoot and told me it was the garlic plants flower bud. One taste of those pickled scapes later, and I was hoarding every bunch I could find each spring. Now my pantry feels incomplete without at least two jars of these tangy, snappy beauties tucked away.
Last summer I brought a jar to a barbecue and watched skeptics turn into converts within minutes. Someone actually asked if they could take the jar home, and I have since learned to always make a double batch. These pickles have become my go-to host gift because they are unlike anything people can buy at the store.
Ingredients
- 300 g fresh garlic scapes: Trim the woody ends and cut them to fit your jars. They should be firm and bright green, avoid any that look yellowed or limp.
- 250 ml distilled white vinegar: The neutral acidity lets the scapes flavor shine through without overpowering them.
- 250 ml water: Dilutes the vinegar just enough so the brine is not harshly sharp.
- 2 tbsp granulated sugar: Balances the acidity and helps the pickling process work its magic.
- 1 tbsp kosher salt: Use kosher or sea salt rather than table salt for the cleanest flavor.
- 1 tsp black peppercorns: Adds a subtle warmth that builds in the background.
- 1 tsp mustard seeds: These give a gentle bite and classic pickle flavor.
- 1 tsp coriander seeds: Brings a citrusy note that pairs beautifully with garlic.
- 1/2 tsp red pepper flakes: Adjust this based on your heat tolerance.
- 2 small dried chilies: Whole chilies infuse heat without making every bite fiery.
- 2 bay leaves: One per jar adds an herbal depth.
- 4 sprigs fresh dill: Optional but adds that classic pickle aroma we all love.
Instructions
- Get your jars ready:
- Wash those pint jars and lids with hot, soapy water, then sterilize them by boiling for 10 minutes or running through a hot dishwasher cycle. Clean jars are the secret to pickles that last.
- Prep the scapes:
- Trim the tough ends from the garlic scapes, then cut them into lengths that fit your jars. They can curl around inside—part of the charm is how they tuck together.
- Start packing:
- Divide the scapes, fresh dill sprigs if using, and dried chilies evenly between your two jars. Pack them in firmly but not so tight that the brine cannot circulate.
- Add the spices:
- Split the peppercorns, mustard seeds, coriander seeds, and red pepper flakes between the jars. Tuck one bay leaf into each jar.
- Make the brine:
- Combine the vinegar, water, sugar, and salt in a saucepan. Bring it to a boil, stirring until the sugar and salt dissolve completely.
- Fill the jars:
- Carefully pour that hot brine over the scapes, making sure they are completely submerged. Leave about half an inch of headspace at the top.
- Seal and cool:
- Put the lids on and let the jars cool to room temperature on the counter. Then pop them into the refrigerator.
- Wait patiently:
- Let them pickle for at least 48 hours before cracking one open. The flavor keeps developing for a week, so wait if you can.
 Save to Pinterest
 My friend who claims to hate pickles polished off half a jar during one conversation. These scapes convert even the most skeptical eaters because they taste fresh and vibrant, not overly processed or vinegar-heavy.
Serving Ideas
I chop them into grain salads for unexpected crunch and zest. They are also incredible tucked into grilled cheese sandwiches or served alongside a cheese board where their brightness cuts through rich cheeses perfectly.
Make Them Your Own
Sometimes I add sliced radishes or carrots to the jar for extra color and variety. You can also swap in dried thyme or oregano if dill is not your thing—just keep the spice blend the same for that classic pickle profile.
Storage Tips
These will keep for up to a month in the refrigerator, though they rarely last that long in my house. Always use a clean fork to fish them out so you do not introduce bacteria that shortens their life.
- Label your jars with the date so you can track freshness
- Keep them in the back of the fridge where the temperature stays most consistent
- If any scapes peek above the brine, push them back under before returning to the fridge
 Save to Pinterest
 There is something deeply satisfying about opening a jar of these in the middle of winter and tasting spring all over again. Happy pickling.
Recipe Questions & Answers
- → What do garlic scapes taste like when pickled?
-
Pickled garlic scapes retain their garlicky flavor but become milder and sweeter than raw cloves. The texture stays crisp and crunchy, while the vinegar brine adds tanginess that balances the natural spice. The chili and peppercorns contribute warmth without overwhelming the delicate garlic essence.
- → How long should I let garlic scapes pickle before eating?
-
Wait at least 48 hours for the scapes to absorb the brine flavors. For optimal taste, let them pickle for one full week. The flavors continue developing over time, becoming more complex and balanced. They remain delicious for up to a month when properly refrigerated.
- → Can I adjust the spice level in these pickled scapes?
-
Absolutely. Start with the suggested half teaspoon of red pepper flakes and two dried chilies. For more heat, increase the flakes or add extra chilies. You can also include sliced fresh hot peppers or add a pinch of cayenne to the brine. The spice level is entirely customizable to your preference.
- → What dishes pair well with pickled garlic scapes?
-
These tangy scapes complement rich foods like grilled meats, pâtés, and aged cheeses on charcuterie boards. They add brightness to sandwiches, burgers, and tacos. Chop them into potato salads, grain bowls, or scatter over roasted vegetables. Their crunch and acidity also make them an excellent snack straight from the jar.
- → Do I need to process these in a water bath for canning?
-
No water bath processing is required for this recipe. These are refrigerator pickles designed for short-term storage. The hot brine briefly sterilizes the contents, and refrigeration keeps them safe for up to a month. For longer shelf-stable storage, you would need proper canning techniques and processing times.
- → Can I use other vinegars besides distilled white vinegar?
-
While white vinegar provides the cleanest flavor, you can experiment with apple cider vinegar for a fruity note or rice vinegar for subtle sweetness. Avoid balsamic or dark vinegars as they'll discolor the scapes. If substituting, maintain the same acidity level (5%) for proper pickling and food safety.
