 Save to Pinterest
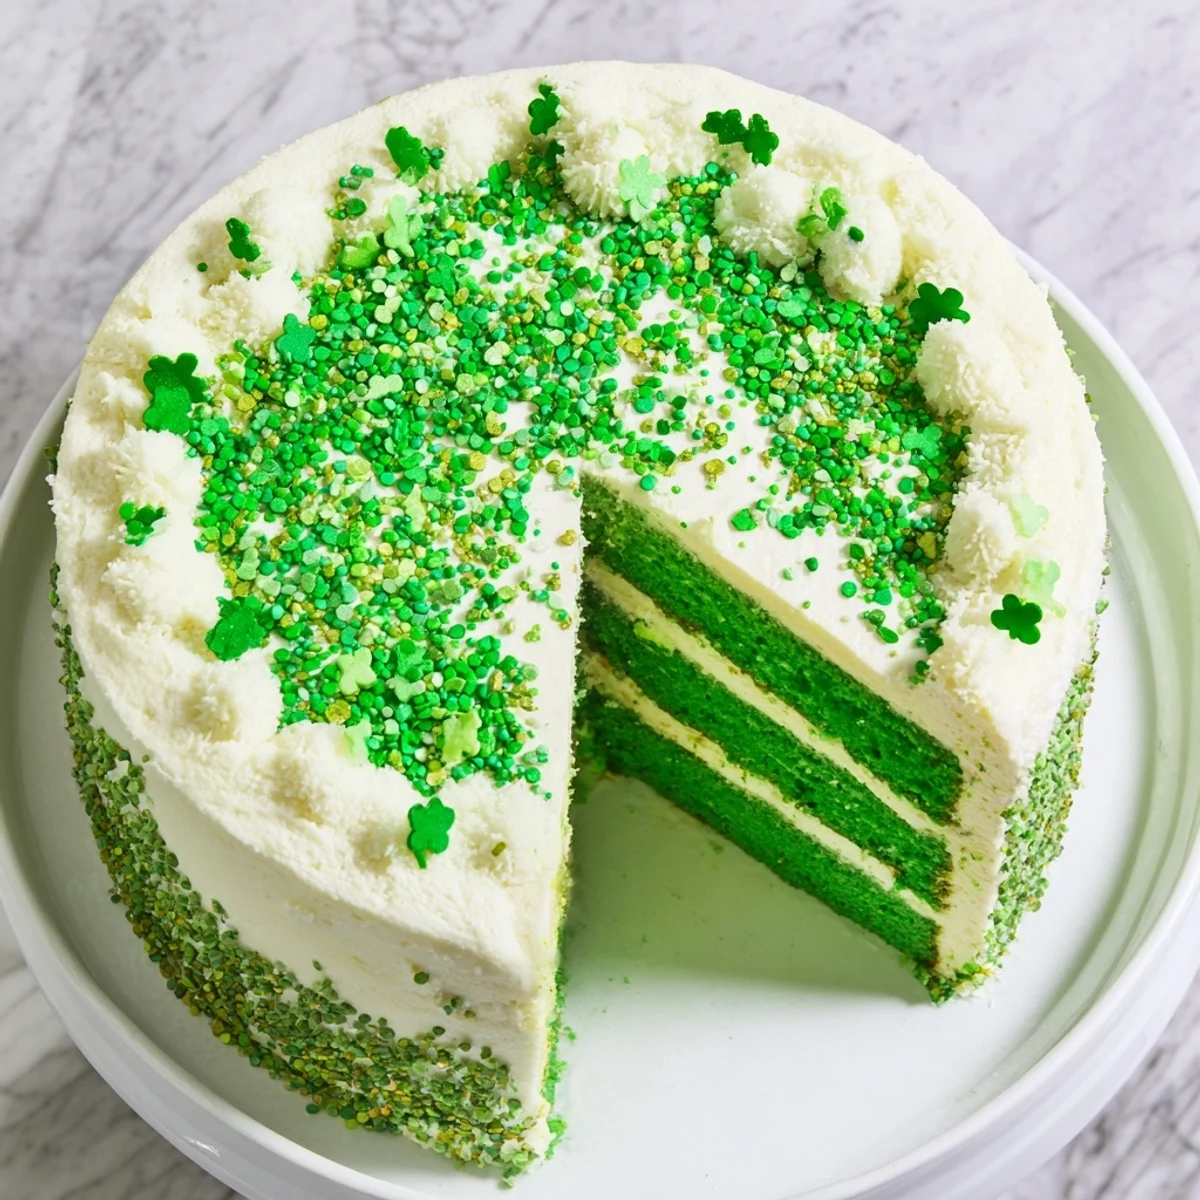
 Create a show-stopping festive centerpiece with this vibrant green layered cake featuring fluffy sponge and rich vanilla buttercream frosting. The striking emerald color captures the spirit of St. Patrick's Day celebrations, making it ideal for parties, family gatherings, and Irish-themed events. This American-Irish inspired dessert delivers moist, tender layers balanced by sweet creamy frosting that everyone will love. The straightforward method yields professional-looking results suitable for bakers of all skill levels.
The year I made three St. Patrick's Day cakes in a single week, my kitchen looked like a leprechaun explosion. Green speckles on the ceiling, food coloring stains on my favorite wooden spoon, and my teenage daughter asking if we could please eat something that wasn't green for dinner. But that first slice, with its pillowy vanilla buttercream and surprisingly tender crumb, made every colorful mess worth it.
My neighbor asked me to make this for her daughter's Irish dance competition, and I accidentally used too much green gel. The kids were delighted by how bright it was, calling it 'the luckiest cake in Ohio.' Sometimes the happy little kitchen accidents become the memories that stick.
Ingredients
- All-purpose flour: Provides the structure, and room temperature ingredients are non-negotiable here for even texture
- Unsalted butter: Softened to room temperature so it creams properly with the sugar, creating those tiny air pockets that make the cake tender
- Buttermilk: The secret weapon for moisture and tenderness, plus it reacts with the baking soda for extra lift
- Pure vanilla extract: Dont skimp here, it balances the sweetness and makes the green color feel sophisticated rather than cartoonish
- Green gel food coloring: Gel is more concentrated than liquid, so you need less and wont throw off the batter consistency
Instructions
- Preheat your oven and prep the pans:
- Heat to 350°F (175°C), grease three 8-inch round pans, and cut parchment circles for the bottoms so nothing sticks later
- Whisk the dry ingredients together:
- Combine flour, baking powder, baking soda, and salt in a medium bowl so they distribute evenly
- Cream the butter and sugar:
- Beat them for 3-4 minutes until pale and fluffy, scraping the bowl down halfway through, because this step creates the cakes texture
- Add the eggs one by one:
- Crack each egg separately before adding, beating well after each one so everything emulsifies properly
- Mix in the extracts:
- Combine both vanilla and almond extract if using, which adds a lovely background flavor that complements the green
- Alternate adding dry and wet ingredients:
- Add flour mixture in three parts, alternating with buttermilk, starting and ending with flour to prevent overmixing
- Add the green color:
- Start with a small amount of gel coloring and increase gradually, folding gently until you reach your desired shade
- Bake until perfectly done:
- Divide batter evenly among pans, smooth tops, bake 25-30 minutes until a toothpick comes out clean
- Cool completely before frosting:
- Let cakes rest 10 minutes in pans, then turn onto racks until fully cool to room temperature
- Make the buttercream frosting:
- Beat butter until creamy, gradually add sifted powdered sugar, then milk, vanilla, and salt until fluffy and smooth
- Optional green frosting decoration:
- Tint a portion of frosting with green coloring for piping borders or shamrocks on top
- Assemble and frost:
- Place first layer on your plate, spread frosting, repeat, then frost top and sides generously
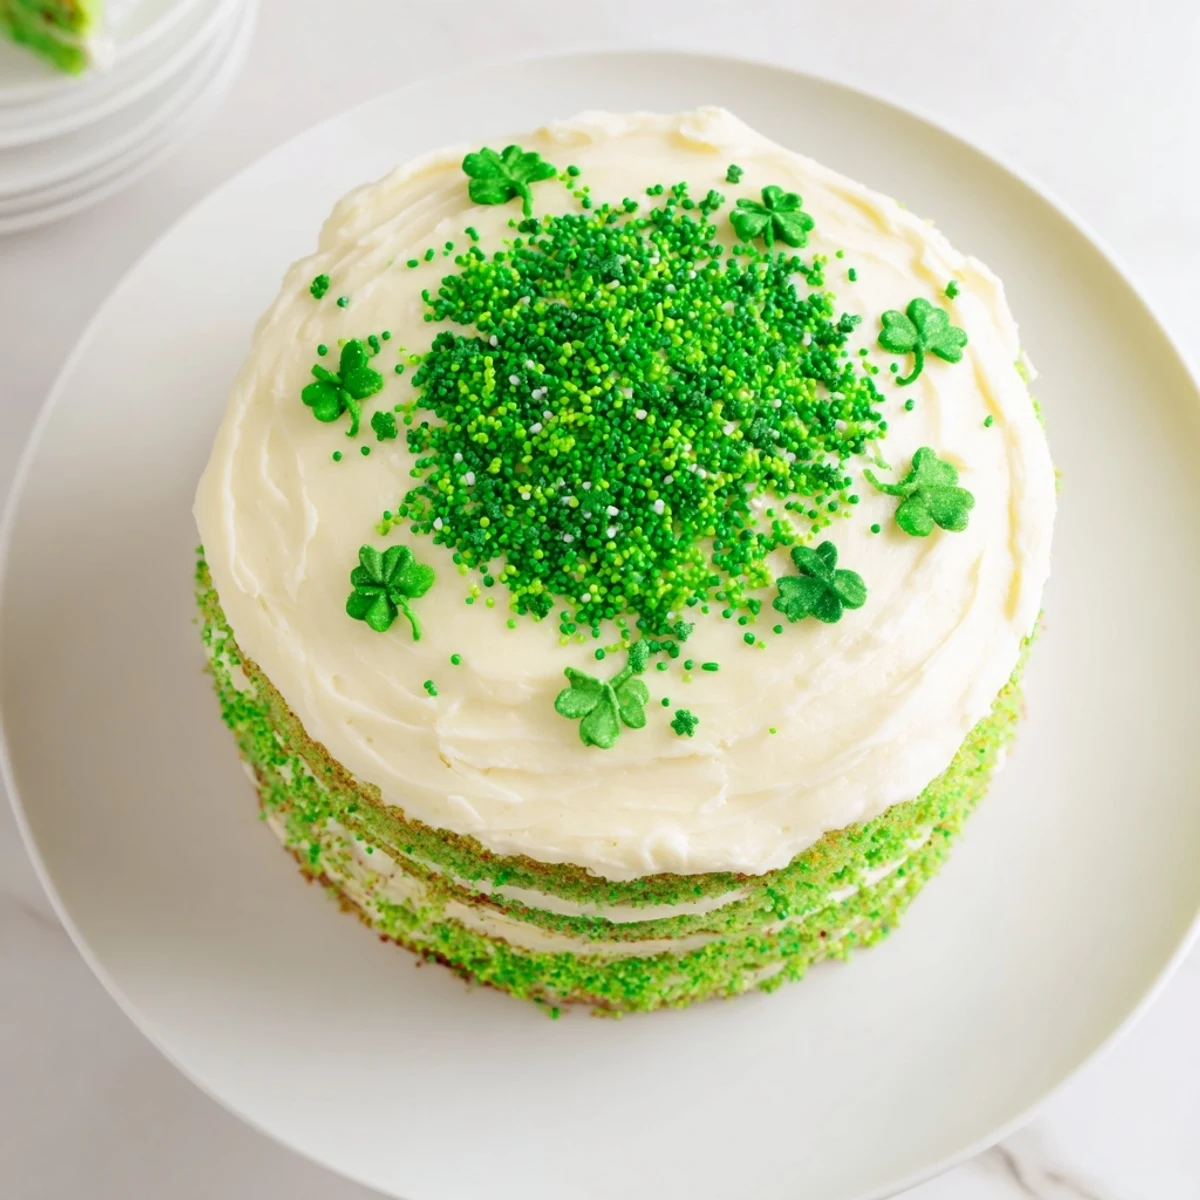
- Add the finishing touches:
- Sprinkle with green decorations or arrange edible shamrocks while frosting is still soft
 Save to Pinterest
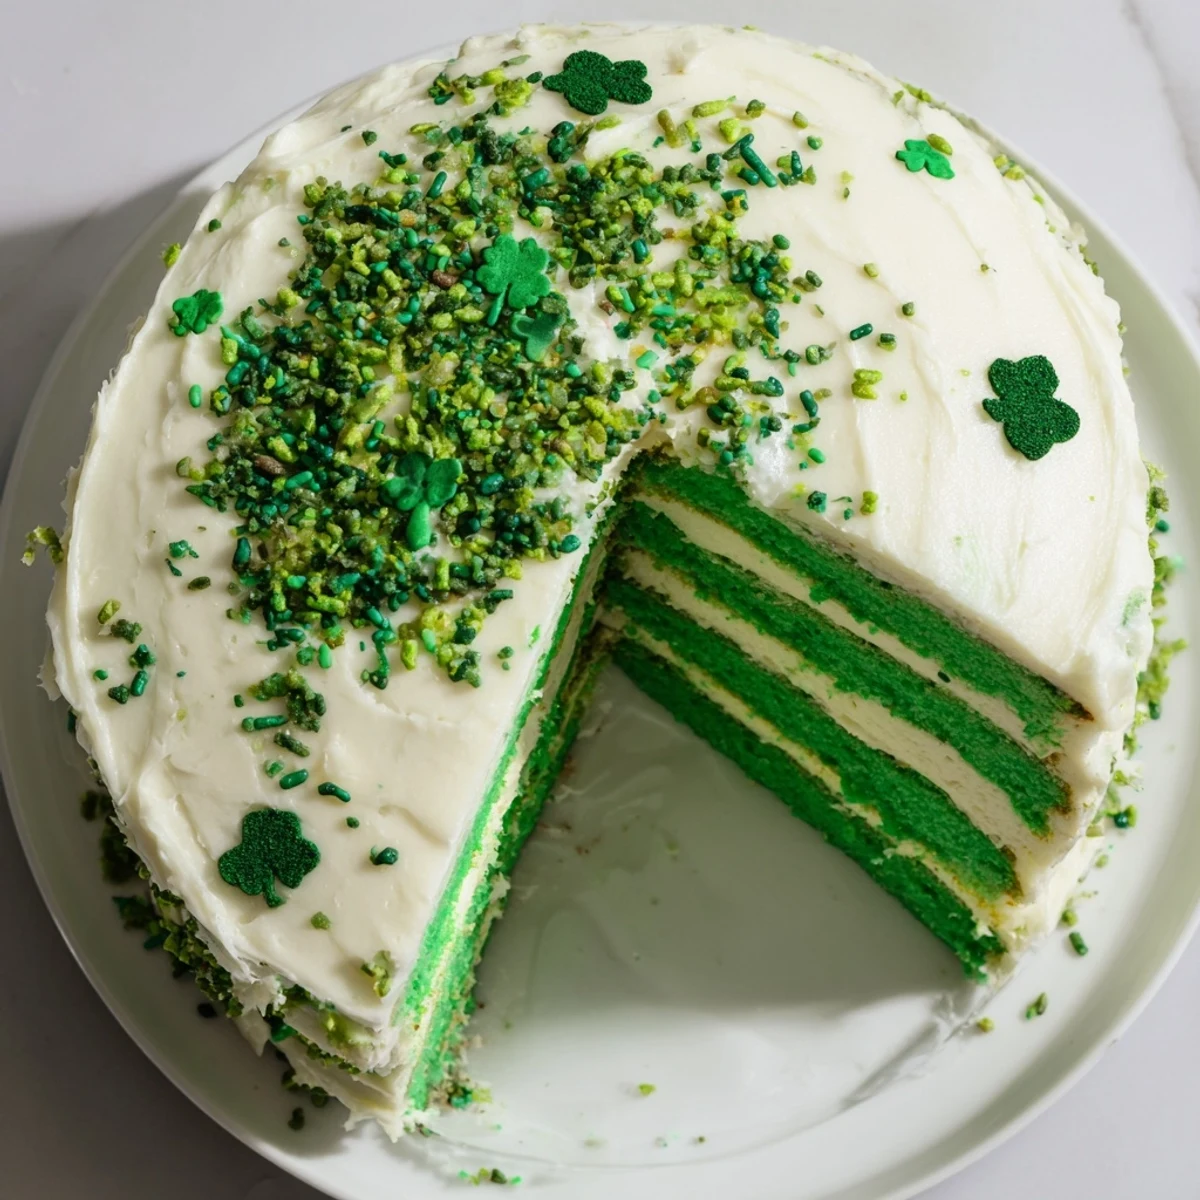
 Last year my cousin requested this cake for his birthday instead of a traditional chocolate cake, and the green slices against his white plates looked absolutely stunning. It is become a tradition I look forward to every March.
Getting The Color Just Right
Start with less coloring than you think you need, gel food color is incredibly potent. You can always add more, but you cannot take it back once it is mixed in. A toothpick dipped in gel, swirled through your batter, gives you control and prevents that artificial green taste that liquid coloring sometimes leaves behind.
Making It Ahead
The unfrosted cake layers freeze beautifully for up to a month. Wrap each cooled layer tightly in plastic wrap, then foil, and thaw overnight in the refrigerator before frosting. I often bake everything on Sunday and frost on Tuesday, which actually makes assembly easier because cold layers are more stable and less likely to slide around.
Serving Suggestions
This cake pairs unexpectedly well with Irish coffee, the warmth of the whiskey and coffee balancing the sweet buttercream. A pot of strong black tea works beautifully too, letting the vanilla shine without competing flavors.
- Bring cake to room temperature for 30 minutes before serving so the frosting softens
- Use a hot knife wiped clean between slices for the cleanest cuts
- Store covered at room temperature for up to 3 days, though it rarely lasts that long
 Save to Pinterest
 May your kitchen be filled with laughter, your frosting always smooth, and your St. Patricks Day be as sweet as this green cake.
Recipe Questions & Answers
- → How far in advance can I make this cake?
-
The unfrosted layers can be baked and wrapped tightly in plastic up to 2 days ahead. Store at room temperature. Frost the cake within 24 hours of serving for best texture and appearance. The finished cake stays fresh for 2-3 days when refrigerated in an airtight container.
- → What type of green food coloring works best?
-
Gel food coloring provides the most vibrant green shade without thinning the batter. Start with a small amount and add more gradually until you reach your desired color. Liquid coloring can also work but may require slightly more to achieve the same intensity.
- → Can I make this as a sheet cake instead of layers?
-
Yes, pour the batter into a 9x13 inch pan and bake for 35-40 minutes at the same temperature. The frosting quantity will cover a sheet cake generously, resulting in a simpler yet equally festive presentation perfect for casual gatherings.
- → How do I prevent my cake layers from sinking in the middle?
-
Avoid overmixing the batter once flour is added, and don't open the oven door during baking. Ensure your leavening agents are fresh and the oven is fully preheated. Cool cakes completely before frosting to prevent condensation from making layers soggy.
- → Can I freeze the unfrosted cake layers?
-
Wrap each cooled layer completely in plastic wrap, then foil. Freeze for up to 3 months. Thaw overnight in the refrigerator before frosting. Bring to room temperature for about 30 minutes before serving for the best texture and flavor.
