 Save to Pinterest
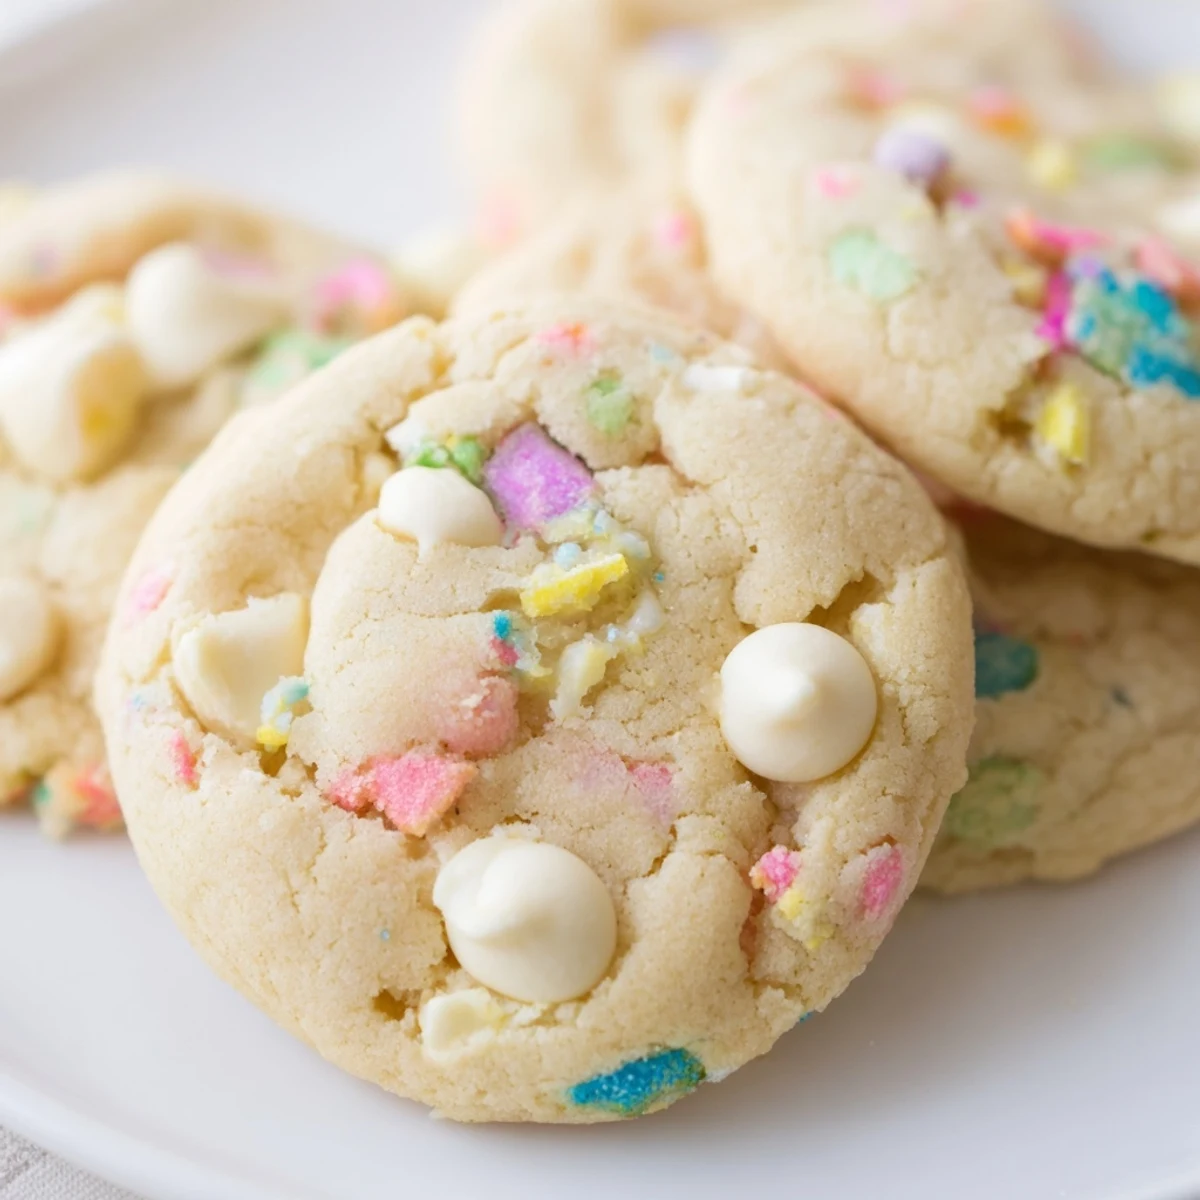
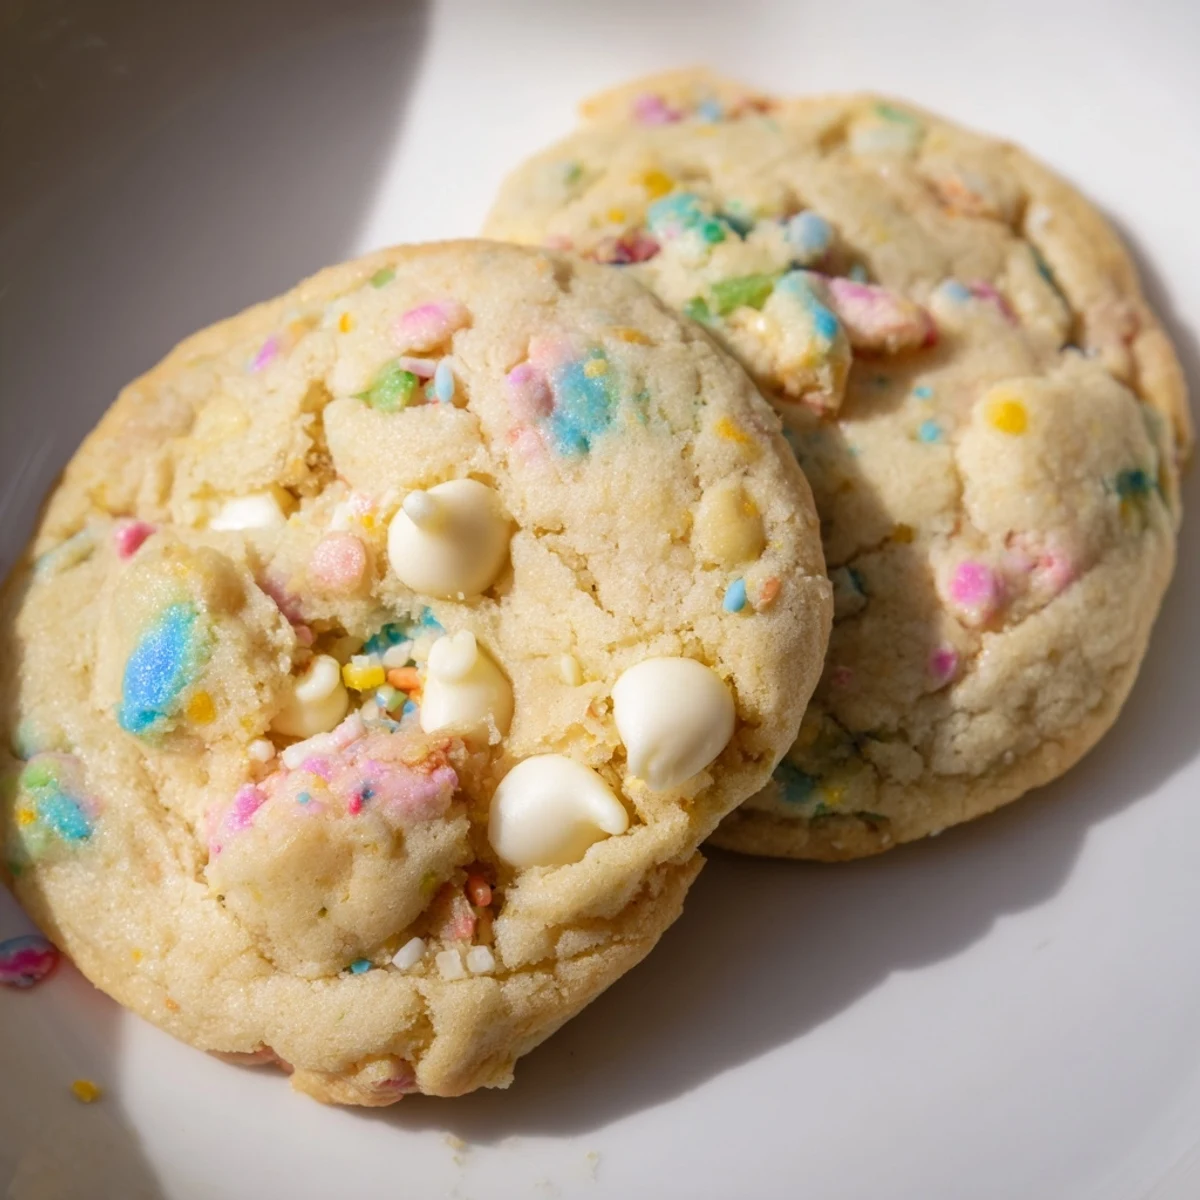
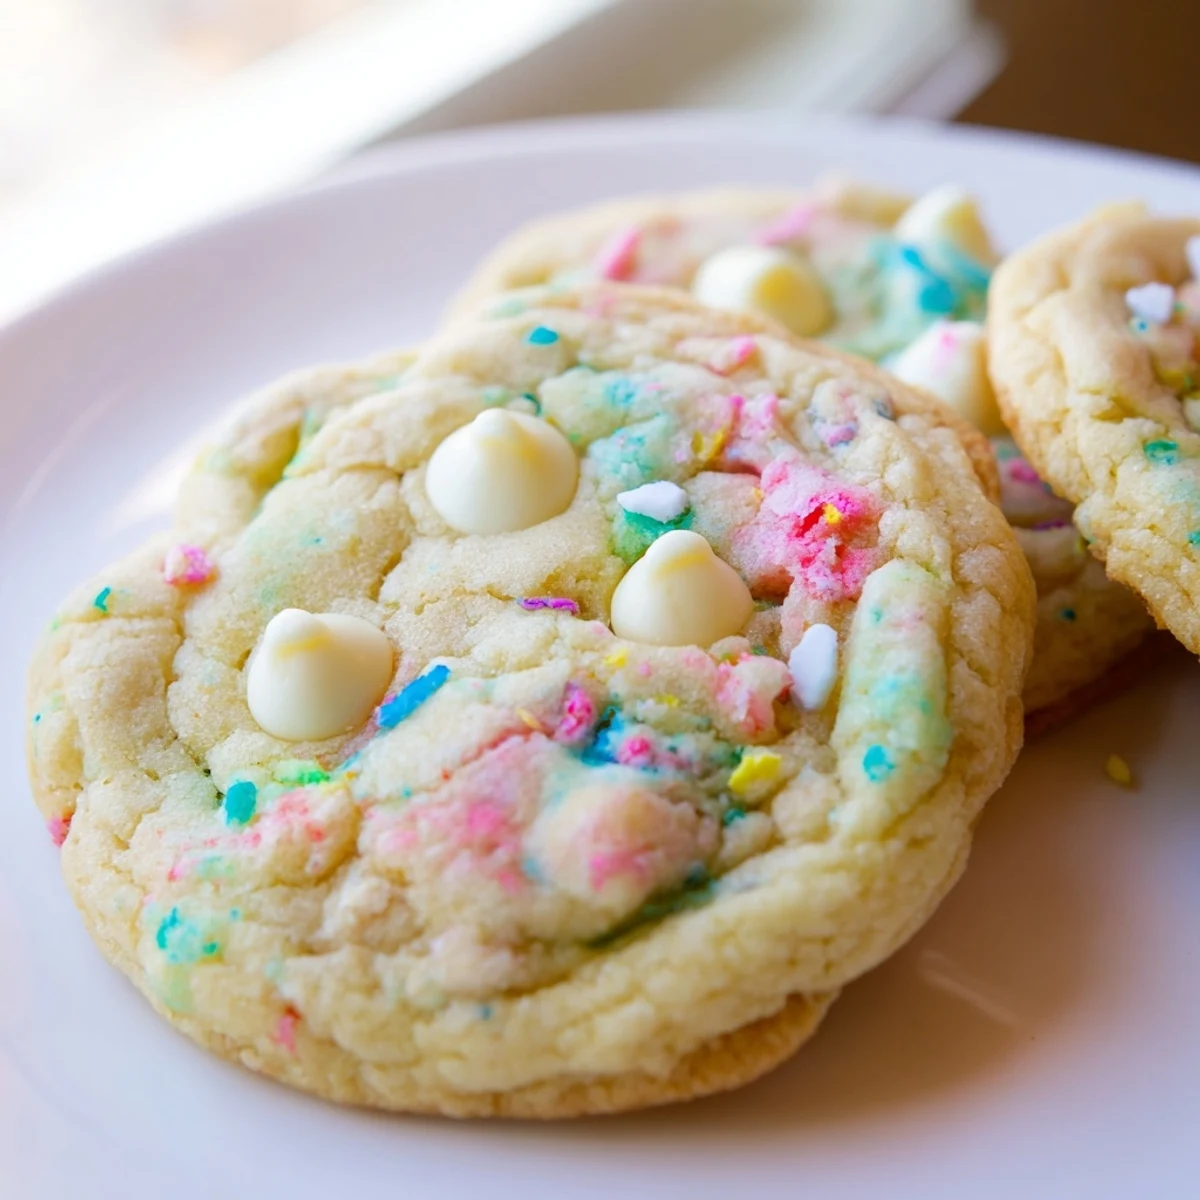
 These delightful treats feature a classic buttery cookie base studded with premium white chocolate chips and cheerful pastel sprinkles throughout. The dough comes together quickly with softened butter, a blend of granulated and brown sugars for chewiness, and vanilla extract for depth.
Baking at 350°F for just 10-12 minutes yields cookies with golden edges and irresistibly soft centers. The generous amount of white chocolate melts slightly during baking, creating pockets of creamy sweetness that balance the tender crumb perfectly.
Perfect for Easter, baby showers, birthdays, or spring gatherings, these colorful treats bring joy to any dessert table. They stay fresh for five days when stored in an airtight container, though they rarely last that long.
The first time I made these pastel white chocolate cookies was for my daughter's spring birthday party. I wanted something that felt like edible confetti, something cheerful and sweet that would make the kitchen table feel like a celebration. When they came out of the oven with those soft centers and flecks of colorful sprinkles, I knew I'd stumbled onto something special that would become our go-to treat for every happy occasion.
Last spring, my neighbor asked for the recipe after her daughter spotted the cookies cooling on my counter through the window. Now every time there's a birthday in the neighborhood, I get a text asking if those happy cookies are making an appearance. They've become part of our community's birthday traditions.
Ingredients
- 2 1/4 cups all-purpose flour: The foundation that gives these cookies their perfect chewy center, and I've learned that measuring by weight (280g) gives the most consistent results
- 1/2 teaspoon baking soda: Just enough lift to create those slightly puffy edges while keeping centers wonderfully soft
- 1/2 teaspoon salt: This tiny amount cuts through all that sweetness and lets the butter flavor actually shine through
- 1 cup unsalted butter, softened: Room temperature butter is non-negotiable hereit creams into the sugars beautifully and creates that tender texture we're after
- 3/4 cup granulated sugar and 3/4 cup light brown sugar: This combination gives you crispy edges and chewy centers, with brown sugar adding that subtle caramel depth
- 2 large eggs: Bring structure and richness, and adding them one at a time prevents the batter from breaking
- 2 teaspoons pure vanilla extract: Don't skimp herevanilla is the backbone that ties everything together and makes these taste homemade
- 1 1/4 cups white chocolate chips: Creamy, milky sweetness that pairs perfectly with the buttery cookie base
- 1/2 cup pastel-colored sprinkles: These bring joy and crunchuse quins or jimmies, but avoid nonpareils which can bleed into the dough
Instructions
- Get your oven ready:
- Preheat to 350°F (175°C) and line two baking sheets with parchment paper, because nothing ruins a baking day faster than cookies stuck to the pan
- Whisk the dry team:
- In a medium bowl, combine the flour, baking soda, and salt until well blended, then set it aside while you work on the wet ingredients
- Cream the butter and sugars:
- Beat the softened butter with both sugars for 2 to 3 minutes until the mixture looks pale and fluffy, which incorporates air for lighter cookies
- Add eggs and vanilla:
- Drop in the eggs one at a time, mixing thoroughly after each, then pour in the vanilla and watch the batter come together
- Combine everything:
- Gradually add those dry ingredients to the wet mixture, mixing just until you no longer see flour streaksovermixing makes tough cookies
- Fold in the fun stuff:
- Gently stir in the white chocolate chips and sprinkles by hand, being careful not to overwork the dough or crush the sprinkles
- Scoop and space:
- Drop rounded tablespoons onto your prepared sheets, leaving about 2 inches between each scoop because these cookies will spread
- Bake to perfection:
- Slide them into the oven for 10 to 12 minutes, pulling them out when edges are golden but centers still look slightly underbaked
- Cool and enjoy:
- Let them rest on the hot pan for 5 minutes to finish setting, then move them to a wire rack where they'll develop that perfect texture
 Save to Pinterest
 My youngest declared these celebration cookies after I made them for her kindergarten graduation. Now whenever something good happens in our house, someone asks if we can make the happy cookies with the rainbow sprinkles.
Making Them Extra Special
Press a few extra white chocolate chips or sprinkles into the tops of the dough balls before baking. This little trick makes them look bakery beautiful and gives you something to grab onto with your eyes before you even take that first bite.
Seasonal Sprinkle Swaps
These cookies are basically a canvas for whatever holiday or celebration you're honoring. Red and green for Christmas, pastel eggs for spring, orange and black for Halloween, or gold and silver for New Year's Eve. The recipe stays the same but the feeling changes completely.
Storage and Sharing
These cookies stay perfectly soft for up to five days in an airtight container at room temperature. I've also frozen the dough balls and baked them straight from the freezer, just adding an extra minute or two to the baking time.
- Layer parchment between cookies if you're stacking them in a container
- Warm a leftover cookie for 10 seconds in the microwave to recreate that fresh-baked experience
- Package them in clear bags tied with ribbon for the sweetest homemade gift
 Save to Pinterest
 There's something about pulling a tray of these from the oven that just makes a regular Tuesday feel like a party. Hope they bring as much color and joy to your kitchen as they've brought to mine.
Recipe Questions & Answers
- → Why should I chill the cookie dough before baking?
-
Chilling the dough for 30 minutes helps prevent excessive spreading in the oven, resulting in thicker, softer cookies with better texture. It also allows the flavors to meld together for richer taste.
- → Can I freeze the dough or baked cookies?
-
Yes, both freeze beautifully. Scoop dough balls onto a baking sheet, freeze until solid, then transfer to a freezer bag for up to 3 months. Bake from frozen, adding 1-2 minutes to the baking time. Baked cookies freeze well for up to 3 months.
- → What's the best way to measure flour accurately?
-
Use the spoon-and-level method: fluff the flour in its container, spoon gently into your measuring cup until overflowing, then level off with a straight edge. Avoid scooping directly, which compacts the flour and leads to dry cookies.
- → How do I know when the cookies are done baking?
-
Look for lightly golden edges while the centers still appear slightly soft and underbaked. They'll continue cooking on the hot baking sheet, so removing them at this stage ensures perfectly tender, chewy results once cooled.
- → Can I customize the mix-ins?
-
Absolutely! Swap white chocolate for dark or milk chocolate chips, add chopped nuts like pecans or walnuts, or try different sprinkle combinations for various holidays. The base dough works beautifully with endless flavor variations.
- → Why did my cookies spread too much?
-
This usually happens when the dough is too warm or the butter was overly soft. Chill the dough for 30 minutes before scooping, and ensure your baking sheets are completely cool between batches. Measuring flour accurately also helps prevent spreading.
