 Save to Pinterest
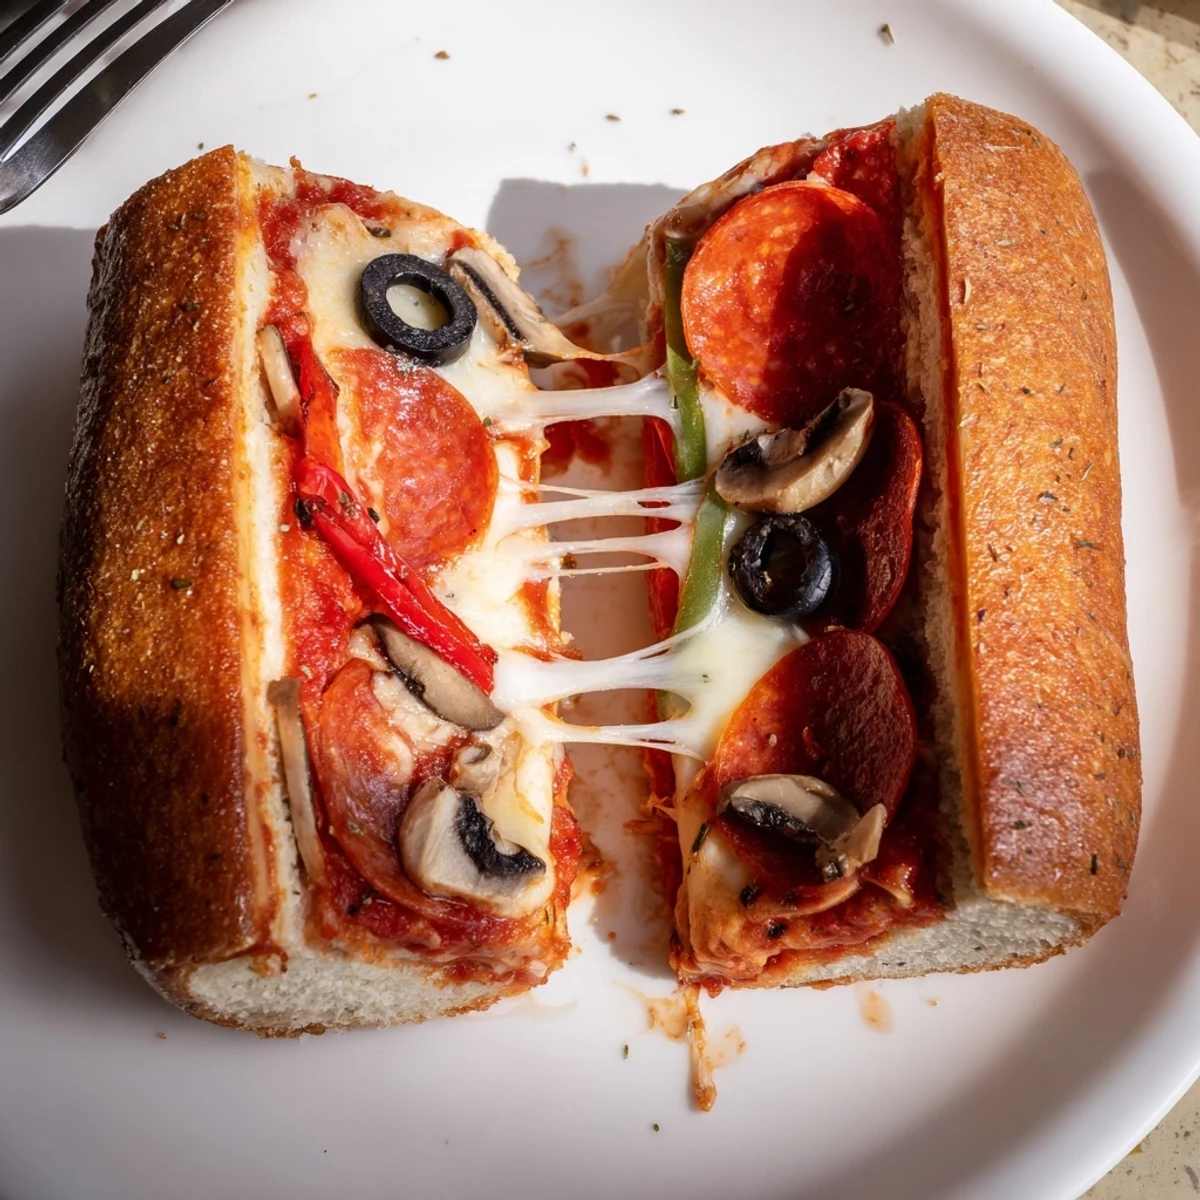
 Make golden, portable pizza pockets using sandwich bread, pizza sauce, shredded mozzarella and your choice of toppings. Butter the bread, layer sauce, cheese and fillings, enclose in a pie iron and cook 3–4 minutes per side over medium campfire heat or stovetop until golden and cheese is melted. Swap fillings, use gluten-free bread, or brush with garlic butter for extra flavor.
The crackle of the campfire and the distant scent of melting cheese always mark the start of something delicious outdoors. I never expected that a simple pie iron would become my favorite piece of camping gear, but the very first bite of one of these pizza pockets sealed its place in my heart. There’s a small thrill in hearing the sizzle as buttery bread meets hot metal, promising a snack that’s both nostalgic and endlessly customizable. It’s a crowd-pleaser with minimal fuss, perfect for evenings when the sky glows with embers and conversation drifts lazily through the air.
One especially breezy night, I made a double batch for my friends who’d spent the afternoon swimming nearby—suddenly, everyone gathered close, eager for a turn pressing their pocket and debating if olives belong on pizza. We ended up trading halves so nobody missed out on the surprise fillings. The only real competition was who could make the crispiest crust. Even clean-up felt lighthearted, with stories and char marks on hands as badges of honor.
Ingredients
- Bread: Soft but sturdy sandwich bread is best—I learned that ultra-thin slices tear too easily when removing from the pie iron.
- Pizza sauce: Go for a robust, tangy sauce for classic flavor, and don’t be afraid to sneak in a spoonful more if you’re a sauce lover.
- Mozzarella cheese: Shredded mozzarella melts evenly, giving you that beloved stretchy pull—try low-moisture to avoid soggy bread.
- Toppings: Pepperoni or salami for the fans, but the real fun is letting everyone layer their favorites, from savory veggies to briny olives.
- Butter: Melted butter creates the irresistible golden crunch on the outside—brushing both sides is key for color and flavor.
- Dried Italian herbs: Just a pinch adds big aroma and makes the whole pie pocket feel a little more special.
Instructions
- Get the heat going:
- Preheat your pie iron over the campfire (or stovetop) for a couple of minutes until you see a faint shimmer and feel the warmth radiate.
- Buttering the bread:
- Generously brush one side of each slice with melted butter, making sure to reach every corner to ensure a perfect crunch.
- Layer and fill:
- Spread a hearty spoonful of pizza sauce onto the unbuttered side, scatter mozzarella, then pile on your chosen toppings and herbs.
- Assemble:
- Top each loaded slice with another slice of bread, buttered side facing out, and gently press to seal.
- Into the pie iron:
- Carefully nestle your sandwich inside the preheated pie iron and close it tightly, trimming any excess bread for clean edges.
- Campfire cooking:
- Hold over glowing coals, turning every few minutes; the bread should turn richly golden and the cheese inside will bubble softly.
- The reveal:
- Let your pocket rest for a minute before opening the iron—steam puffs out and the aromas will have everyone gathering around. Enjoy while warm.
 Save to Pinterest
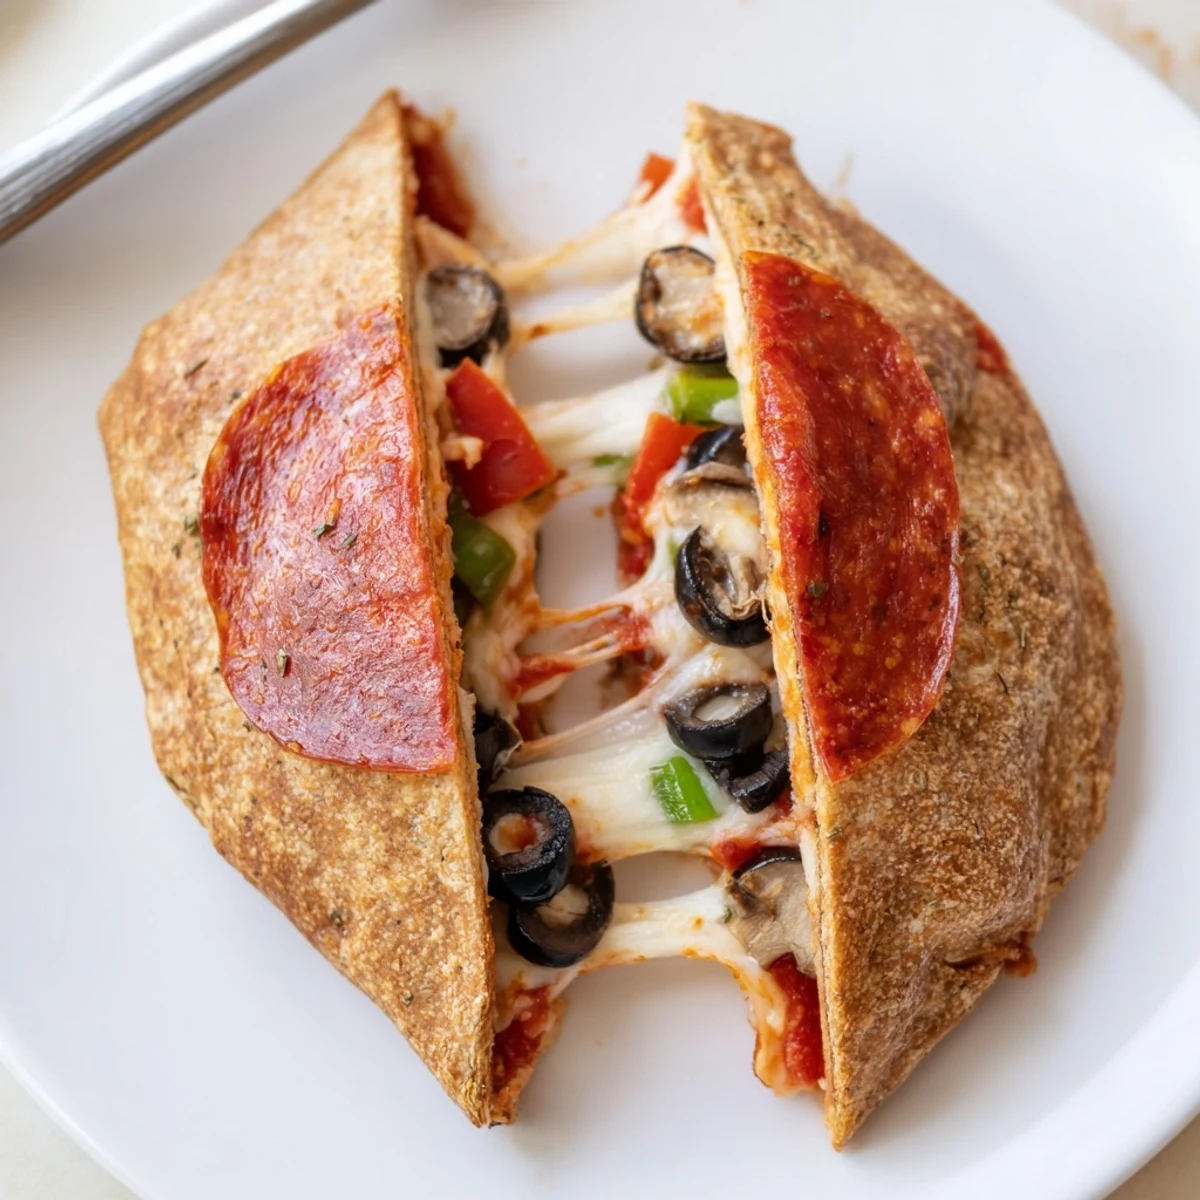
 The time my niece added an extra helping of mushrooms and accidentally left the pocket in a minute too long, our laughter echoed louder than the sizzle. The smoky flavor paired perfectly with gooey cheese—a new favorite 'mistake' we now aim to repeat each trip. Who knew a touch of char could be so craveable?
Choosing the Best Bread Matters
Through plenty of trial and error, I’ve found that heartier sandwich slices stand up better to the pie iron heat and fillings. Brioche or rustic loaves tend to be a bit too thick and soft, sometimes leaving you with uncooked dough pockets in the center. Sticking to classic sandwich bread makes for more even cooking and just the right crispness.
Customizing for Everyone
One of the real joys is setting out small bowls of toppings so the whole crew can get creative—one cousin swears by pesto and mushrooms, another loads up on bell peppers. This approach keeps everyone engaged and gives each pocket a personality. Plus, it’s an easy way to accommodate dietary needs or allergies—just remember to clean the pie iron between different types to avoid cross-contamination.
Making It Foolproof by the Fire
If you’re cooking with kids, let them help assemble and watch the browning progress together—just be mindful of the hot metal! Keeping a close eye on your heat source is the difference between crispy bliss and a smoky surrender. A little patience and turning means golden pockets every single time.
- Have extra napkins on hand—the melted cheese has a mind of its own.
- Check both sides before opening the iron to avoid torn bread.
- Letting the pockets cool for a minute keeps burnt fingers and tongues at bay.
 Save to Pinterest
 I hope you’ll find these pizza pockets as satisfying as I have—sometimes the simplest campfire meals leave the happiest memories. Give them a try on your next outdoor adventure, and don’t be surprised when everyone comes back for seconds.
Recipe Questions & Answers
- → How long should I cook pockets in a pie iron?
-
Cook each side 3–4 minutes over medium campfire heat or a medium stovetop flame. Adjust time if bread is thicker or fillings are cold; look for a golden crust and fully melted cheese.
- → What breads work best for crisp texture?
-
Standard sandwich bread (white or whole wheat) gives an even crisp. For sturdier pockets, choose slightly denser slices or press edges firmly; gluten-free sandwich loaves can be used but may need gentler heat.
- → How do I prevent soggy bottoms?
-
Lightly butter the outer bread surfaces and avoid over-saucing the interior. Use a moderate amount of sauce and pat wetter toppings dry before layering to keep the crust crisp.
- → Can I cook these on a stovetop instead of a campfire?
-
Yes. Preheat the pie iron on a burner, then cook over medium heat for the same 3–4 minutes per side. Use heat-resistant tongs and a steady medium flame to mimic campfire conditions.
- → What are good topping combinations?
-
Classic: pepperoni and mozzarella. Vegetarian: bell peppers, mushrooms, olives and Italian herbs. Try cooked sausage or fresh basil for variety; thinly sliced or pre-cooked ingredients work best.
- → Can I prepare pockets ahead or freeze them?
-
Assemble and tightly wrap for refrigeration up to 24 hours. For freezing, flash-freeze on a tray then store sealed; reheat in a pie iron or oven until warmed through and crisp.
