 Save to Pinterest
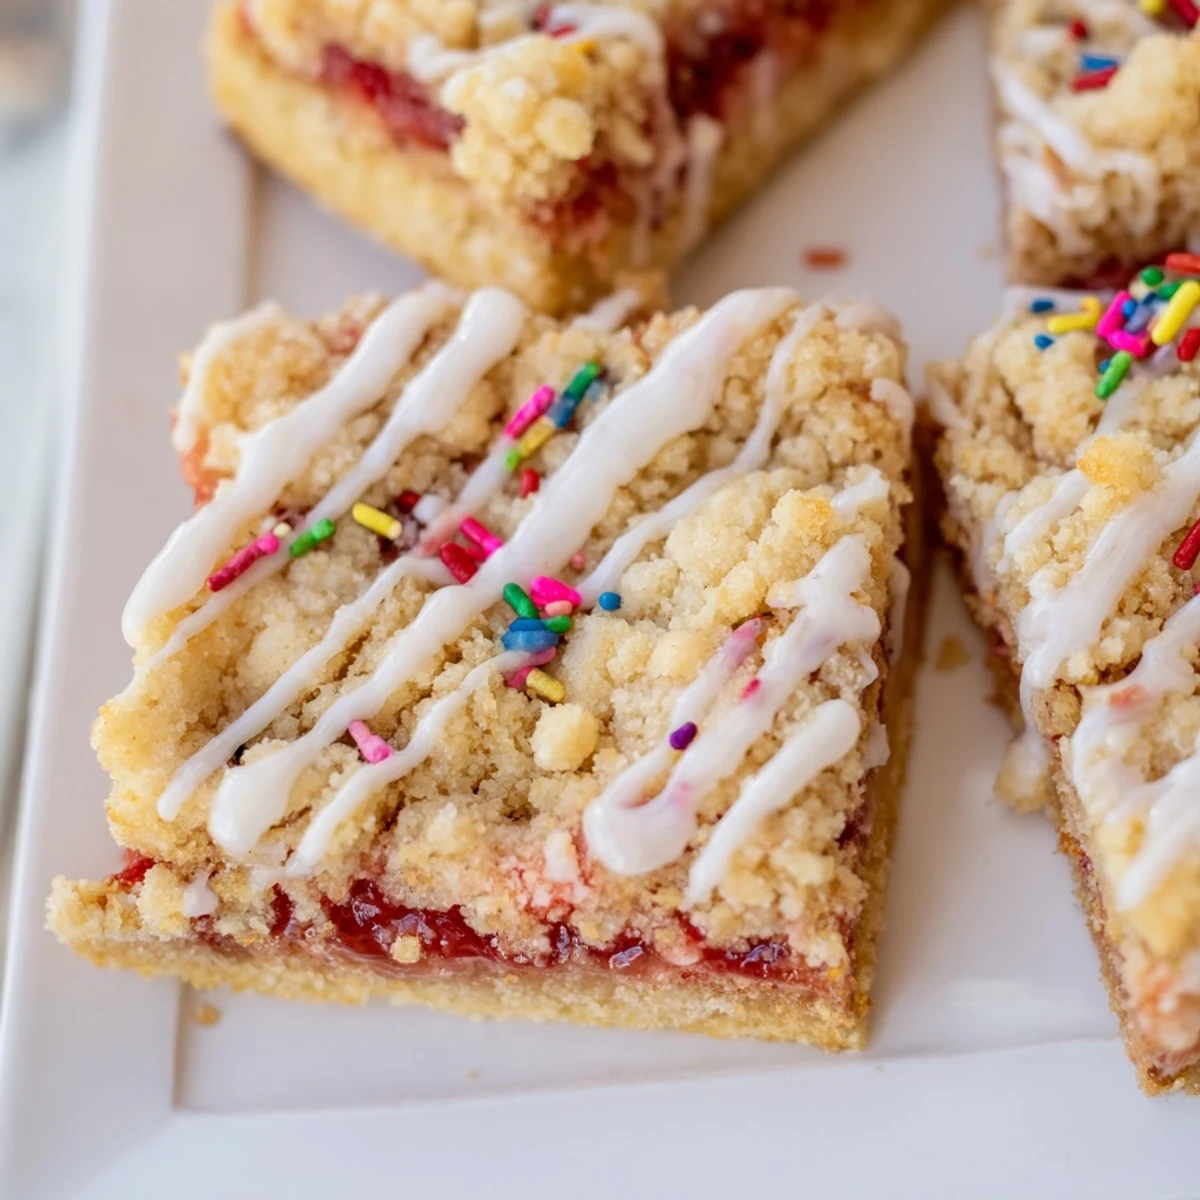
 These nostalgic dessert bars combine a soft, buttery sugar cookie base with a sweet layer of fruity jam and a simple vanilla glaze. The dough comes together quickly and bakes into tender bars with crispy edges and a soft center. You can customize them with any jam flavor you prefer—from strawberry and raspberry to blueberry or apricot.
The colorful sprinkles on top make these perfect for bake sales, birthday parties, or everyday treats. They're easy to make in a 9x13 pan and yield 16 generous bars. The dough is pressed into the pan, topped with jam, then crumbled with remaining dough before baking until golden.
The smell of butter and vanilla wafting through the kitchen always takes me back to weekend mornings at my grandmother's house, where toaster pastries were an absolute treat. These cookie bars capture that same nostalgic magic but with a fresh-from-the-oven warmth that store-bought versions can never match.
I made these for my daughter's birthday party last spring, and watching the kids' faces light up when they saw the colorful sprinkles was absolutely priceless. One dad asked for the recipe before he even finished his first bar, claiming they were better than any pop tart he'd ever eaten.
Ingredients
- Unsalted butter: Softened to room temperature, this creates the tender crumb that makes these bars irresistible and gives them that melt-in-your-mouth quality
- Granulated sugar: Sweetens the dough and helps create those beautifully golden edges while providing just the right amount of crunch on top
- Large eggs: Room temperature eggs incorporate better into the dough, creating structure and richness throughout the cookie base
- Vanilla extract: Use pure vanilla for the deepest flavor that really shines through against the sweet jam and glaze
- All-purpose flour: The foundation of the cookie base, providing structure while still keeping the bars tender and soft
- Baking powder: Gives the cookie layer just enough lift to stay fluffy rather than dense or flat
- Salt: Balances all the sweetness and enhances the vanilla flavor in both the dough and glaze
- Strawberry jam: Choose a high-quality jam with real fruit pieces for the best flavor and texture, though any flavor works beautifully
- Powdered sugar: Creates the smooth pourable glaze that adds the perfect finishing touch of sweetness
- Milk: Adjust the amount to get your glaze to just the right pouring consistency
- Sprinkles: Add these immediately after glazing so they stick while the frosting is still wet
Instructions
- Preheat and prep your pan:
- Set your oven to 350°F and line a 9x13-inch pan with parchment paper, letting the edges hang over so you can lift the bars out later like a pro.
- Cream the butter and sugar:
- Beat the softened butter and sugar together until the mixture turns pale and fluffy, which usually takes about 3 minutes of mixing.
- Add the eggs and vanilla:
- Drop in the eggs one at a time, beating well after each addition, then pour in the vanilla and mix until everything is beautifully combined.
- Mix the dry ingredients:
- In a separate bowl, whisk together the flour, baking powder, and salt so they're evenly distributed before adding them to the wet mixture.
- Combine everything:
- Gradually stir the dry ingredients into the butter mixture just until you no longer see streaks of flour, being careful not to overmix the dough.
- Layer the base:
- Press about two-thirds of the dough into the bottom of your prepared pan using your hands or the back of a spoon to create an even layer.
- Spread the jam:
- Dollop the strawberry jam over the dough and gently spread it around, leaving a tiny border around the edges so the jam doesn't bubble over while baking.
- Add the topping:
- Crumble the remaining dough over the jam with your fingers, creating some larger and some smaller pieces for that perfect rustic look.
- Bake to golden perfection:
- Slide the pan into the oven and bake for 23 to 27 minutes until the edges turn golden brown and the center looks set rather than jiggly.
- Cool completely:
- Let the bars cool completely in the pan on a wire rack because the glaze will slide right off if they're even slightly warm.
- Make the glaze:
- Whisk together the powdered sugar, milk, and vanilla until the mixture is smooth and drizzles easily off your whisk.
- Glaze and decorate:
- Drizzle the glaze back and forth over the cooled bars and immediately scatter sprinkles on top so they adhere before the frosting hardens.
- Set and slice:
- Wait about 15 minutes for the glaze to set, then use the parchment paper to lift the bars out and cut them into squares.
 Save to Pinterest
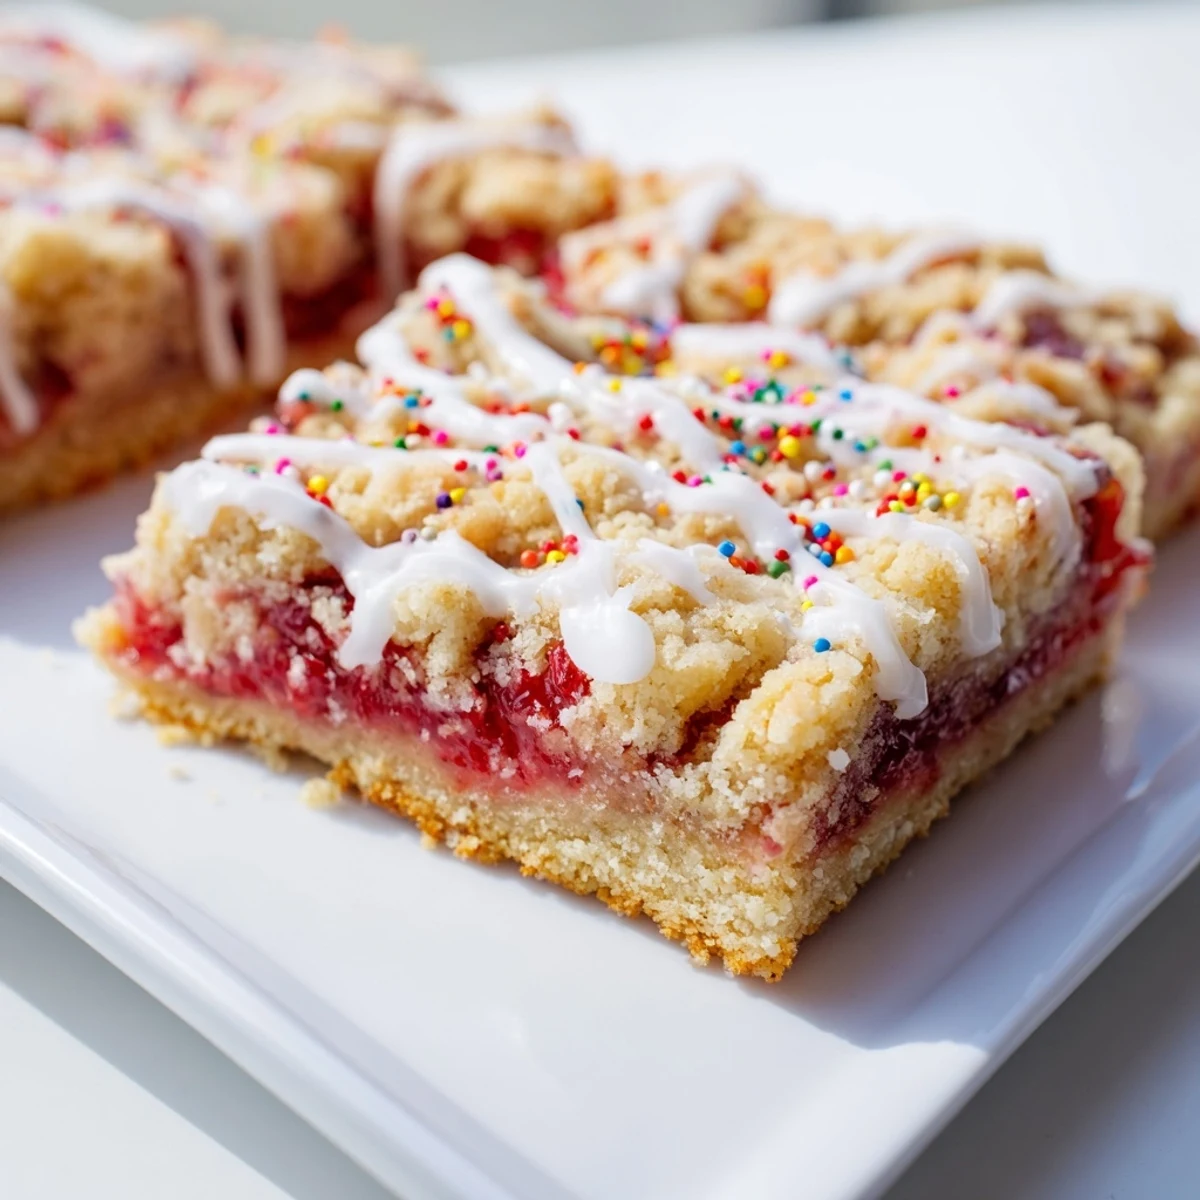
 My neighbor texted me at 10 PM after I dropped some of these off, admitting she ate three bars while standing at the kitchen counter. Now she requests them for every neighborhood gathering and says her kids talk about them for weeks afterward.
Making Your Own Jam Variation
If you're feeling ambitious, try making your own fruit filling by simmering fresh berries with a bit of sugar and cornstarch until thickened. The homemade version adds such depth of flavor and makes these bars feel even more special.
Storage Secrets
These bars actually taste better the next day as the flavors meld together beautifully. Store them in an airtight container with parchment paper between layers, and they'll stay fresh for up to four days on the counter.
Creative Twists to Try
Switch up the jam flavor based on the season or what you have in your pantry. Apricot and raspberry are absolutely delicious, but don't be afraid to try mixed berry or even grape for a fun variation.
- Add a teaspoon of almond extract to the dough for an irresistible bakery-style flavor
- Mix some mini chocolate chips into the crumble topping for extra texture and chocolatey goodness
- Try lemon curd instead of jam for a bright, tangy twist that everyone will love
 Save to Pinterest
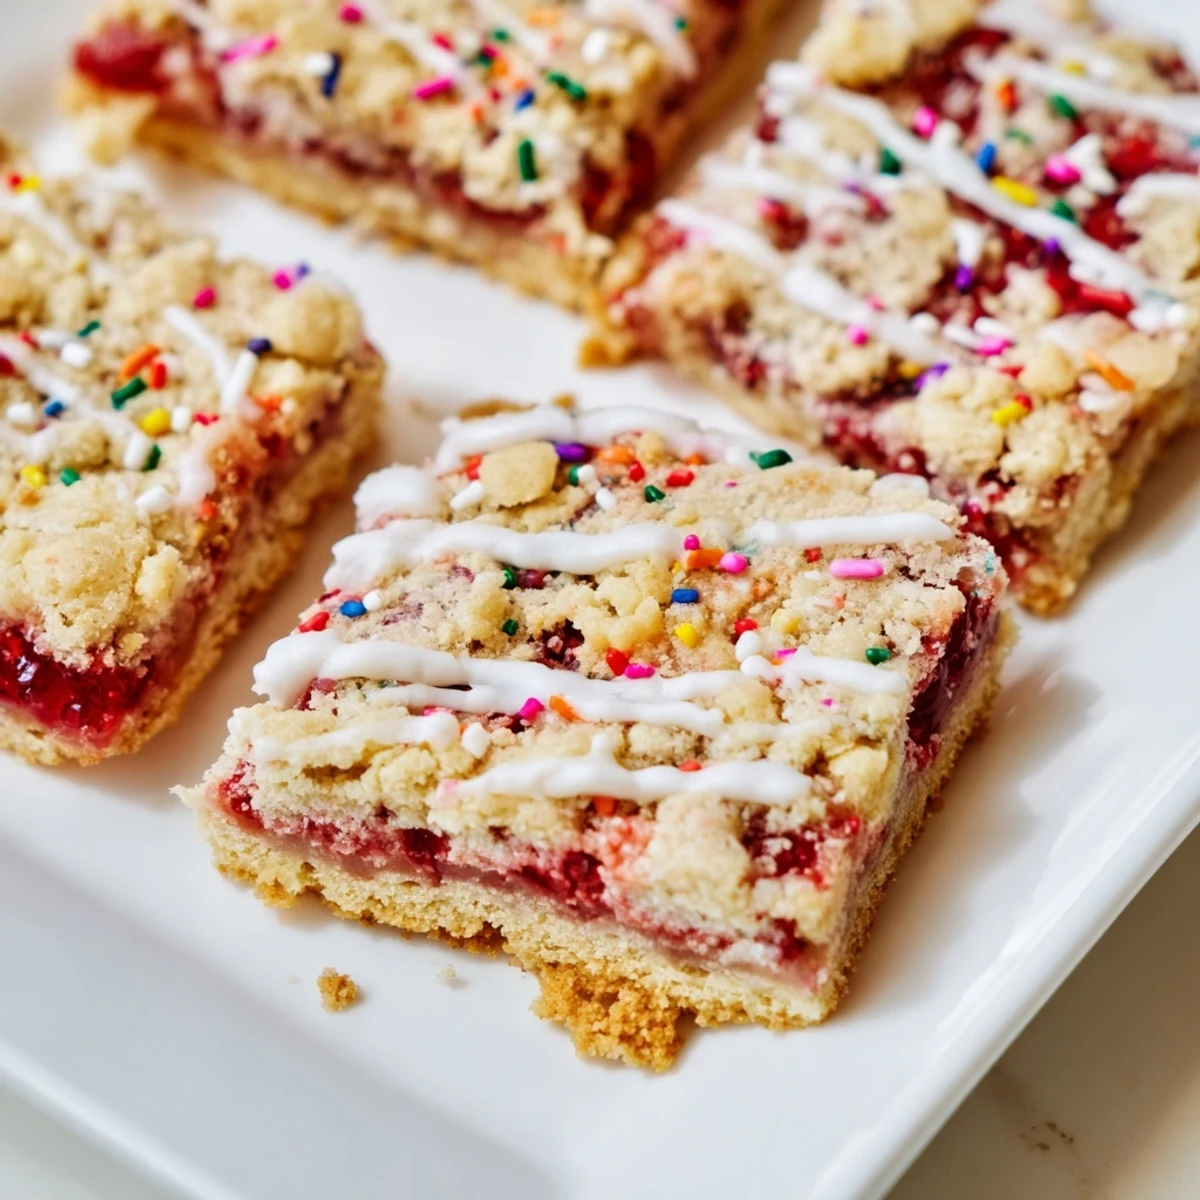
 There's something magical about turning a childhood favorite into something you can bake with love in your own kitchen. These bars bring joy to everyone who tries them, and that's the best kind of recipe.
Recipe Questions & Answers
- → Can I use different jam flavors?
-
Absolutely! You can use any jam or preserve flavor you enjoy. Strawberry, raspberry, blueberry, and apricot all work beautifully. You could even mix different flavors in the same batch for variety.
- → How should I store these bars?
-
Store the bars in an airtight container at room temperature for up to 3 days. For longer storage, you can refrigerate them for up to a week. Bring to room temperature before serving for the best texture.
- → Can I make these gluten-free?
-
Yes! Substitute the all-purpose flour with a 1:1 gluten-free flour blend that contains xanthan gum. The texture and taste will be very similar to the original version.
- → Can I freeze these bars?
-
You can freeze the unglazed bars for up to 3 months. Wrap them tightly in plastic wrap and place in a freezer-safe container. Thaw at room temperature, then add the glaze and sprinkles before serving.
- → Why did my bars turn out dry?
-
Overbaking is the most common cause of dry bars. Check them at 23 minutes and remove when the edges are golden and the center is just set. They will continue to firm up as they cool.
- → Can I make the dough ahead of time?
-
Yes, you can prepare the dough up to 24 hours in advance and refrigerate it. Let it come to room temperature for about 15 minutes before pressing it into the pan, as cold dough will be harder to work with.
