 Save to Pinterest
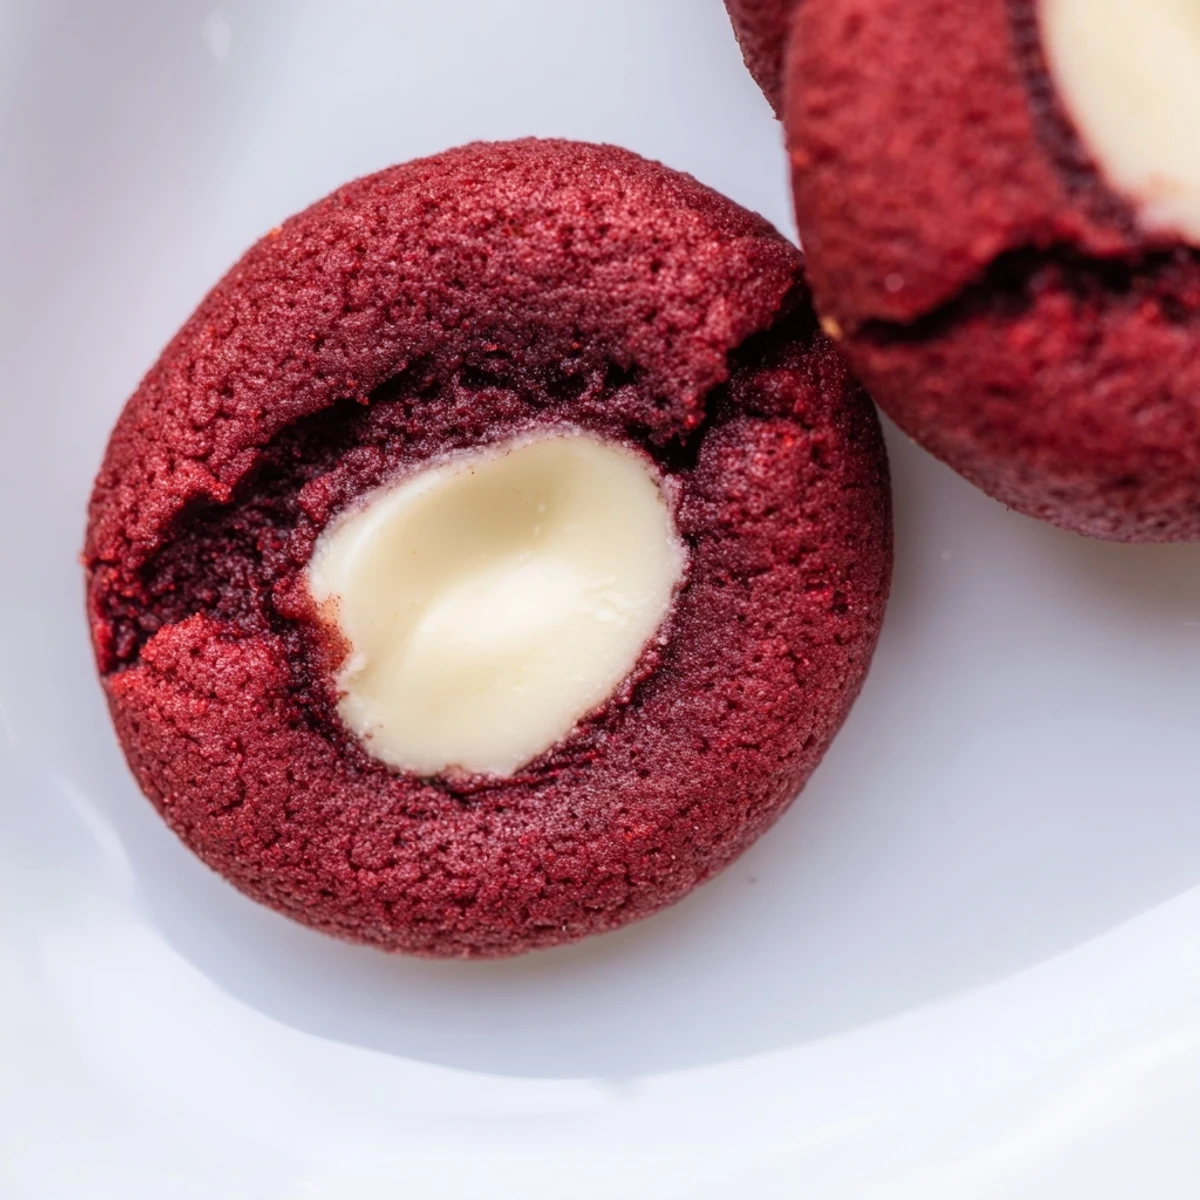
 These rich red velvet thumbprint cookies combine cocoa-infused dough with a velvety cheesecake center, creating the perfect balance of chocolate and cream cheese flavors. The tender crumb texture comes from carefully creamed butter and sugar, while the vibrant red color makes them visually stunning for any celebration. Each cookie features a thumbprint indentation filled with smooth cream cheese filling that bakes to perfection alongside the chocolatey base.
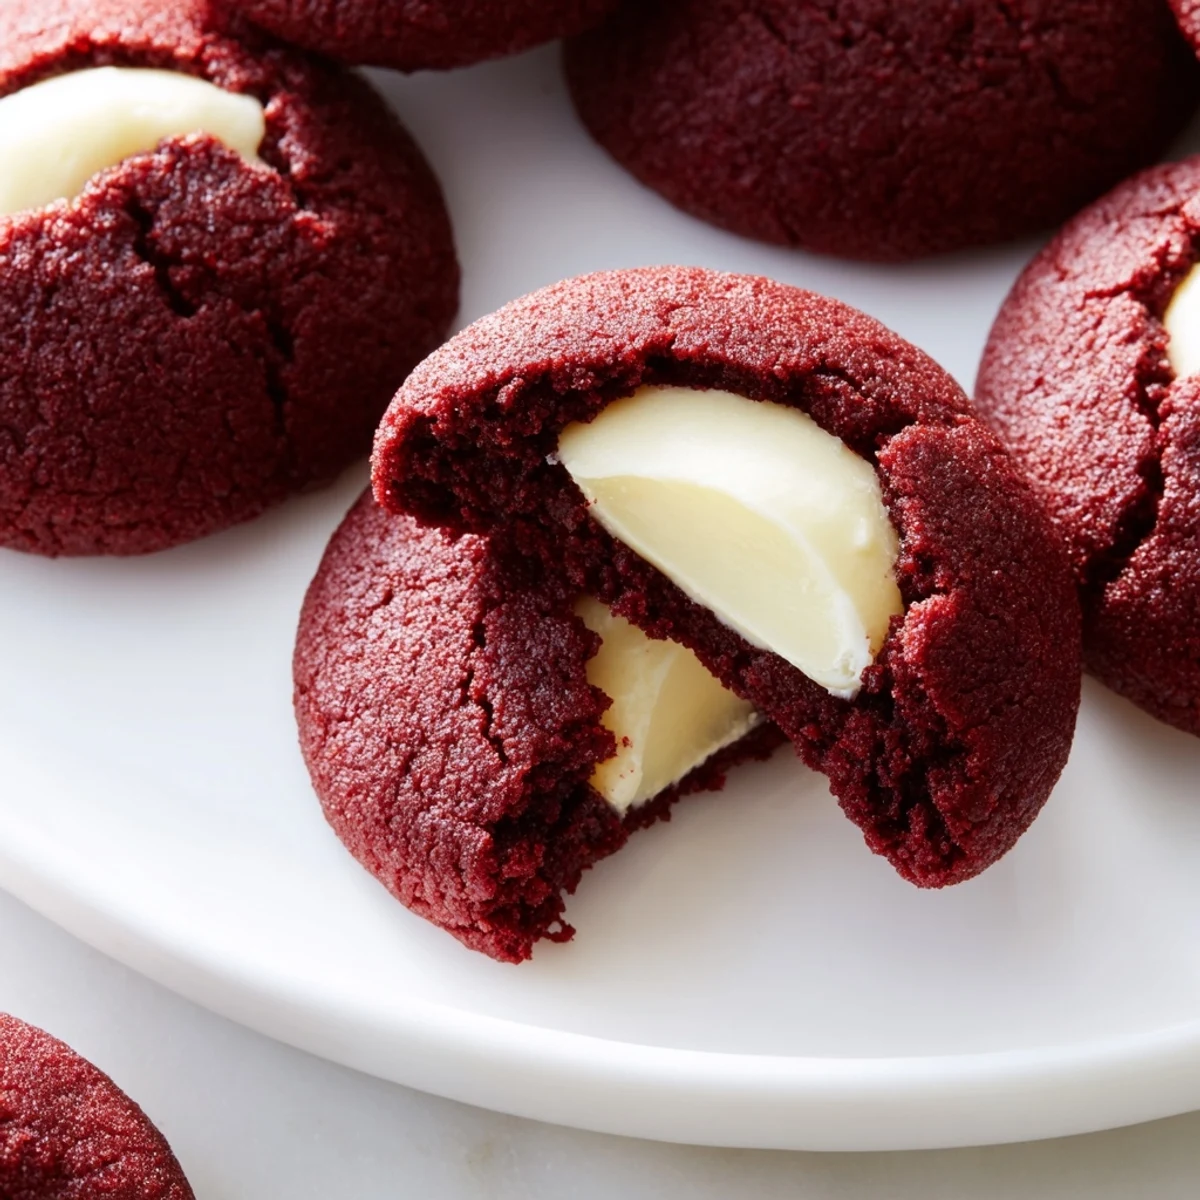
Ready in just over 30 minutes, these cookies are surprisingly simple despite their bakery-style appearance. The dough rolls easily into balls, and the centers can be customized with white chocolate ganache instead of cream cheese for different occasions. They store beautifully in the refrigerator for up to four days, making them excellent for advance prep during busy holiday seasons.
The snow was falling outside my kitchen window when I first attempted red velvet in cookie form. I had these beautiful red swirled cupcakes in mind, but something about the idea of little thumbprints filled with creamy centers felt more inviting for a snowy afternoon. My kitchen smelled like chocolate and anticipation, and honestly, that first batch taught me more about cookie chemistry than any baking class ever could.
Last December, I brought a platter to my friend's holiday gathering and watched them disappear in minutes. Her grandmother asked for the recipe, which might be the highest compliment I have ever received in the kitchen. Now they are my go-to when I need something that feels special without requiring hours of effort.
Ingredients
- 1 1/4 cups (160 g) all-purpose flour: The foundation that gives these cookies their tender structure
- 2 tbsp (15 g) unsweetened cocoa powder: Do not skip this, it provides that signature red velvet depth
- 1/4 tsp baking soda: Helps the cookies keep their shape while getting that perfect slight rise
- 1/4 tsp salt: Enhances the chocolate flavor like nobody's business
- 1/2 cup (115 g) unsalted butter, softened: Room temperature is non negotiable here for proper creaming
- 3/4 cup (150 g) granulated sugar: Creates that beautiful crackled edge as the cookies bake
- 1 large egg yolk: Adds richness without making the dough too wet
- 1 tbsp whole milk: Just enough moisture to bring everything together
- 1 tsp vanilla extract: Pure extract makes a difference you can taste
- 1 tsp red food coloring: Gel coloring works best for that vibrant red without thinning the dough
- 115 g (4 oz) cream cheese, softened: The star of the filling, must be fully softened for smoothness
- 1/4 cup (30 g) powdered sugar: Sweetens the filling without adding graininess
- 1/2 tsp vanilla extract: A second dose because the filling deserves its own vanilla moment
Instructions
- Get your oven ready:
- Preheat to 350°F (175°C) and line two baking sheets with parchment paper
- Whisk the dry team:
- In a medium bowl, combine flour, cocoa powder, baking soda, and salt until well blended
- Cream butter and sugar:
- Beat them together for about 2 minutes until the mixture looks light and fluffy
- Add the wet ingredients:
- Mix in egg yolk, milk, vanilla, and red food coloring until everything comes together
- Combine it all:
- Gradually fold in the dry ingredients until just combined, do not overmix
- Make the filling:
- Whisk cream cheese, powdered sugar, and vanilla extract in a small bowl until completely smooth
- Shape the cookies:
- Roll dough into 1 inch balls and place 2 inches apart on prepared baking sheets
- Create the thumbprints:
- Gently press your thumb or a teaspoon into the center of each ball to make a well
- Fill the centers:
- Spoon about half a teaspoon of filling into each indentation
- Bake to perfection:
- Bake for 11 to 13 minutes until edges are set but centers still look slightly soft
- Cool completely:
- Let them rest on the baking sheet for 5 minutes before moving to a wire rack
 Save to Pinterest
 My daughter now requests these for every school party and family gathering. There is something about pressing your thumb into the center of each cookie that makes baking feel hands on and personal, like leaving a little signature on every single one.
Making Ahead
You can prepare the dough and filling separately up to two days in advance. Store the dough balls in the refrigerator on a parchment lined plate and keep the filling in a covered container. Let the dough sit at room temperature for 15 minutes before shaping and baking.
Filling Variations
While cream cheese is classic, white chocolate ganache creates an incredibly decadent version. Simply melt equal parts white chocolate and heavy cream, then cool until thick enough to pipet into the centers. During holidays, I have also used peppermint buttercream and lemon curd with great success.
Storage and Serving
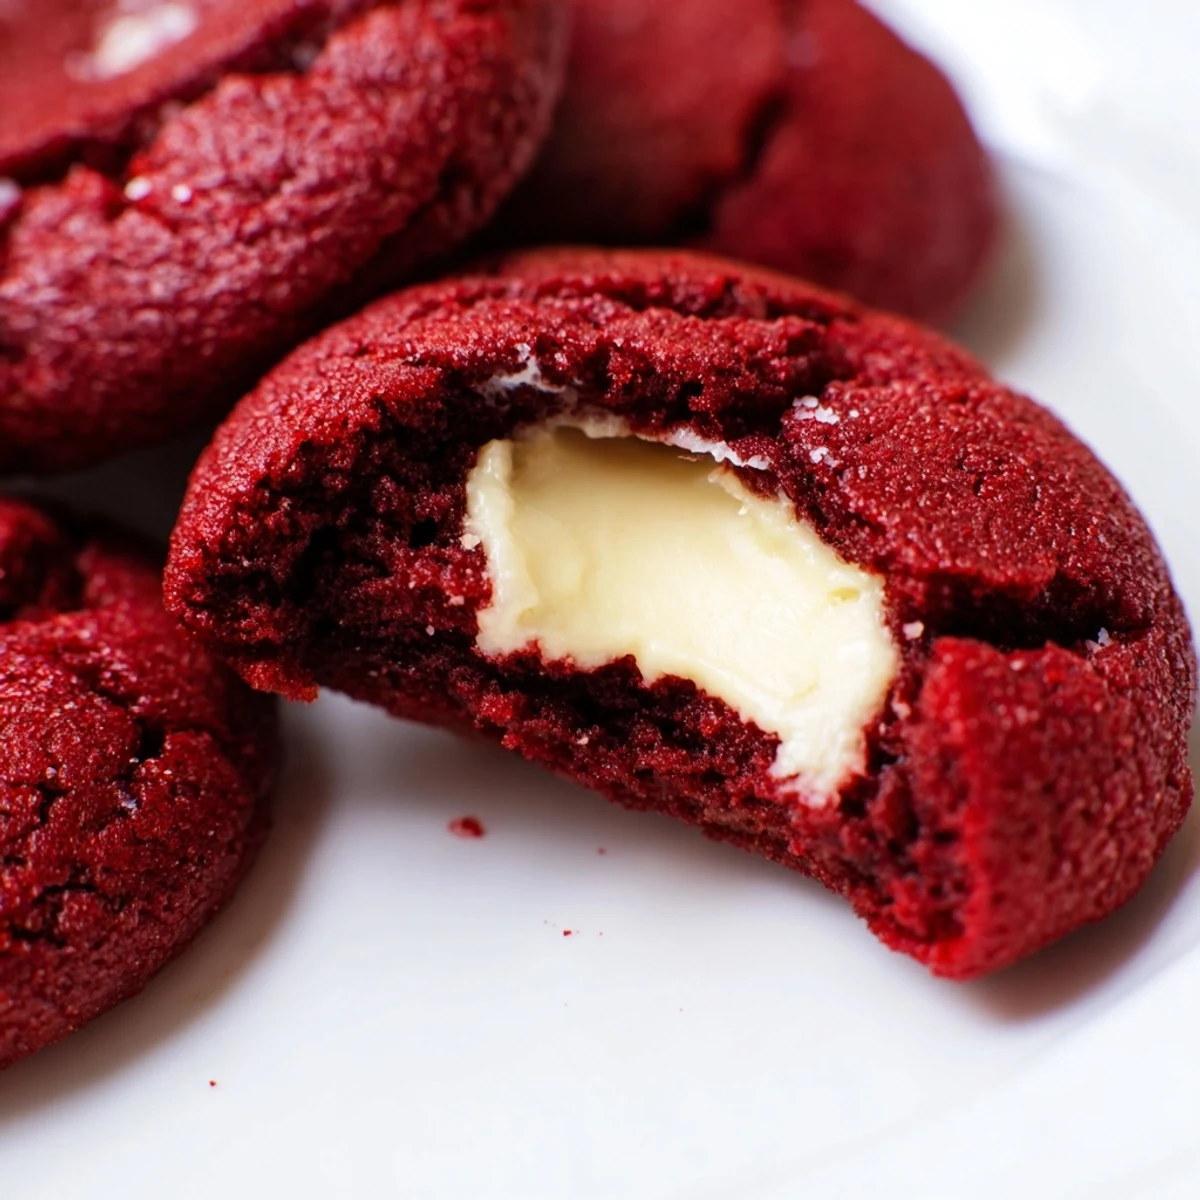
These cookies actually taste better after chilling in the refrigerator for a few hours. The cream cheese filling firms up beautifully and contrasts perfectly with the soft cookie. Serve them slightly chilled for the best texture experience.
- Layer between wax paper in an airtight container to prevent sticking
- Bring to room temperature 20 minutes before serving for softer cookies
- The filling may soften if left at room temperature for more than 2 hours
 Save to Pinterest
 There is something universally comforting about a cookie that looks like it came from a bakery but tastes like home. I hope these find their way into your kitchen and your heart.
Recipe Questions & Answers
- → What makes these cookies red velvet flavored?
-
The classic red velvet flavor comes from a combination of unsweetened cocoa powder and red food coloring, creating the signature mild chocolate taste with that distinctive deep red color.
- → Can I make the filling ahead of time?
-
Yes, the cream cheese filling can be prepared up to 2 days in advance and stored in the refrigerator. Bring it to room temperature for 10-15 minutes before filling the cookies for easier handling.
- → What's the best way to create uniform indentations?
-
Use the back of a rounded measuring teaspoon dipped in flour to prevent sticking. Press gently but firmly into each dough ball, creating a well about ½-inch deep without pushing through to the baking sheet.
- → Can I freeze these thumbprint cookies?
-
Freeze unbaked filled cookies on a baking sheet until firm, then transfer to an airtight container for up to 3 months. Bake from frozen, adding 1-2 minutes to the baking time. Already baked cookies can be frozen for 2 months.
- → Why did my centers overflow during baking?
-
Overfilling the indentations causes the filling to spill out. Use only about ½ teaspoon of filling per cookie, and avoid overfilling. The filling expands slightly as it bakes, so leaving a bit of room prevents overflow.
- → Can I use gel food coloring instead of liquid?
-
Yes, gel food coloring works beautifully and provides more intense color with less liquid. Start with a small amount and add more as needed since gel coloring is more concentrated than liquid varieties.
