 Save to Pinterest
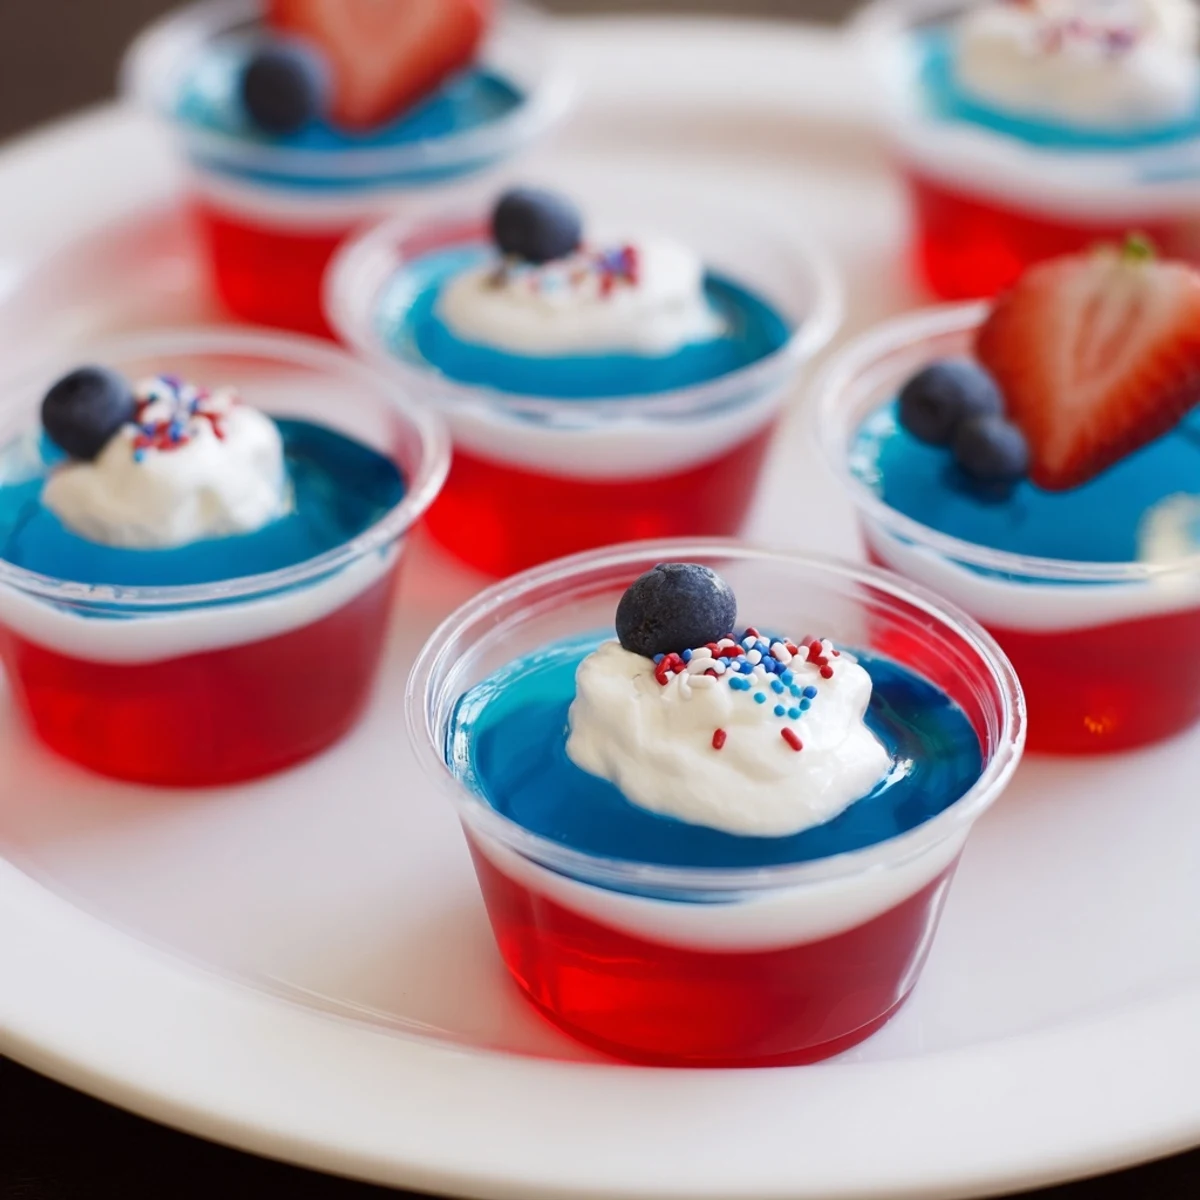
 These layered red, white and blue jello cups build vibrant color and texture in clear serving cups. Dissolve flavored gelatin for the red and blue layers, whisk instant vanilla pudding with cold milk and fold in whipped topping for the creamy middle. Chill each layer until set, then assemble and refrigerate 2–3 hours. Makes 8 servings; swap plant-based milk and nondairy topping for a dairy-free version.
Few desserts spark as much anticipation as these Red White And Blue Jello Cups wobbling in the fridge. The first time I tackled them, music from the neighbor's barbecue filtered in through the window, and I tried to resist the urge to peek at the layers every ten minutes. I’ll admit: half my excitement was watching the colors sharpen and stack through the glass like edible gemstones. Now, making these feels like opening a summer invitation no one can refuse.
I’ll never forget how the kids hovered by the fridge counting down the layers—wide-eyed, hoping for a taste before the party even started. My cousin tried to sneak a spoonful from the cups before the blue layer set, and the giggles that followed always come to mind whenever I make these again.
Ingredients
- Strawberry or cherry gelatin: These bright reds are instantly festive; I learned that using boiling water makes the colors vivid and helps the layer set evenly.
- Boiling water: Essential for dissolving the gelatin thoroughly—skip it and you risk a grainy bite.
- Cold water: Dropping in the cold water cools things so your layers set sturdy but smooth.
- Instant vanilla pudding mix: This is the secret behind that creamy, dreamy white layer; use instant, not cook-and-serve.
- Cold milk: Chill your milk for thick pudding, or the middle layer may sag.
- Whipped topping: Folds into the pudding for fluffiness and gives picture-perfect garnish clouds on top.
- Berry blue-flavored gelatin: Don’t skip a fun, electric blue—little ones always ooh and ahh at the final reveal.
- Fresh berries, extra whipped topping, and sprinkles (optional): A handful of real berries or swoop of cream brings just enough luxury to every cup.
Instructions
- Start the red layer:
- Dissolve the strawberry or cherry gelatin in boiling water until smooth. Mix in cold water, then evenly pour into clear serving cups and chill until set—checking is half the fun.
- Build the white layer:
- Whisk instant pudding mix with cold milk until thick, then gently fold in whipped topping for a pillowy finish. Spoon this fluffy mixture over the set red layer and refrigerate to let it hold its shape.
- Ready the blue layer:
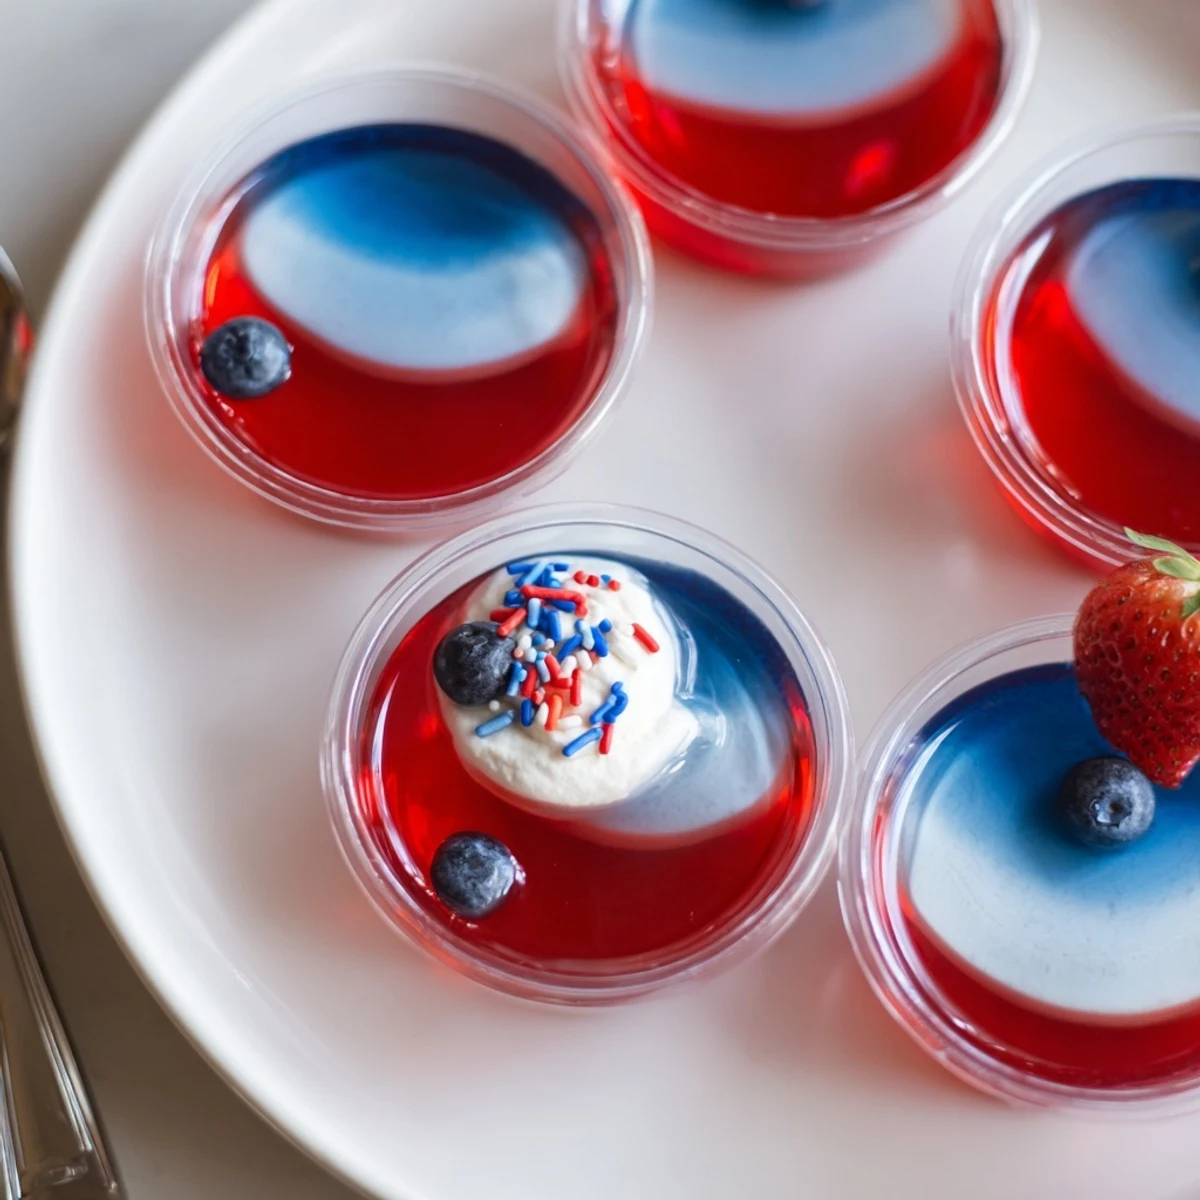
- Dissolve berry blue gelatin in boiling water, then cool with more cold water. Carefully pour or spoon this blue atop the white, watching the layers settle into stripes before your eyes.
- Chill and finish:
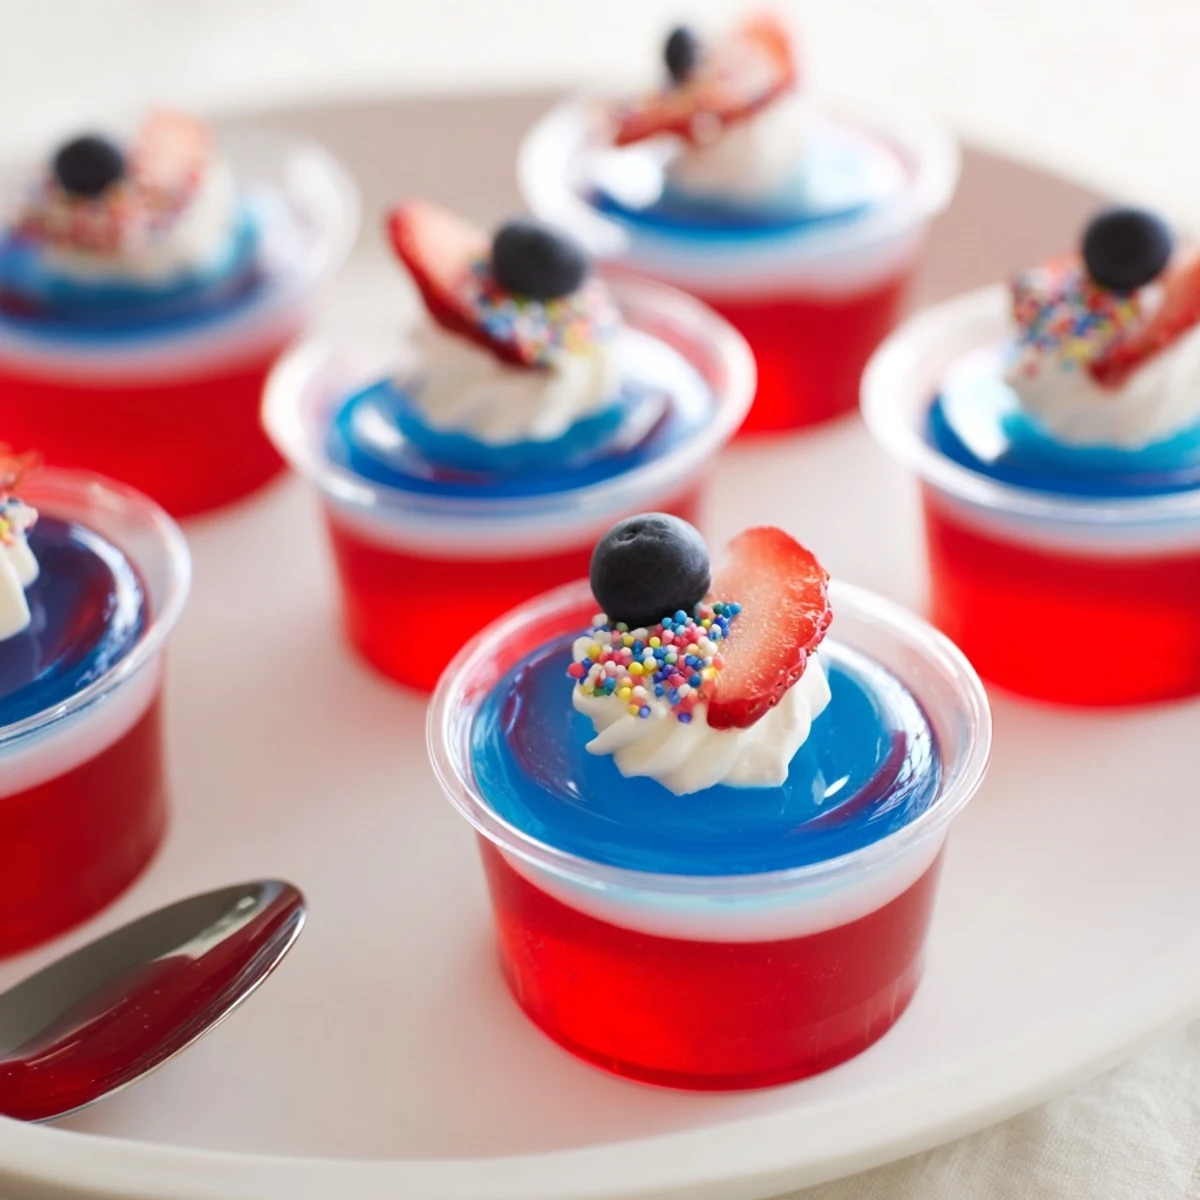
- Let the cups rest in the refrigerator until every layer shivers into place—patience makes the colors distinct. When ready, crown each with extra whipped topping, fresh berries, or a sprinkle of stars just before serving.
 Save to Pinterest
 The first time my uncle tried these at our July get-together, he asked if I’d secretly learned some fancy pastry trick. Laughing over his surprise made me realize these cups are as good at making memories as they are at delighting taste buds.
Getting Perfect Stripes
It took me a few tries to master razor-sharp lines between the red, white, and blue. The real secret is patience: waiting until each layer feels firm, not just cool, means the next color won’t bleed or drift. It’s tempting to hurry, but that time in the fridge is worth the steady, show-stopping stripes.
Make-Ahead Magic
These look even better when prepared the day before a party, giving each layer time to settle and flavors to mingle. Covering the cups means they don’t pick up fridge flavors, and as a bonus, you’ll relax on party day knowing dessert is done. Just save the garnish for the last minute for the freshest look.
Customizing Your Cups
I love switching up which berries top each cup—sometimes blueberries and a mint sprig, other times just a swirl of sprinkles. You can pick gelatin flavors that match your mood or holiday, and swap dairy-free options when anyone’s guest list changes. Every time, a touch of creativity keeps the tradition fresh.
- If your cups are too shallow, halve the amounts.
- An ice cube whisked in speeds cooling between layers.
- Don’t forget to show off those colorful stripes before digging in.
 Save to Pinterest
 No matter the celebration, these jello cups bring out bright smiles around the table. Let them set, then watch the crowd gather for that very first, satisfying spoonful.
Recipe Questions & Answers
- → How do I prevent layers from blending?
-
Chill each layer until fully set before adding the next. Pour gently and use the back of a spoon or a ladle held close to the surface to slow the pour and protect the layer beneath.
- → Can I use different serving vessels?
-
Clear small cups show off the layers best, but mason jars or dessert glasses work well. Deeper containers may alter the layering ratio, so adjust amounts accordingly.
- → What substitutes work for dairy-free needs?
-
Use plant-based milk with an instant dairy-free vanilla pudding mix and nondairy whipped topping. Ensure labels confirm the product is dairy-free for best results.
- → How far ahead can I assemble these?
-
Assemble up to one day in advance and keep covered in the refrigerator. For optimal texture, add fresh berries and whipped garnish just before serving.
- → How long should the cups chill before serving?
-
After layering, refrigerate for at least 2–3 hours until fully set. Total chill time including initial red layer and white layer setting is about 4–4½ hours.
- → Can I customize the flavors or colors?
-
Yes. Swap the red and blue gelatin flavors for other varieties you prefer. Keep proportions and chilling steps the same to preserve the layered effect.
