 Save to Pinterest
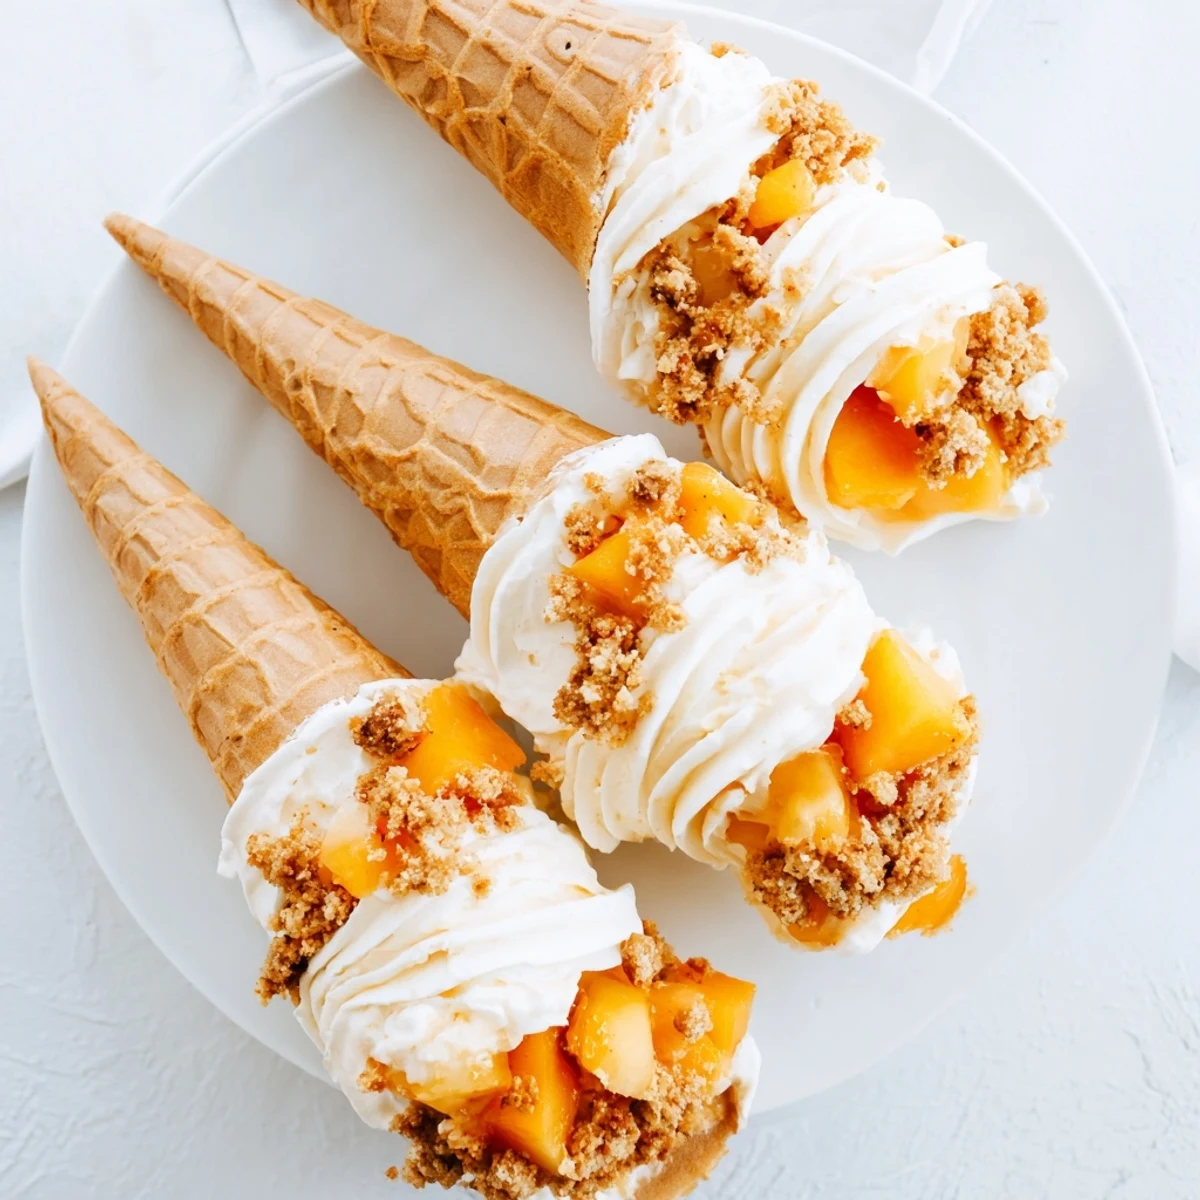
 These handheld treats combine the crunch of waffle cones with smooth cheesecake mousse and spiced peach filling. Ready in 35 minutes, they're ideal for summer entertaining. The creamy filling balances perfectly with tender, cinnamon-spiced peaches, while the cone adds satisfying texture to every bite.
My youngest daughter came home from camp last summer raving about these wild dessert cones someone made over a campfire. No oven, just these handheld marvels that combined everything good about summer. We spent the next weekend experimenting until we got the balance right between crunchy cones, creamy filling, and those spiced peaches that taste like sunshine itself.
I brought a batch to our neighborhood block party and watched grown adults practically fight over the last cone. Something about eating dessert with your hands brings out the kid in everyone, and these cones disappeared faster than anything else on the table. Now they're my go to for potlucks because they're impressive but secretly so simple to throw together.
Ingredients
- 2 cups ripe peaches: Fresh peaches at peak season make all the difference here, but I've used frozen in a pinch and they still deliver that sweet peach essence we're after
- 1/4 cup granulated sugar: Adjust slightly depending on how sweet your peaches are, naturally ripe ones might need a touch less
- 1 tbsp lemon juice: Brightens the peach flavor and helps balance all that creamy sweetness coming later
- 1/2 tsp ground cinnamon: The secret ingredient that makes these taste like genuine cobbler instead of just peaches and cream
- 1 tbsp cornstarch: Essential for getting that perfect pie filling consistency that clings to the cheesecake layers instead of making everything soggy
- 8 oz cream cheese: Must be completely softened or you'll end up with lumpy filling, and nobody wants that surprise texture
- 1/2 cup powdered sugar: Dissolves beautifully into the cream cheese without grainy texture that regular sugar can leave behind
- 1 tsp vanilla extract: Don't skip this, it's what bridges the gap between the peaches and the cream cheese filling
- 1 cup heavy whipping cream: Needs to be ice cold from the fridge, I even chill my mixing bowl for five minutes before whipping
- 8 large waffle cones: Buy sturdy ones, the cheap kind start crumbling the second you fill them
- 1/2 cup graham cracker crumbs: Optional but highly recommended, they mimic that cobbler topping everyone fights over
- 2 tbsp melted butter: Mix this into the graham crumbs to create that perfect crumble texture that stays put
Instructions
- Cook the peach filling:
- Combine peaches, sugar, lemon juice, and cinnamon in a saucepan over medium heat, stirring occasionally for 4 to 5 minutes until you smell that incredible cooked peach aroma and see them releasing their juices. Whisk cornstarch and water in a small cup until smooth, then stir into the bubbling peaches and cook another 1 to 2 minutes until thickened. Set aside to cool completely, this step is crucial because warm peaches will melt your cheesecake filling.
- Whip the cheesecake mousse:
- Beat cream cheese, powdered sugar, and vanilla until completely smooth with no lumps remaining. In a separate chilled bowl, whip that cold heavy cream until stiff peaks form, then gently fold it into the cream cheese mixture until no white streaks remain visible. The texture should be light and airy, almost like eating a cloud.
- Prepare the crumble topping:
- Mix graham cracker crumbs with melted butter until they stick together when pressed, resembling wet sand that holds its shape.
- Assemble your masterpiece:
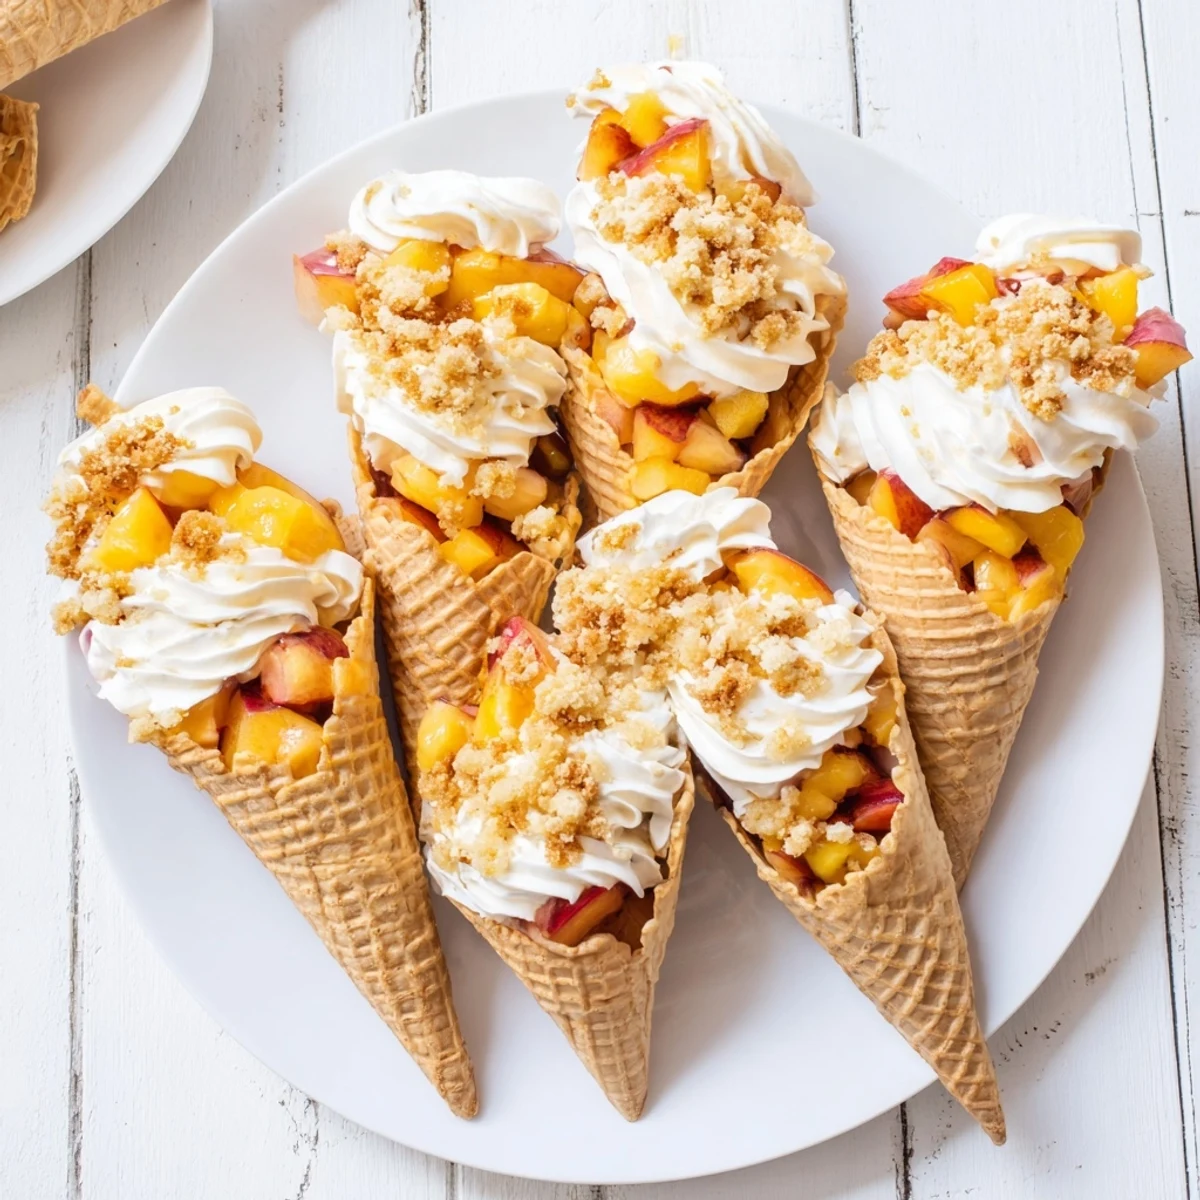
- Spoon cheesecake filling into the bottom of each cone, followed by a layer of cooled peach filling, then repeat if your cones are tall enough. Top with graham crumble and a swirl of whipped cream if you're feeling fancy. Serve immediately for that perfect crunch contrast, though they'll hold up for about an hour in the fridge if you need to prep ahead.
 Save to Pinterest
 My sister in law still talks about the summer afternoon I brought these to her backyard barbecue. She said it reminded her of being twelve again, eating ice cream from the truck that circled her neighborhood, but better because everything was made with love in a real kitchen. Sometimes the simplest desserts create the strongest memories.
Choosing the Perfect Peaches
I've learned that peaches should smell like peaches, not just look pretty. Give them a gentle sniff at the grocery store or farmers market, if there's no aroma, they'll never develop that intense flavor we want. Slight give when you press them is good, but avoid anything that feels mushy or has dark spots.
Making These Year Round
Frozen peaches work surprisingly well when stone fruit season ends, just thaw them completely and drain off excess liquid before cooking. The texture difference is minimal once everything is layered together, and sometimes I actually prefer them because they're picked at peak ripeness and frozen immediately.
Serving Strategy
I set up a little DIY station at parties with bowls of each component and let people build their own. It becomes an activity and dessert in one, plus everyone gets exactly the ratio they prefer. Kids especially love being in charge of their own creation.
- Have extra cones handy because they sometimes crack while filling
- Keep the cheesecake filling chilled until the last possible moment
- Paper cupcake liners make perfect cone holders for serving
 Save to Pinterest
 These cones capture everything wonderful about summer in every single bite, and I hope they become part of your own sunny memories.
Recipe Questions & Answers
- → How far in advance can I assemble these?
-
Assemble within 1 hour of serving to maintain cone crunch. Prepare both fillings ahead and store separately in the refrigerator.
- → Can I use frozen peaches instead?
-
Yes, thaw frozen peaches completely and drain excess liquid before cooking. Adjust cornstarch slightly if needed for proper thickening.
- → What's the best way to fill the cones?
-
Use a piping bag for neat, even layers. Alternatively, a small spoon works well for creating distinct cheesecake and peach sections.
- → How should I store leftovers?
-
Best served immediately. Refrigerate assembled cones only up to 1 hour, or store components separately for up to 2 days.
- → Can I make these gluten-free?
-
Use certified gluten-free waffle cones and omit graham cracker topping or substitute with gluten-free alternative crumbs.
